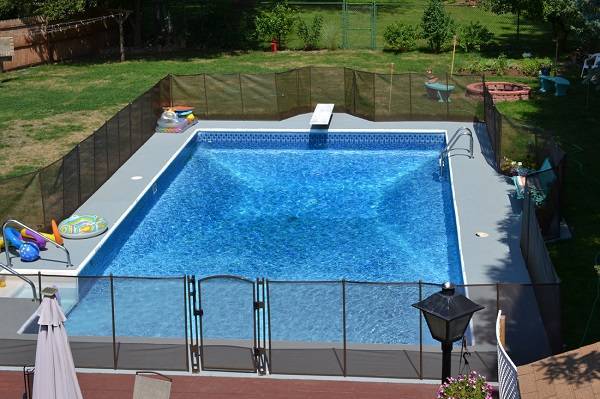
Having a color resistant fence is certainly many people’ desire for their fence. Why? Because colorful fences can add perfectly and beautifulness for your home. For some people, colored fence becomes a great choice that must they have for completing their perfect home. Sometimes, homeowners do not care about staining the fence after first installation although it’s for a long period of time. Even though, the fence stain is very important in keeping the fence to stay colorful.
Giving color for the fence is not a hard work for you, just doing it for about 5-minutes, the job is done. And also, you can do it yourself to reduce the cost for paying the handyman.
Don’t you believe us?
To convince you that this is not a hoax, we share you about an instruction how to do 5 minute fence stain below.
DIY: Doing 5 minute Fence Stain
The Tools You Will Need:
Paint Sprayer
Paint brush
A few plastic drop clothes
Pump Sprayer
Garden Hose
A gallon of Deck
Hammer
Nail
Drop Cloth
Preparing
Starting to clean fence, grab a gallon of deck wash and a pump sprayer to prep the surface. You will need a garden hose as well as, so if you are needing one, you can find it in the available store near you. Certainly, you can get a few choices a transparent stain that will add a light touch of color and let the wood grain and texture show through. If you want to with semi-transparent stain or choose a solid staying for an opaque paint until finish.
Now, it is a good idea to choose an option similar in color to your current stain. You can also use a flood semi-transparent cedar. It need to make a quick estimate how much fence you need to cover, then check the guide on the back of the can to see how much to buy.
Step in Doing 5 Minutes Fence Stain
Step 1 – Checking the Weather
Before staining, it is very important for you to check your local weather forecast. You will need at least one day of sunny weather to apply the stain and let it dry. Furthermore, it is nice to have great weather to work in as you can see a great day for standing.
Step 2 – Checking Your Fence
The next step, you have to prepare the fence and take a lot of wear and tear over the years if needed. So, hammer in any popped out nails and sand any rough patches to a smooth surface.
Step 3 – Preparing the Area
Before starting, move any loose objects away from the fence and protect any plants or bushes from over spray with a drop cloth.
Step 4 – Cleaning the Fence
Now, you want to thoroughly clean the wood. Pour a gallon of deck and wash into a pump sprayer and spray down the fence. So, it is time to good spray. Preparing the wood surface will improve the adhesion and appearance of your stain plus it will help it last longer.
Step 5 – Rinse the Fence
After applying to wash the fence, wait 10 minutes and then, rinse it with a garden hose. Need to know that stain does not adhere well to moist surfaces, so make sure to give it plenty of time to dry. This prevents problems such as cracking and peeling and more serious ones such as premature wood erosion, rot and decay.
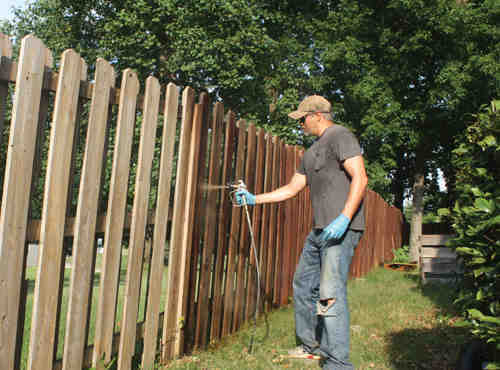
Step 6 – Applying Stain
Now, our fence is clean and dry. Let’s apply the stain with a paint sprayer. Of course, you can use Wagner control spray to get great works for your fences. For easier, just follow the instructions in the package to fill the pump. Then, make sure to do a test patch on your drop cloth to determine how wide your spray will be. Now, you are ready to spray, apply the stain by spraying with a smooth up and down motion. Make sure to keep the tip the same distance from the fence the whole time. So, you get an even application. Sometimes, laying it on too thick can result in cracking and peeling.
Step 7 – Touching Up
Once, you have applied the stain. Let your fence drive at least one day, then, touch up the surface with a paintbrush to get any missed spot.
Well, the stain should give your fence a polished look that will last for years. If you want to stay in your fence, do not forget to search about simple projects that you can do-it-yourself.