Creating the bathroom as cozy as possible, of course, it becomes everyone’ desire. Many people are willing to spend much money for getting the dreamed bathroom. To make the bathroom comfortable, many people try to install a variety of tools to support their needs.
As well as the Bluetooth fan, it eases you to operate the fan and listen to your favorite music. But, many people do not know how the ways to install this device so that they ask the installers with paying the high cost.
Even though, there are some ways that you can do it yourself with easy steps. But, you just have to know the tools and the steps to get right installation. For that reason, we give you DIY to install the Bluetooth bathroom fan with the simple steps.
Need to know, before doing the installation, there are two things that you have to do, they are;
- Turning off the power sources
- Checking all safety precautions and damaging sources
DIY: How to Install Bluetooth Bathroom Fan
The Tools
- New fan housing for bathroom
- Wires
- Suspension Bracket
- Joists
- Screws
- Wood
- Circular Duct
The Steps in Installing the Bluetooth Bathroom Fan
After you checked all sources, it is your turn to install the Bluetooth bathroom fan.
Step 1 – Determine the Right Spot
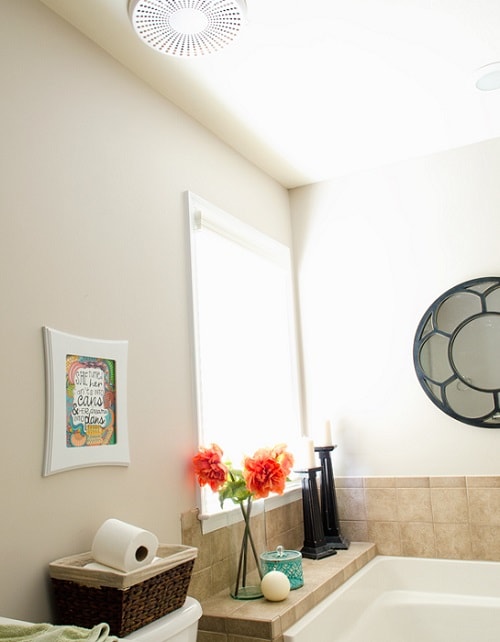
The first thing that you have to do is to specify the correct spot to install the fan on the ceiling. It is better for you to put the bath fan on the center of bathroom ceiling. The goal allows the fan flowing the wind evenly and abroad to every corner. The fan will make you more comfortable when you bathe or soak in the bathtub.
Meanwhile, if you have the existing fan on the ceiling, you have to remove it before. Then, replace the fan with a new one in the same spot.
Step 2 – Measure the Fan Hole
For this step, you have to mark the spot based on the fan size. Certainly, you must measure it before to put the new fan housing. Generally, the size of bathroom fan is about 9.4″ x 9.4″.
Step 3 – Cut the Opening Hole
After you measure the spot with the correct size, now, you must cut a 9.4″ x 9.4″ opening hole for placing the new fan. You must be careful to avoid the others parts cut out.
Step 4 – Insert the Suspension Bracket
Then, you must insert the suspension bracket into the fan housing using the suspension bracket C and D. If the spacing between joints is 21.5″ to 23.5″, then attach the suspension bracket E to get a matching slot.
Step 5 – Position of Fan Housing
Placing the fan housing so the edge of the fan is flush with sheetrock. You do not flush mount housing with joist. Then, secure the fan housing to joist with suspension brackets using the long wood screws included. Important to note, if spacing between joists is 23.5″, you must secure using the suspension bracket E to screw into one side wood.
Step 6 – Secure the Suspension
For this step, you have to secure the suspension bracket C, D, E to the fan housing using a short machine screw to strengthen the assembly.
Step 7 – Connect the Wires
Then, remove the junction box cover. Using quick-connect ports, connect house wires to fan based on the colors such as black to black, white to white, and green to green.
Step 8 – Connect the Circular Duct
This step is to connect a 4″ circular duct and vent to the outside. Make sure that you secure it with the duct tape or clamp to get stronger.
Step 9 – Test the Fan
To test the fan, you can turn wall switch On, then turn OFF. Wait for few minutes about 0.5-2 seconds and then turn back ON.
Step 10 – Bluetooth Assembly
Then, you must join the connectors for the Bluetooth speaker and power adapter. Attach grill by pinching mounting springs and insert into narrow rectangular slots in the fan housing.
Step 11 – Pairing the Bluetooth
After you finish with the fan and Bluetooth installation. It is time to pair your Bluetooth device/smartphone to the speaker. Then, move wall on/off switch to ON position. From your smartphone, choose the Bluetooth setting to turn on it. Choose the available Bluetooth device, then pair it.
Step 12 – Bluetooth Bathroom Fan and Speaker Operation
For operating the fan and speaker, you need to move wall on\off switch to the “ON” position to stream audio. Then, cycle wall on\off switch to “OFF” position, then within 0.5 and 2 seconds, cycle back to “ON” position to turn the fan and Bluetooth speaker on.
Now, you really enjoy your favorite music while you are soaking in the warm water bath. Furthermore, we also share you a video that shows the Bluetooth Bathroom Fan assembly. Perhaps, you do not get the information clearly yet and need the tutorial video to ease you in installing the fan. Let’s check out below!