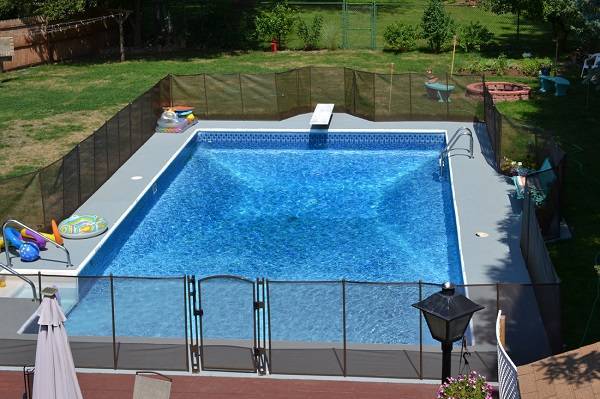
Making the fence must not use the expensive materials and design. If you have a little cost in building the fence, you can actually select the materials as your capacity. For example, wire fence, cedar split rail fence and chain link fence. In fact, those materials are well-known as the cheap for installing the fence. By building those kinds of fences materials, you automatically can reduce the high costs and get the fence to protect your home.
The problem is, sometimes people do not know to build the fence by do-it-yourself because it is limited the references and tools. So, we are going to share you about how to build the cedar split rail fence completed by the video from The Fence Experts below
How to Build Cedar Split Rail Fence
The tools you need
- String Line
- Tape Measure
- Level
- Chainsaw
- Hammer
- Crowbar
The Steps in Building the Cedar Split Rail Fence
Step 1 – Marking
The first step, you have to mark out the space that you will be built the cedar split rail fence. For marking the space, you can use the string line to make sure that the line is straight.
Step 2 – Digging
After you marked the space, now, you are starting to dig the soil about 10.5 feet to insert the cedar as the markers and the corner. Make a number of holes as you want, then, sig approx about 3 feet deep.
Step 3 – Inserting the Posts
When you have finished digging the soil, you are starting to prepare the cedars as you need. Make sure that you have made the three holes on the cedar that is about 49″ to the top of top holes. Then, insert the cedar into the hole that you have been extracted. Actually, you can ask the assistant or others family member to help you inserting the cedar into the holes. For the surface of the holes after inserting the cedar, make sure that the soil is getting think to avoid the crumbly soil so that the posts is not easy to shake.
Step 4 – Install the Rails
Now, we are starting to install the cedar split rail fence inserted into the cedar posts holes. Prepare the cedar rails that you have split before. For the best result, you can place all rails with the same orientation and the round side out. Insert one by one the cedar rails and make sure that you apply the rails neatly and strongly. Furthermore, you can cut down for shorter sections to ease when you are inserting the rails into the posts. Then, make all the rails overlap with the same orientation.
Step 5 – Leveling the Fence
After you finished inserting the rails, now, you are starting to level your fence before you are rolling out the wire. Leveling is a step to straighten the fence to prevent longer or shorter in part.
Step 6 – Applying the Wire
This step is beginning with applying the wire into the fence. You can use the staple gun in applying the wire to strengthen the wire stuck into the rails and posts.