Spooky candles are kind of the decor that you would want to have on your Halloween table. It will definitely enhance the horrifying atmosphere around the room alongside those Jack’ o lantern pumpkins, creepy photographs, and mummy lantern.
Creating your own Halloween-themed candles is surely a fun thing to do. You can make some candles easily based on your creativity, and all you need is how well is your horror imagination.
Repurposing some used stuff is one of the DIY things that make it way more fun and obviously saves lots of bucks. You can use the junks that scattered around your house that perhaps look not really worth it.
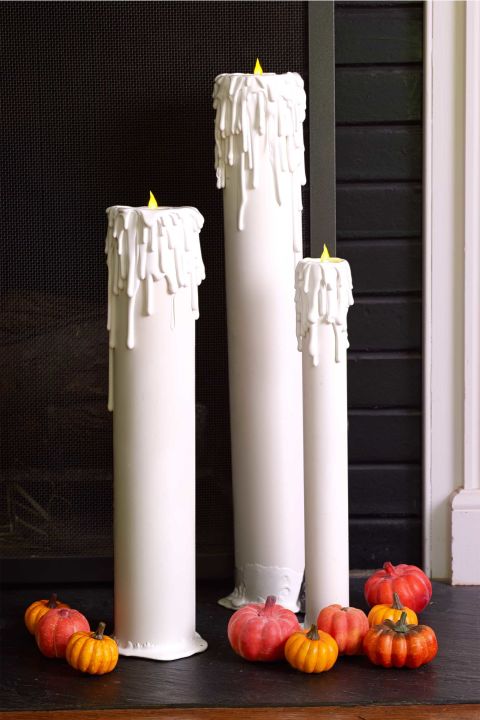
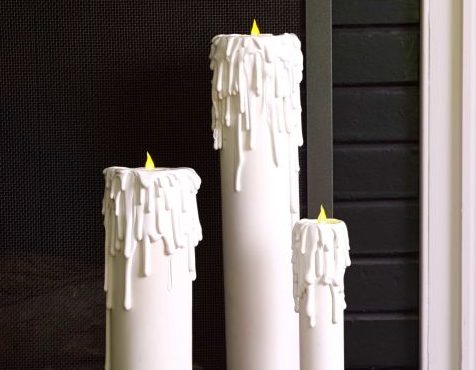
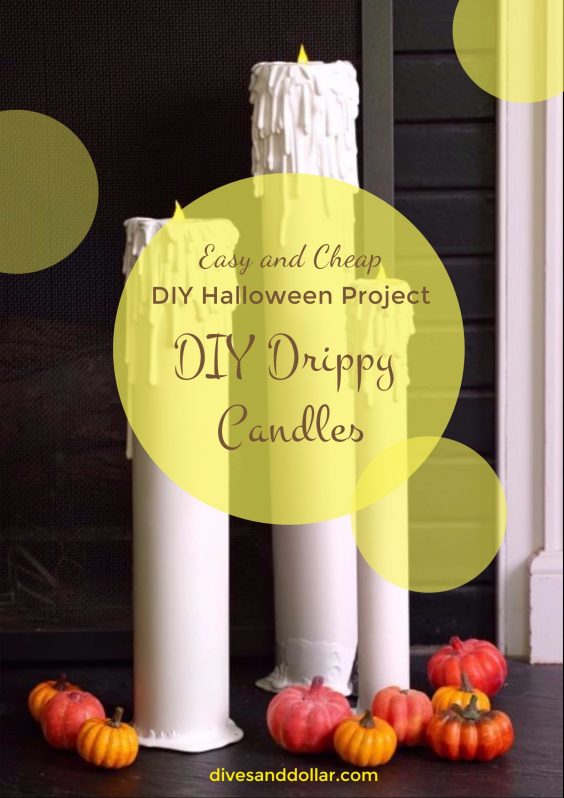
Here, we share an interesting DIY project to make a drippy candle for your Halloween decor. But this is not a real candle actually, this one won’t melt, so you will not need to worry about cleaning up the wax that may drop to your lovely table’s surface.
Made of the PVC pipes, glue sticks, and battery-powered tea light, this DIY drippy candles is a Halloween decor project that is totally worth to try.A�You can use the remaining pipes that are not used anymore to create these DIY candles.
It is absolutely simple and easy to make without any needs of pricey things. Keep scrolling to find out the complete tutorial!
(Check this out:A�DIY Mummy Luminary Tutorial)
A�DIY Drippy Candles Tutorial
Things that you’ll need to prepare:
- 1.5-inch PVC pipes
- 2-inch PVC pipes
- 3-inch PVC pipes
- White spray paint
- White glueA�sticks
- Styrofoam
- Wax paper
Tools that you’ll need to prepare:
- Hot glue gun
- PVC pipes cutterA�or saw
Steps that you’ll need to do:A�
- Cut each pipe to your desired height, it’s better to cut each pipe in different height to create a more attractive look.
- Paint the pipes on a covered surface.
- Start to make the dripping accent by using the hot glue gun and white glue sticks. Apply the glue from the top of the pipe, make the drips as natural as possible.
- Now cut the styrofoam according to the diameter of the each pipe, then hot glue to the top of the pipe.
- Then over the styrofoam with the white hot glue.
- Push the battery-operated tealight into the pipe.
- White hot glue the bottom edge of the pipe, you can do it on the surface that is covered by the wax paper.
- Your DIY drippy candles are all set now!
(You may also like:A�DIY Pumpkin Jars Tutorial)
Those drippy candles will be a nice addition for your Halloween-decorated dining table. It will beautifully match other decors to enhance the spooky and creepy touch around.
You can also add some drops of red glue stock to create a bloody look for the candle. It’s definitely a fun project to do this Halloween!
Don’t forget to stay safe in executing this project, especially when you cat and spray paint the pipe.
(Read also:A�DIY Spooky Figurines Tutorial)
Have fun to do your DIY Dripping Candles project and happy Halloween day!


