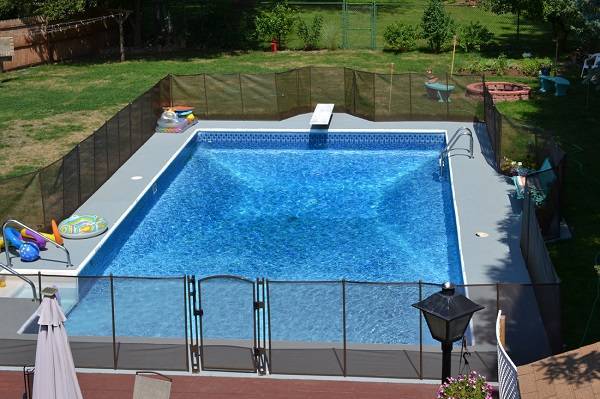
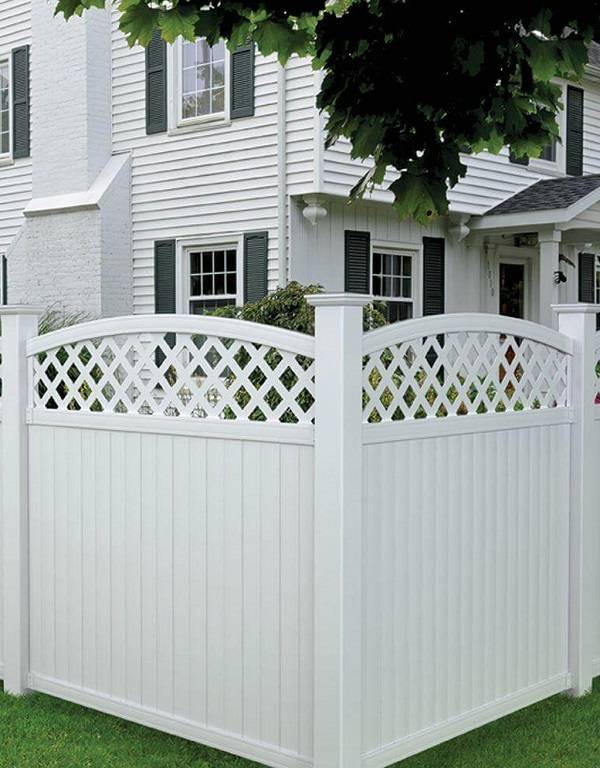
In fact, vinyl fence becomes the greatest choice for many people in choosing the fence products. The reason is, vinyl fence offers the durability and long-lasting that withstand to the weather and the damage sources. Without regular maintaining, certainly, the owners do not need to prepare the equipment and the tools for painting and staining the fence.
Well, many people prefer the vinyl fence than the others fence products. Besides the durability, vinyl fence also provides a variety of models with an attractive and stunning design based on the functions and utility. For you who decide to install the fence, do not doubt to choose the vinyl fence for getting more values. Meanwhile, if you have chosen the vinyl fence, you just install it well. The problem is, just some people know how to install the vinyl fence by do-it-yourself so that they ask the builders to install it. Therefore, they have to spend more budget to pay the builders.
For that reason, here, we are going to share you how to install the horizontal vinyl fence. And also, the relevant video below hopefully can help you in installing the fence by the clear instructions.
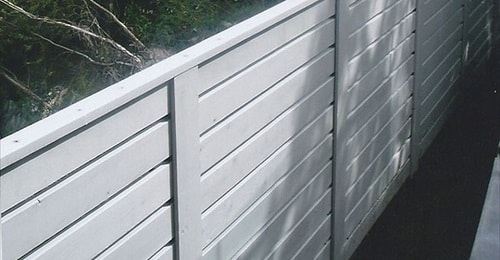
How to Install the Horizontal Vinyl fence
Before you start the project, make sure that you locate any underground lines. Then, find your property boundaries and start to dig all your in and corner post. The ending corner post will act as a line of sight for the line post. Settle your end and corner post and concrete. Make sure to level the post and keep the bottom of the rail about 1 to 2 inches off the ground.
Step 1
Now, we are setting the post and concrete. Make sure that you get the concrete around entire the post until the level of the bottom rail. You do not worry about the dripping concrete, you just clean up as you can that the concrete will come off the post.
Step 2
For the ends and corners, you have to measure the total distance between each post. For each line, divide the post evenly for keeping the post under five feet eight inches. This is very because the top and the bottom rails for each panel are six foot.
Step 3
Then, kick or give the spray paint and mark the lines where each post will go. Then, you can run a string line of if you have a good eye, spot each mark where the post needs to go and repeat the step for your entire project.
Step 4
If you are going to cite the marks with your eye, it is easy, just look down the post and look down the left and right side. Make sure the mark is in between each post and it will be good.
Step 5
After you have finished digging the holes, look at the ground. Not all yards are level, so, you need to make sure that the fence will flow with the ground. Find the high spots and set a post in the ground keeping the bottom rail one to two inches off the ground. Again, you can use a string or just site by eye. It is better to run a string line for the top of the fence or simply, just site it by eye.
Step 6
Next, set your line post in the concrete, make sure the poster in line with the fence and the top is straight. Then, following the grade and end post.
Step 7
After the poster set to remove the concrete from the post, make sure to remove the concrete in the same day because it will come off much easier and get hard concrete. Places string insert inside the post, your gate will hang on. Then, fill the inside of the post with the concrete and make sure to keep the concrete 1-inch beneath the bottom hole.
Step 8
It is a good idea to fill the post with dirt after they are set on the ground. Do not fill the post higher than the bottom hole. The dirt will keep water out of the post. Water will freeze in the winter and cause your post to expand and contract causing your post to rise and sink. Keep the dirt below that line. After the project is complete, make sure everything looks good and in line. If everything is in line, then, you have to wait the concrete two days for getting dry.
Step 9
Now, we are going to set the horizontal vinyl fence for the rails. Firstly, cut the bottom and top rail for each section. Two inches of the rail will be inside each post, match the rail in the center of the post and make your marks. Cut the row with the sawzall or table saw. Use a special crimping tool to crimp the end that you cut. Then, fit the bottom rail and repeat this step for the entire project.
Step 10
Now, it is time to install the horizontal vinyl fence picket, notice the pickets are tongue and groove. Start with the groove side against the post and fit the pickets accordingly. Measure from the post to the rounded edge where the picket will fit in the tongue and make your cut. Cut the pickets on the table saw. Notice the blade that is a metal cutting blade, the blade can eliminate shattering and chipping when cutting vinyl.
Step 11
Then, fit the cut picket and slide the top rail into place. Make sure, you start your next section with the leftover to cut piece of vinyl. Repeat these steps for the entire projects. Furthermore, if you do not start the sections with the cut piece of vinyl, you will run out of pickets. Use a three-inch screw to secure the top rail and close the gaps.
Step 12
For this step, some of the people apply pressure to the post, this will close the gaps when screwing the tops.Do not forget to apply the caps to the post after all the rails are screwed. You can screw or glue the caps on the post but it is a good idea to screw the caps in the windy areas.
Step 13
The last step is hanging the gate. Screw the hinges on the steel frame of the gate. Adjust the height to look square with the top rail of the fence. If you have small animals drop the gate down to your desired height and secure the gate to the post. Next, apply the latch, vinyl gate swing one direction, so, pay close attention to the direction the latch needs to go. Before you apply the striker, adjust the hinges, so the gaps on each side of the gate are the same and also make the top looks square. Finally, your project of installing the horizontal vinyl fence is done.