It’s safe to say that you don’t have a proper backyard without adding a fence to its decor. The main functions of the fence are to give border between your house and neighborhood, provide privacy, and prevent unwanted intruders. Moreover, it also gives a more aesthetic appeal to the overall look of your house.
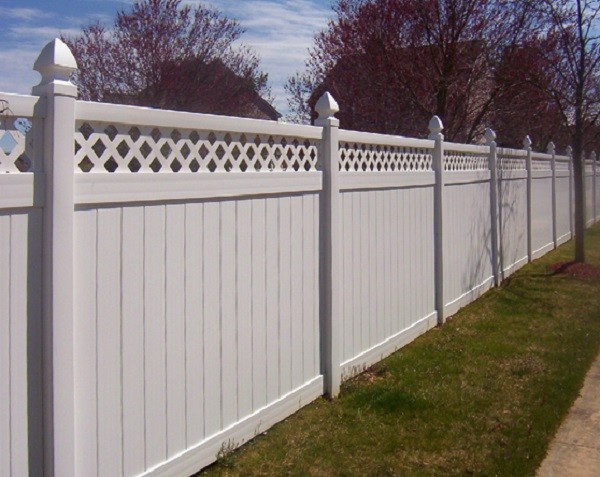
Wood seems like an everlasting favorite material when it comes to fencing. It’s chosen by a lot of homeowners who prefer to use natural materials. The authentic look of a wood fence still attracts many homeowners to become the main materials of their backyard fence.
Some benefits that you can get from using a wood fence over the other materials include:
- Variety of styles – There are a lot of styles that you can choose like picket, board on board, paddock, and split rail.
- Easy to install – Wood fence is typically easier to install, if you are familiar with DIY projects, you can even install it all by yourself.
- Affordable – Compared to other materials like wrought iron and vinyl, a wood fence is offered at cheaper prices.
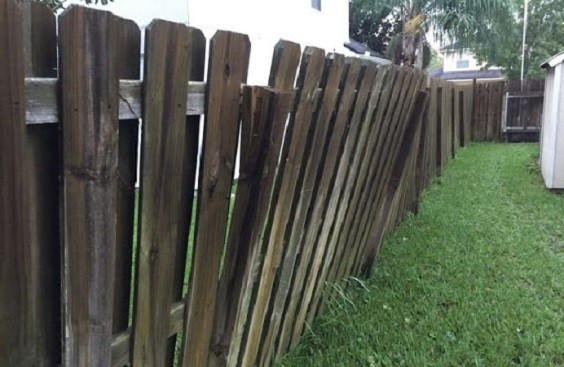
However, as a natural material, the wood fence needs extra maintenance. If you don’t take care of it properly, some problems may occur, and sagging is one of the common cases.
The sagging fence can be caused by two main factors which are aging and weather condition. When you notice that your wood fence starts sagging, you have to fix it as soon as possible.
(You may also like: 4 Quick and Cheap Ways on How to Heat a Pool | Fun DIY Projects)
Below, we share the easy steps on how to fix a leaning fence that will guide you to solve the problem.
How to Fix Leaning Fence
If you are familiar with the wood-working project, this job can be done easily. Be careful in dealing with sharp objects of this project, wearing some safety gear like working gloves and eye goggles is highly recommended.
Prepare these supplies:
- 2 x 4 timbers
- 3-1/2″ and 2″ exterior timber screws
- Treated pickets (if necessary)
- 4 x 4 treated posts
- Concrete mix
Prepare these tools:
- Tape measure
- Wrecking bar
- Circular saw
- Drill
Those are the supplies and tools that you need to have to fix a leaning fence in this tutorial.
(Recommended to read: 4 Steps on How to Grow Grapes in Your Backyard | Easy DIY Project)
Position the Fence
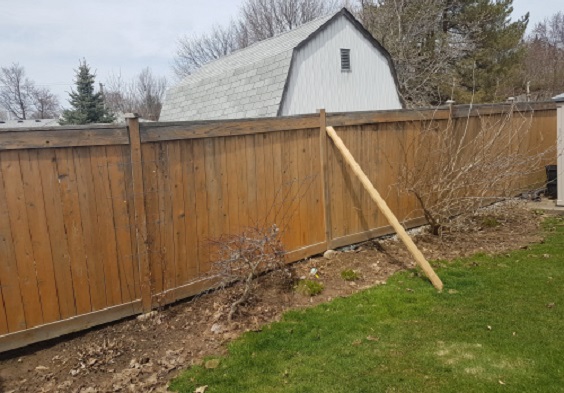
The very first thing that you have to do is to straighten up the position of the fence by using 2 x 4 lumbers.
- Push the heel of the lumbers into the ground with about 5 feet away from the sagging fence.
- Push the fence with your hands or shoulders until it stands straight.
- To create more tension, keep pulling down the lumbers until it gets a plumb position.
Fix the Rails
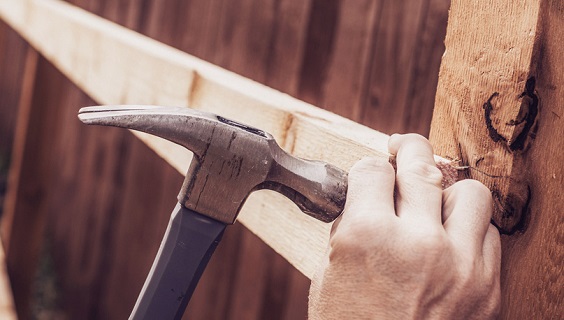
The rails of the wood fence with nail-fastened construction are often detached from their place.
- Examine the worst parts that are sagging.
- Check whether the existing posts are still firm enough or not.
- Clamp the detached rails back, you can also use a quick clamp if you have one.
- Use 3-12 inches screws to secure the rails.
- Cut the exposed nails if necessary.
(See also: Here’s How to Soak Up Water in Backyard with Only 4 Simple Steps)
Find the Broken Posts
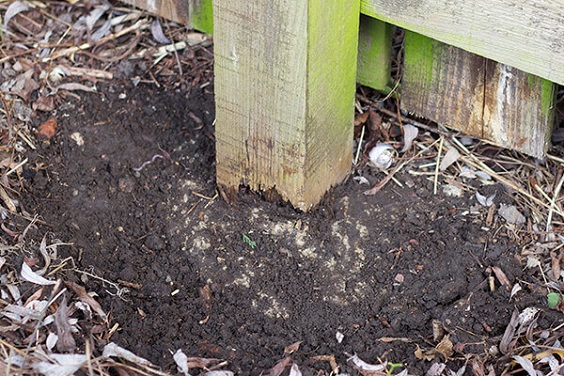
The most common cause of leaning fence is the damaged posts, so you have to find the ones which are broken and fix them. If the back of the fence is easy to access, you can fix the posts from behind, but you may need to remove some pickets if you have to fix the posts from the front side.
- The parts of the fence which are mostly sagging are the section where the posts may be broken.
- Check the base of each broken post to find out whether that has rotted or not.
Install New Posts
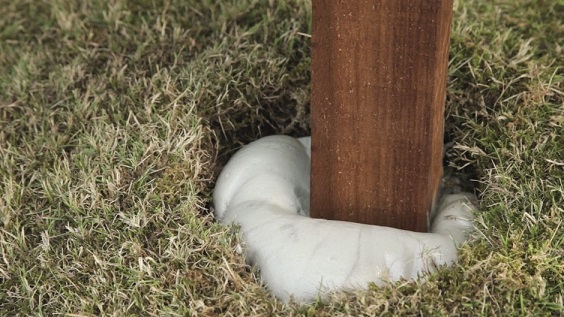
Instead of removing the old posts, you just need to install a new one close to it. It’s a better alternative in case you may cause more damage by removing the damaged posts.
- Dig the hole for the new posts by using a wrecking bar.
- The rule of thumb is that the depth of the hole should be around 2 to 3 times from the diameter of the new posts.
- Measure the length from the bottom of the hole to the upper rail, then use this measurement to cut the posts.
- Attach some screws to the bottom of the post (the part that will be buried in the ground) to give more strength.
- Put the posts that you have cut to the holes, use a 4-foot level to plumb it, and secure it to the rails with 3-1/2 inches screws.
- Pour the concrete mix into the hole. Make sure not to overwater it, you need a dense consistency to get a strong post base.
Put Back the Pickets
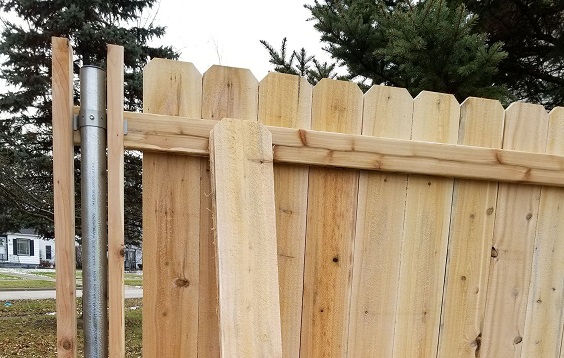
This step is for you who have to remove the pickets to fox the posts, you need to reattach them to the fence.
- Use 2-inches exterior timber screws to attach the rails to the rails and posts.
- You just need a couple of screws to attach the picked to each rail.
- You may need to buy new pickets if the old ones are not good enough to reattach. Make sure that the size of the pickets fits the space.
(Check this out: Here’s How to Soak Up Water in Backyard with Only 4 Simple Steps)
Those are the steps that you need to fix a leaning fence. Now, you just need to wait until the concrete dry enough (it takes at least 48 hours in a windy day). Then, you can test the strength of the fixed fence.
The tutorial on how to fix leaning fence above is fairly easy to follow that you can do it all by yourself at home. Just make sure that you put everything in place to get a new fence that will last for years to come.