Who doesn’t want to have a bathroom that is free from unpleasant odors and moisture that might cause mold and mildew? Keeping a bathroom to stay clean is a must but making it odorless is another point that you don’t want to miss. Having adequate ventilation for a bathroom is very important to keep the bathroom’s airflow circulating well. Of course, windows are the best options to change air naturally.

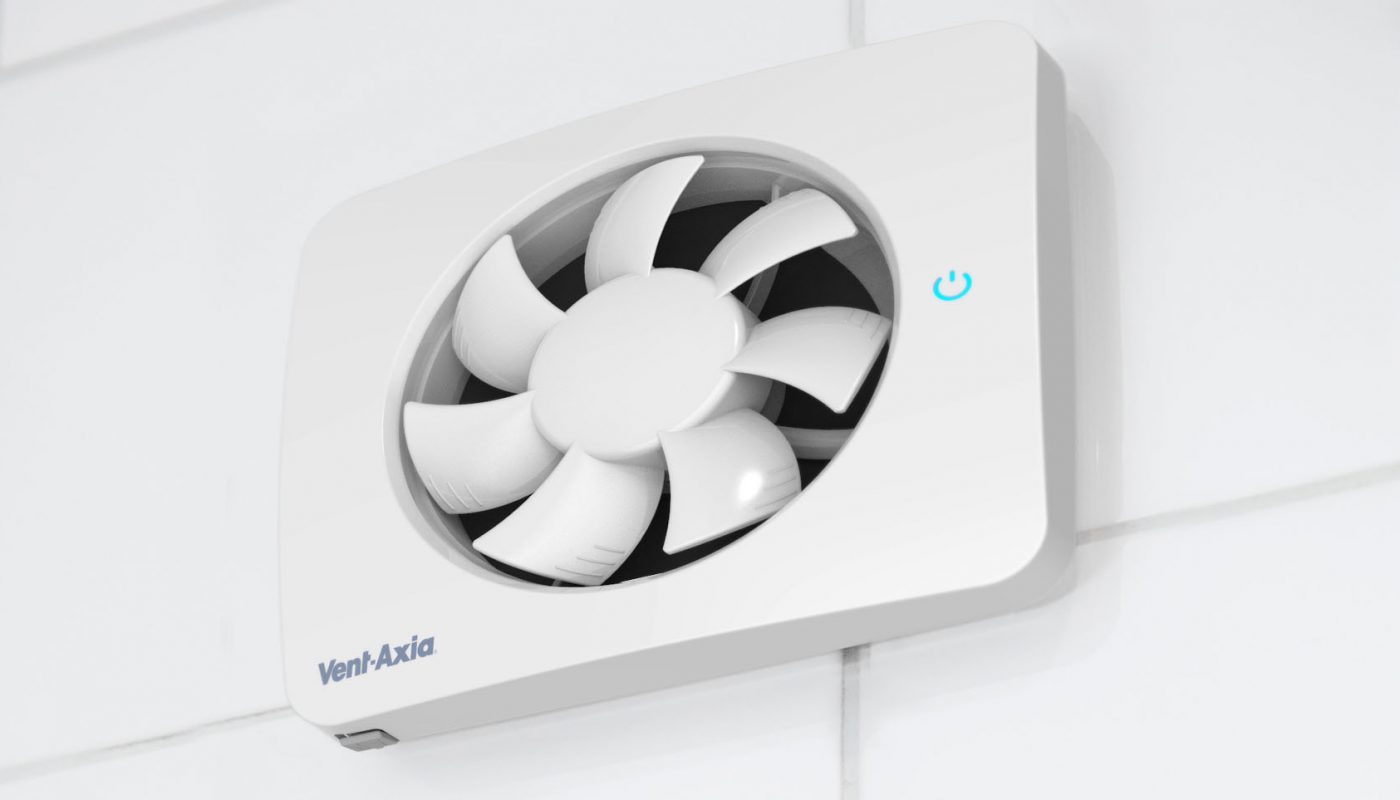
However, it will be a whole different story for a bathroom without windows because you have to use exhaust fans instead. Another issue you have to face when your home doesn’t have an attic is that you won’t be able to vent out the air through the roof. Installing a bathroom fan without attic access is not easy but it’s possible to do it by yourself. If you’re afraid to start it, we highly recommend you contact the nearest professional.
(You might love these: Here’s How to Make a Butterfly Garden with Only 5 Steps | Fun DIY Project)
How to Install a Bathroom Fan Without Attic Access
Professional Installation
Again, since installing an exhaust fan without attic access needs extra care and skills, you might consider calling a pro. On average, the installation process of a new exhaust fan will cost you around $375 with the range between $240 to $550 depending on the model that you choose.
DIY Installation
If you’re planning to get this job done by yourself, please prepare some tools and supplies below:
- Screws
- Screwdriver
- Hanger bar
- Electricity tester (optional)
- Brackets
- Caulk or metal foil
- Zip tie or foil tape
- Bushing or grommet
Step 1: Measuring the Size
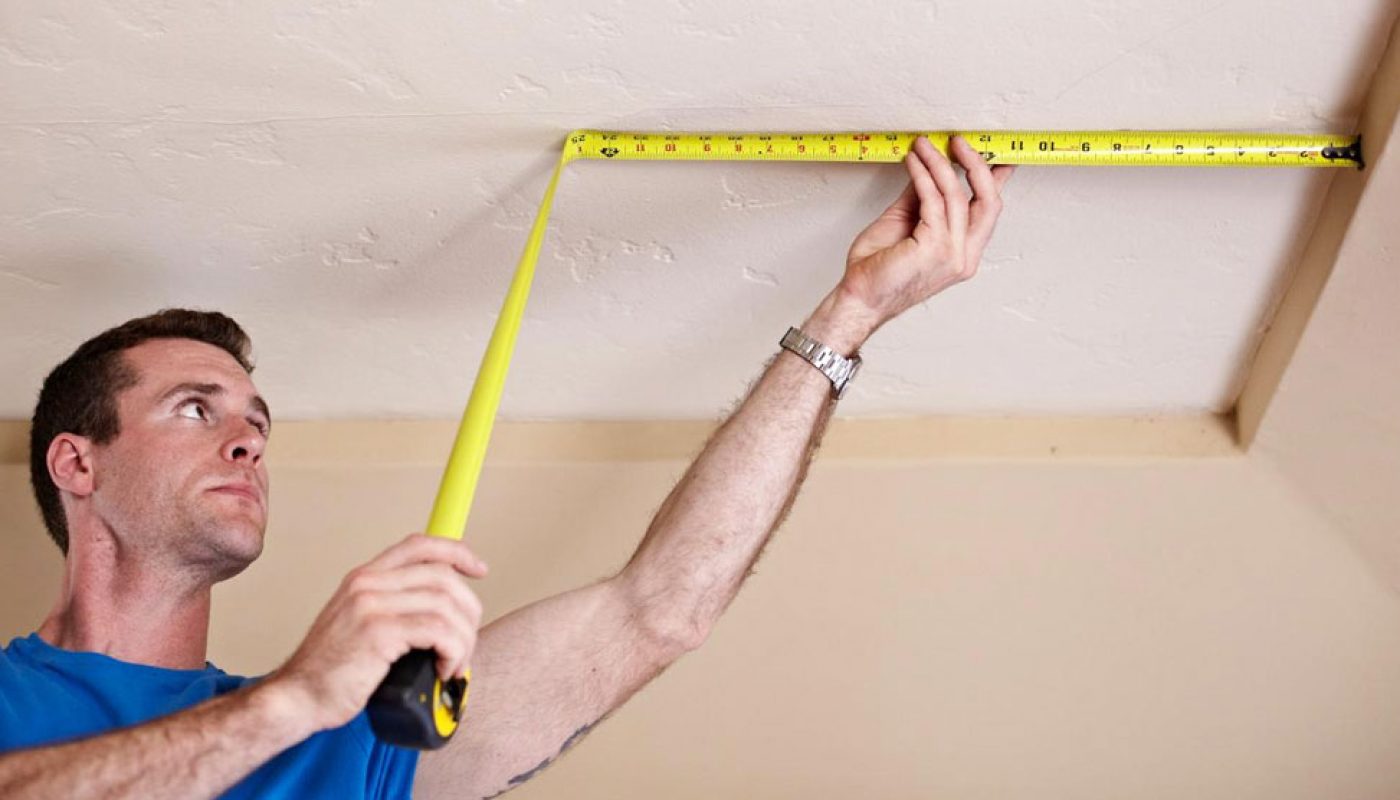
Before replacing or installing a new fan, you have to make sure that the fan’s size matches the housing. The housing is usually placed between the drywall.
- Before purchasing a new fan, if you’re replacing an old fan, choose a new fan that has the same size to eliminate the need of enlarging the ceiling hole.
- Meanwhile, if it’s a new installation and you have already purchased the fan, you can still measure it and make the right size on the ceiling.
(You might love these: How to Get Rid of Ants in Garden Without Killing Plants with Only 3 Steps)
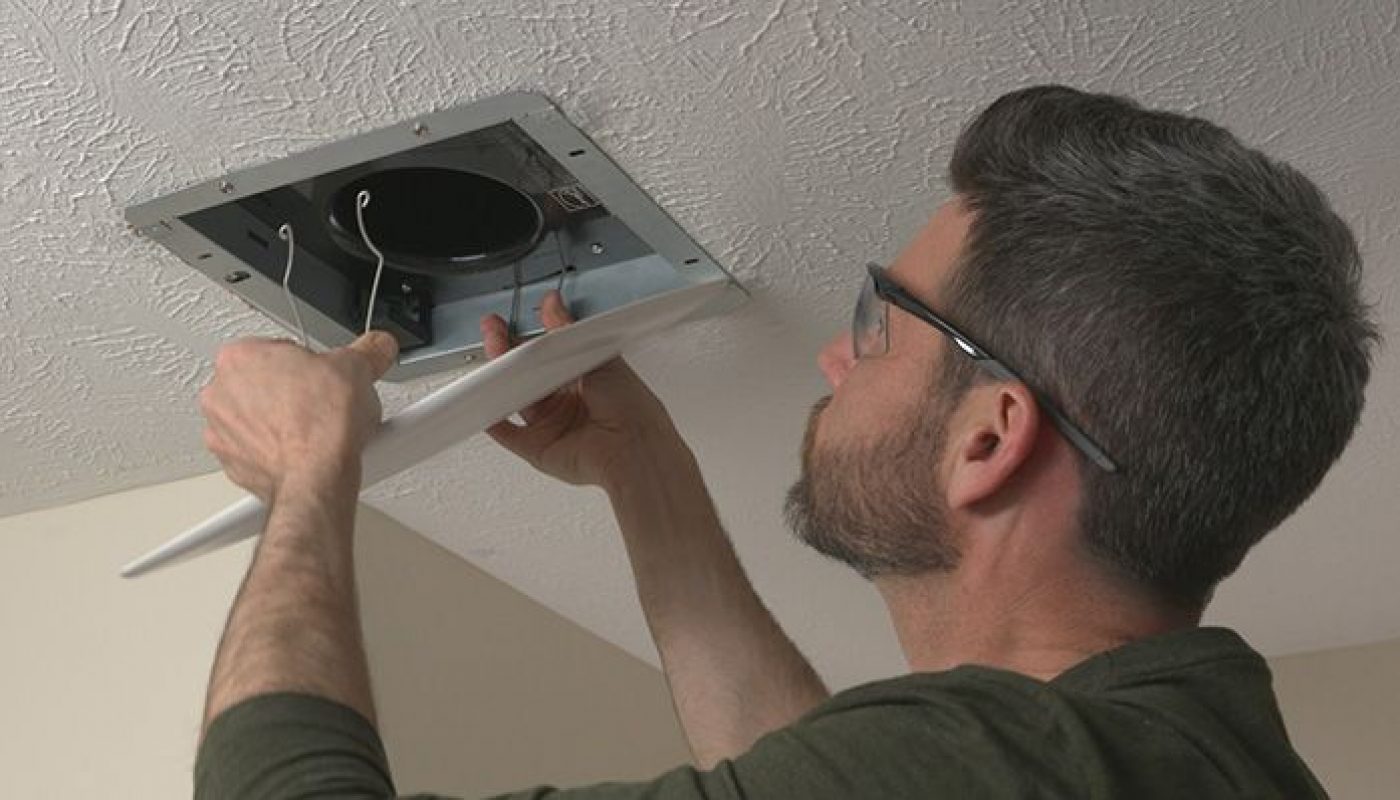
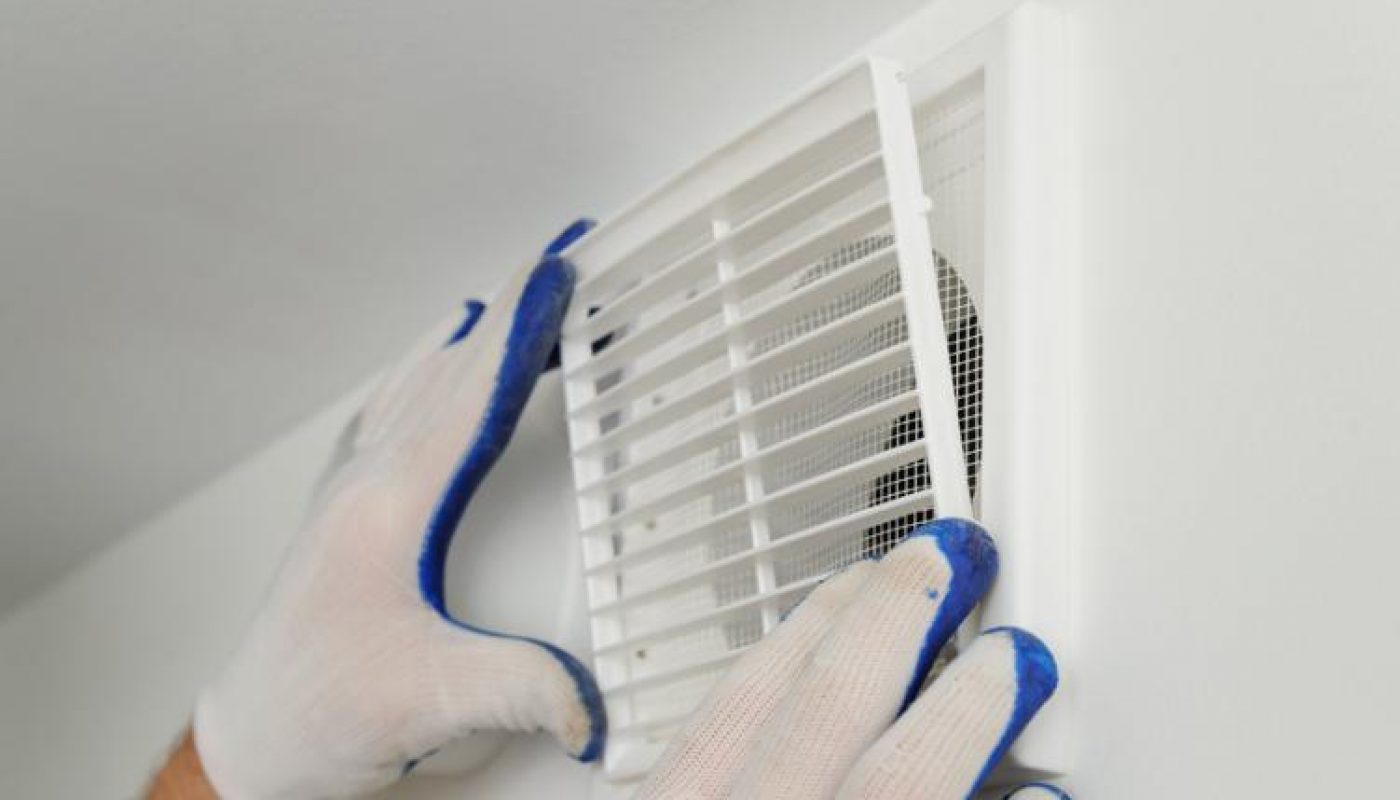
Step 2: Remove the Cover
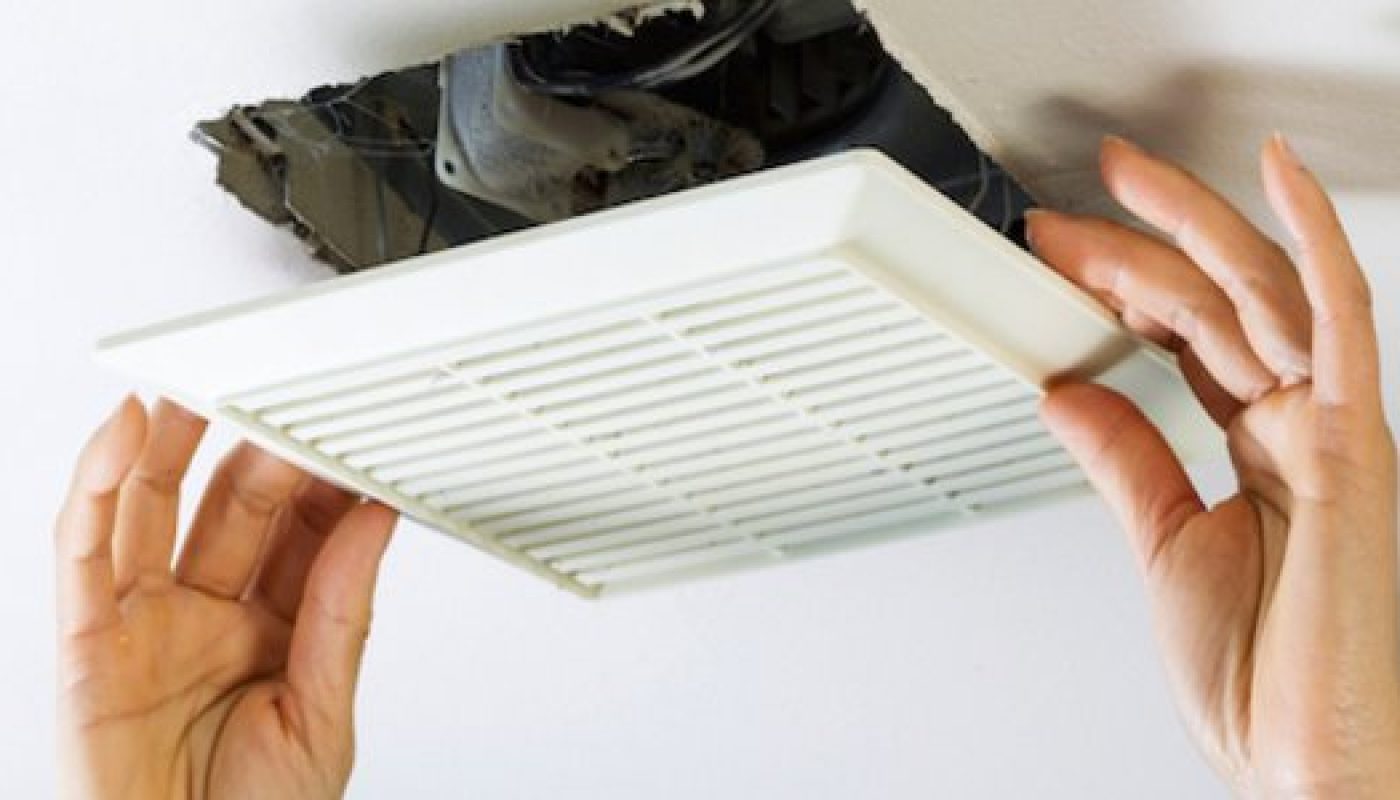
- Please ensure that there is no more electricity flowing (use a tester).
- Take off the grill or cover to the exhaust fan by pulling it down on the cover.
- Squeeze the metal clips that hold the housing in place, allowing the cover to come off easily.
Step 3: Take off the Junction Box (Optional)
This is an optional step if your new exhaust fan has one, if it doesn’t then you can skip this step.
- This step is where the wiring from the home gets pulled through so that it can be connected to the new motor.
- Please make sure to secure the wire by using a bushing or grommet to prevent damage to the metal edge.
Step 4: Connect the Duct Connector
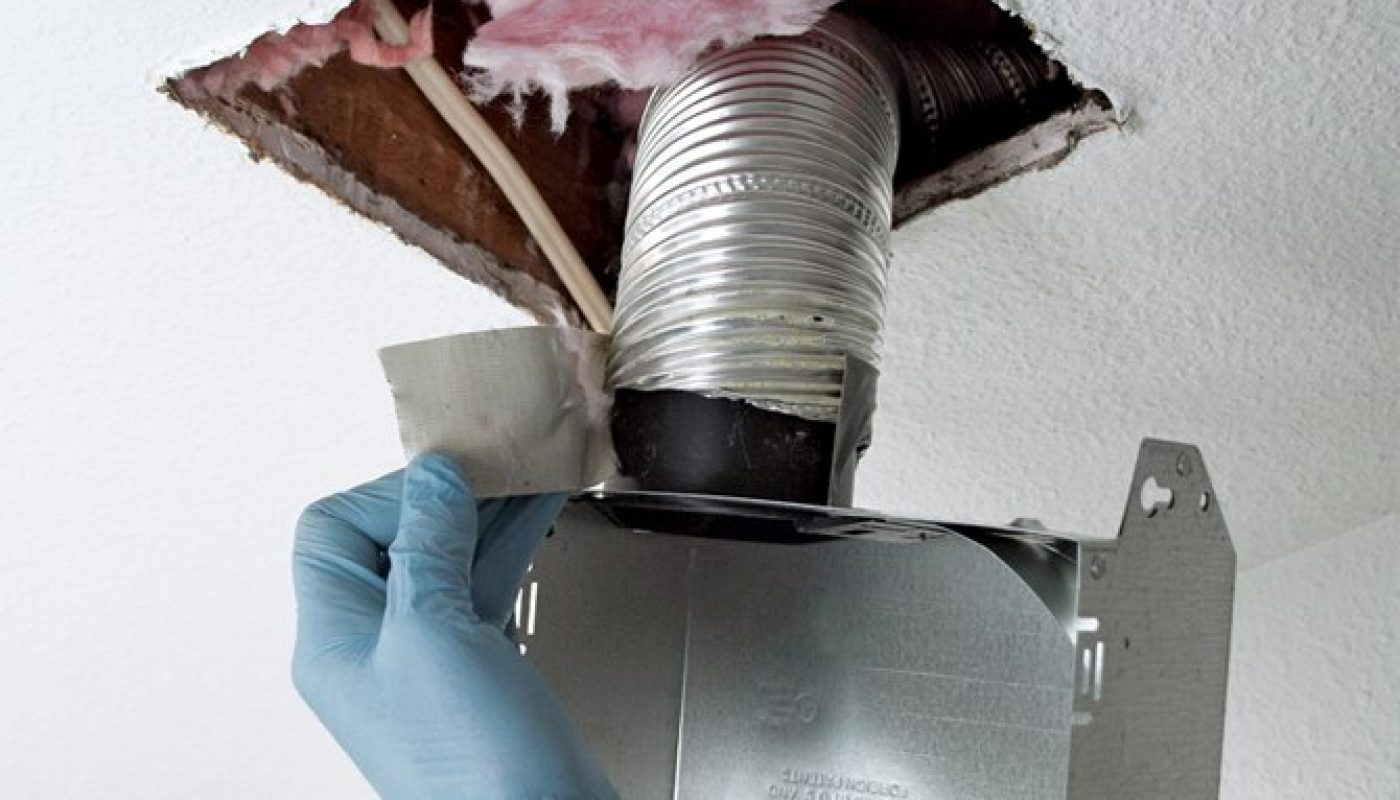
There are two methods on how to connect the duct connector to the new fan. To get the right instruction, read the manufacturer’s guide that comes with your new fan to make sure that the flaps are downward so it lets the air go out, not come back in.
- The first one is by connecting the duct to the connector with a zip tie or foil tape. If you use this method, line the housing assembly up with the flapper when the housing has become secured to the joists.
- The second method is connecting the flapper to the housing. You can push the entire housing up into the ceiling to make sure that it’s connected to the duct perfectly, then secure the assembly right after.
(You might love these: How to Keep Rabbits Out of Garden Home Remedies with Only 5 Steps)
Step 5: Secure the Housing
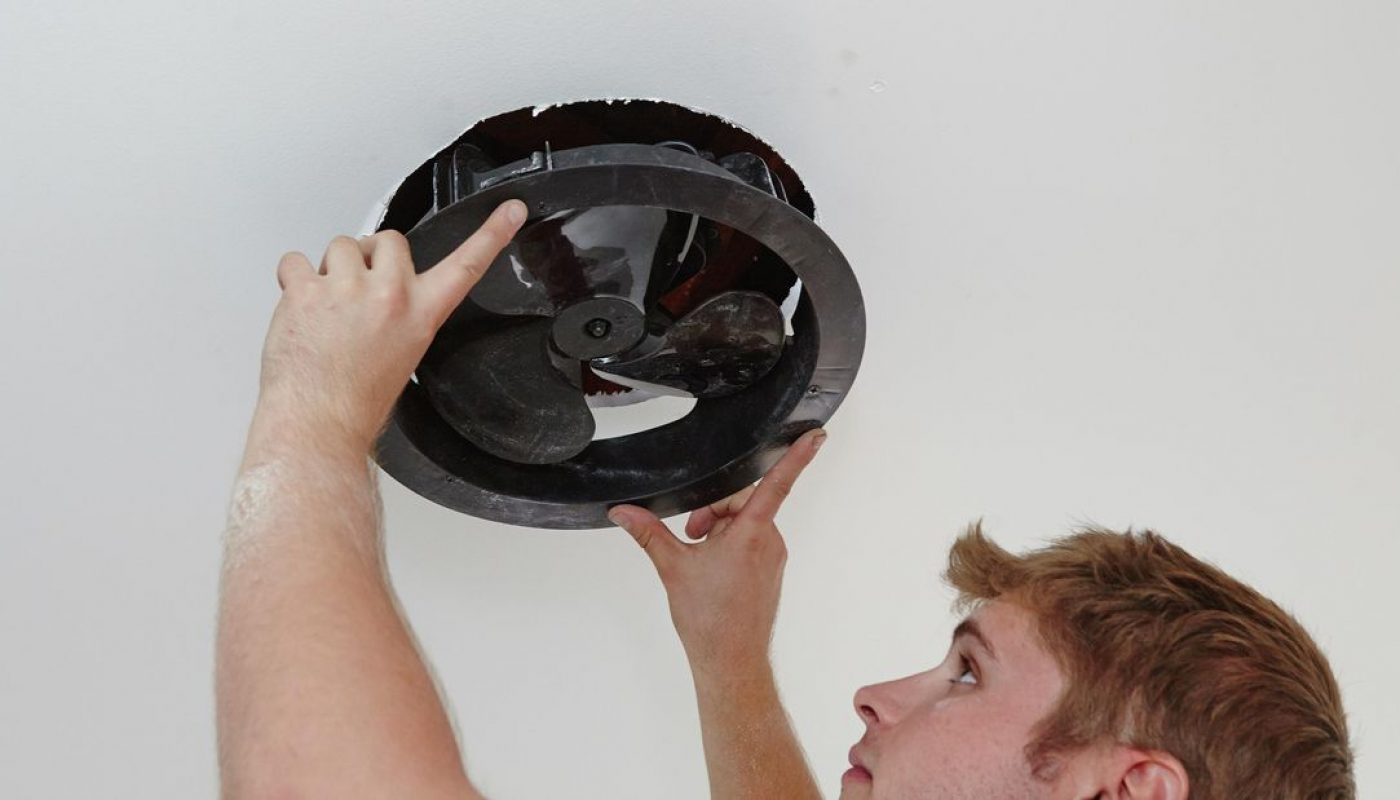
The next step is securing the housing to the ceiling joists. Some bathrooms have fast install brackets or a hanger bar that comes with the new exhaust fan.
- If there are no brackets, just secure at least one side of the fan housing to a ceiling joist.
- Meanwhile, if your new fan doesn’t come with a hanger bar, use screws to tighten up one side of the housing into a single wood joist.
- Since most bathroom exhaust fans are lightweight, securing one side of them is enough.
Step 6: Connect the Wire
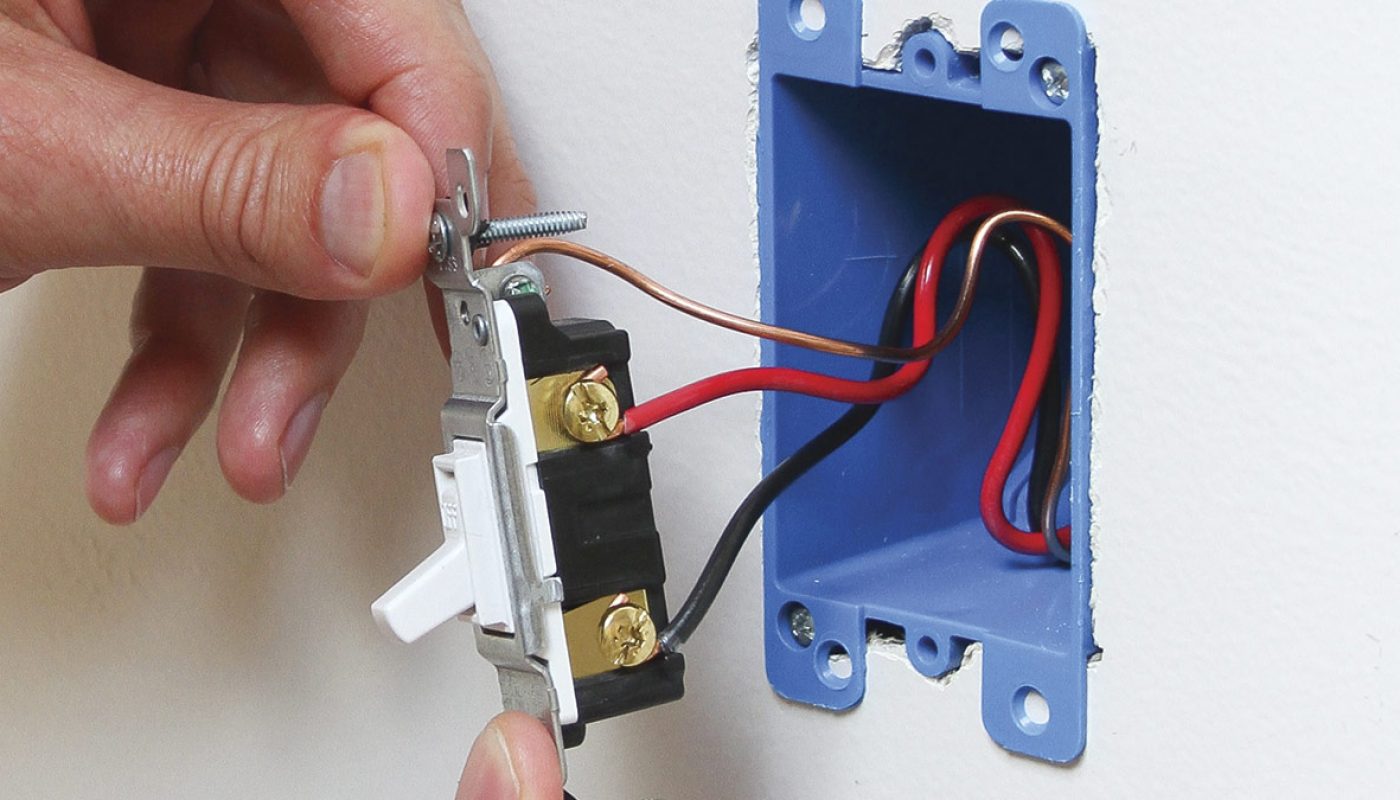
Once the housing is secured to the joists, you can start connecting the wire.
- Remove the wiring cover from the housing.
- Once it’s removed, use a screwdriver to remove the knockout plug.
- Take out the wiring and fasten the cable clamp to the wiring cover.
- Pull the wires coming from the house through the clamp.
- Secure it in place with screws or wire nuts that are included in the new fan kit.
- Remember to match the wires when connecting them.
- Once you’ve connected everything, push the wiring back into the ceiling or storage compartment that some housing has.
(You might love these: 9 Effective Ways on How to Keep Squirrels Out of Garden | DIY Project)
Step 7: Seal Any Gap
Now the step is coming to the end by sealing any gap to avoid any air leaks.
- Grab caulk/metal foil/metal tap to seal around the edge of the new exhaust fan housing.
- Reinstall the fan cover or grill by clipping it into place.
Step 8: Test Out the Fan
Now that you’ve completely installed the fan, it’s time to test it out to know if it works properly.
- Turn the power back on and flip the switch to the fan.
- If you can’t hear the fan running, you may want to check the wiring once again.
- If the fan is running and you can clearly hear it, then your job is done.
(You might love these: 7 Easy Steps on How to Keep Dog from Digging under Fence | DIY Project)
Installing a bathroom exhaust fan is easy for some people but the whole story is different when you don’t have attic access and it becomes more complicated. It’s indeed complicated but doesn’t mean that you can’t do it by yourself, especially if you’re the type who loves a DIY project.
However, if any step seems too complicated or risky, please consult with your trustworthy technician or professional in your area!