As homeowners who live with furniture inside a house, you will be facing a few problems that will happen to your furniture like peeling, scratching, worn, and other signs that show that your furniture needs reparations. Even before deciding on buying a new one, you would probably think to repair or repaint it first to save more budget. Painting your furniture can be a good benefit to refresh its appearance and even update the ambiance of your room.
Just like the furniture in the other rooms, the one in your bedroom also needs a touch. Just because it’s not visible to other people, doesn’t mean that it doesn’t need maintenance to update its face. A makeup table, chair, bench, cupboard, and other furniture in your bedroom also need your attention. If you’re looking for guides to repaint your bedroom furniture, keep scrolling down this page to find out more!
(You may want to read this: How to Level Ground for Pool with Only 6 Steps | Fun DIY Project)
Before calling a pro to get this job done, read this tutorial first to help you repaint your bedroom furniture to get a new face!
How to Paint Bedroom Furniture
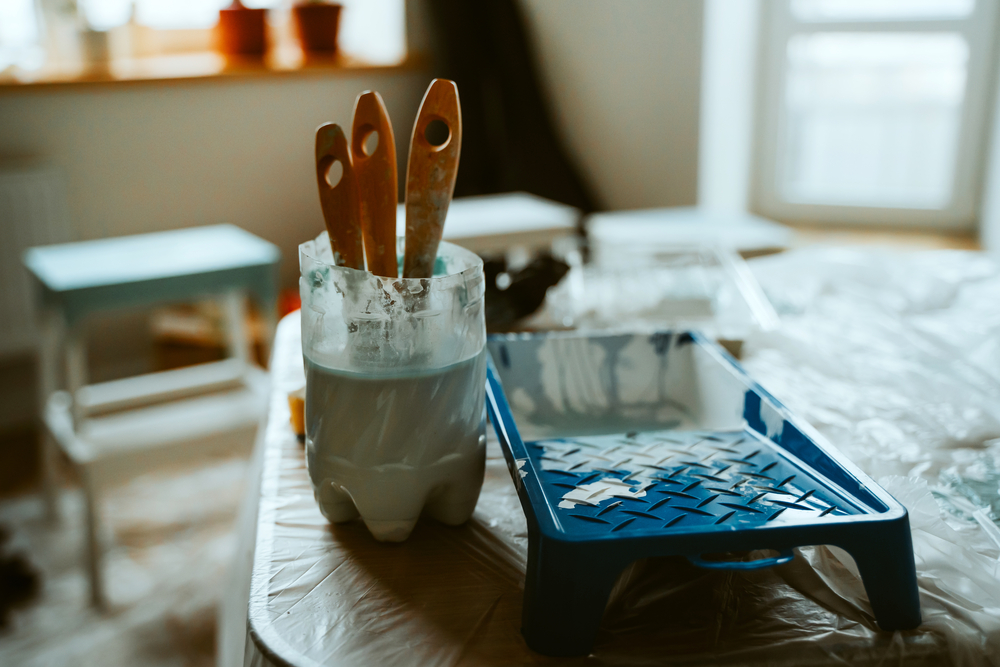
There are a few tools and supplies that you need to prepare to do this job. Don’t worry because you can get these supplies easily from the nearest hardware or home decor store. Those tools and supplies are:
- Sandpaper
- Paint primer
- Paint
- Polyurethane/polycrylic
- Brushes
- Paint roller
- Dropcloth/soft cloth
- Screwdriver (optional)
- Scrapper (optional)
Disassembling
First of all, you will have to disassemble all the parts to make your job becomes easier if you’re going to repaint a cupboard that has screws to assemble each part. All you have to do is:
- Since this job involves some chemical products, you will have to make sure that the area or room that you’ll be using is well-ventilated. We recommend you do this outdoor either in the front or backyard.
- By using a screwdriver, take out all screws from the door or inner shelves
- Make sure that you place them in a safe place so you can smoothen them later
(You may want to read this: How to Raise Cyanuric Acid in Pool with 3 Simple Steps Safely)
Sanding
Having a great surface will definitely affect the result of your painting finish. To make sure that you get this, the steps that you have to do are:
- Before starting the process, you might want to lay the drop cloth to protect the base that you use (grass, patio, porch, etc.)
- By using medium-grit sandpaper, please make sure that the surface of the furniture is clean and smooth from any debris
- Once you’re done with this step, clean it with another clean soft cloth to remove debris from the surface
- If you spot any stain, you would need to use a scrapper and again, use a clean cloth to wipe away debris on it
(You may want to read this: How to Take Care of Your Yard: 14 Useful Lawn Mowing Tips)
Priming
The next step is to prime the surface that has been sanded because just like how you paint walls, you want to have a smooth painting process. Before applying the primer, please make sure that you have the correct primer type for each surface material so the result will perform the best.
- Apply the primer evenly to the smooth surface that you have sanded before
- If you’re going to re-apply another layer, please make sure that the first layer dries perfectly
- If there’s a certain part that needs detailed work, you could use a smaller brush
- Wait until the primer dries and you’re ready to move to the next step
(You may want to read this: How to Remove Fence Post That is Rotten All by Yourself with Only 3 Steps)
Painting
Once the primer is dry and set, you’re ready to paint with the paint that goes well with each wood type and finish that you want. The following steps are:
- By following the paint’s instructions, get enough amount of paint for your furniture
- For the first layer, you might need two layers of paint to your furniture looks flawless and smooth
- Some people prefer to use a paint roller to give a smoother finish and prevent strokes
- Even if you use a brush at first, you can still use a roller at the last layer to wipe the strokes
- Let the paint dries for the last step, which is finishing
Finishing
The last step is finishing all the processes with polycrylic or polyurethane, based on your needs. The difference between these two products are:
- Polyurethane has two types of bases; oil and water. Oil-based polyurethane is durable, resistant to high heat, and best to encounter moisture which is suitable for furniture that gets a lot of use or wooden outdoor furniture. Meanwhile, water-based polyurethane dries faster and is less odorous but is not really resistant to high heat and water.
- Polycrylic is a water-based product that is less smelly and dries as fast as water-based polyurethane and doesn’t tolerate high temperatures and water.
However, both products have various finishes that you can choose from; satin, gloss, and high-gloss.
(You may want to read this: 9 Easy Steps on How to Acid Wash a Pool All by Yourself)
So those are some simple guides that you can do to repaint your bedroom furniture. Instead of buying a new one, repainting is indeed the most affordable method to update the look of any furniture. By repainting your furniture, you can choose the paint color and finish based on your needs and preference.
The process is basically just the same as how you paint other pieces of furniture, disassembling if possible, sanding, priming, painting, and coating. Repainting bedroom furniture will be a great solution if you’re the type of person who loves to change the color of the room based on the season or latest trend. Now, save your money for other stuff and start repainting your bedroom furniture for a new look!
(Image source: depositphotos.com)


