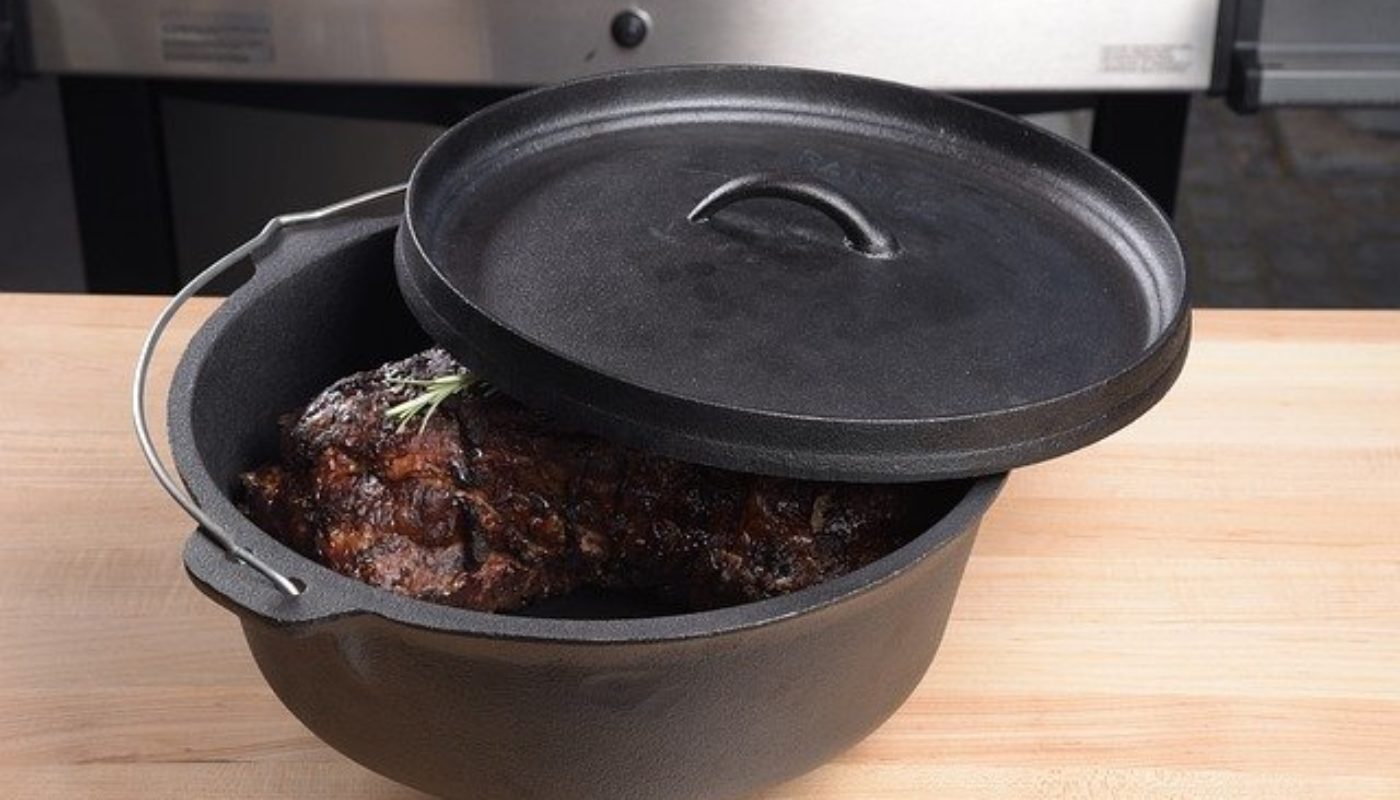
Purchasing a high-quality cast iron Dutch Oven, such as these great examples from the crumble company is one of the best investments you’ll ever make. Cooking with cast iron allows you to prepare perfectly tenderized meat via searing or slow cooking. You’ll quickly find it is the only pot you need in your kitchen!
However, when you first purchase your Dutch Oven you’ll find that you need to season it before using it.
Why Season Your Cast Iron Dutch Oven
Cast iron is a heavy metal, which means if it is introduced to water and air it will start to rust. Of course, the cast iron is thick and will take time to develop holes. But, that is the last thing you want from your high-quality pan.
Seasoning effectively coats the pan or Dutch oven with oil, this effectively seals the cast iron and prevents it from rusting. You’ll know when a cast iron pan is seasoned because it will be coated black on the inside. That’s a good sign as your Dutch Oven will last longer.
Seasoning Your Cast Iron Dutch Oven
Many modern cast iron appliances come pre-seasoned. But, that doesn’t stop you from doing it again.
While some people will tell you that the best approach is to start cooking and this will season or coat the cast iron every time you use it, it’s advisable to do the following first.
- Clean First
Even though your Dutch Oven is brand new it’s a good idea to give it a good scrubbing with soap and water. This removes any contaminants that have been picked up in transport or while it has been in your cupboard.
- Oil It
Next, you’ll want to add a thin layer of cooking oil to your pan. It doesn’t matter which type of oil you use, you can choose the one that you usually cook with. Your pan is about to go into the oven upside down, you don’t want to use too much oil! Just enough to cover the base is all you need.
- Put It In The Oven
You can now place a sheet of aluminum foil at the bottom of your oven and put the Dutch Oven upside down on the top shelf, the lid should go with it. This will collect any oil and prevent it from ruining your oven.
You can now turn your oven to 200°C and leave the Dutch oven in there for one hour. You are likely to see smoke coming out of the oven as the oil burns. It’s a good idea to do this in the daytime when you can have the windows open and let the smoke out.
Once the Dutch oven has been baking for one hour turn the oven off and leave the Dutch oven in it for at least thirty minutes. This continues the seasoning process and the metal will be far too hot to touch!
After thirty minutes or longer have passed, removed the Dutch oven and the seasoning is done, it’s ready to use.


