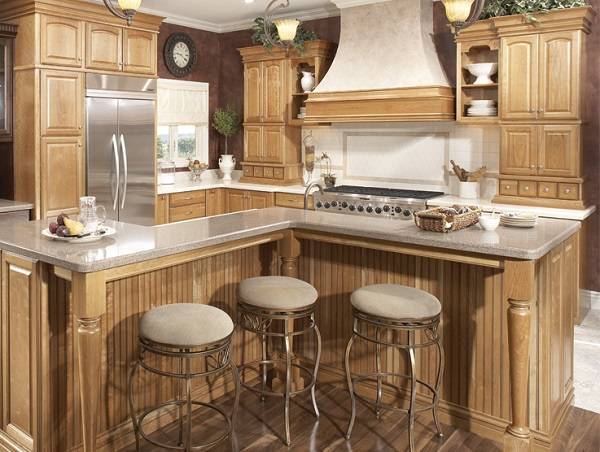
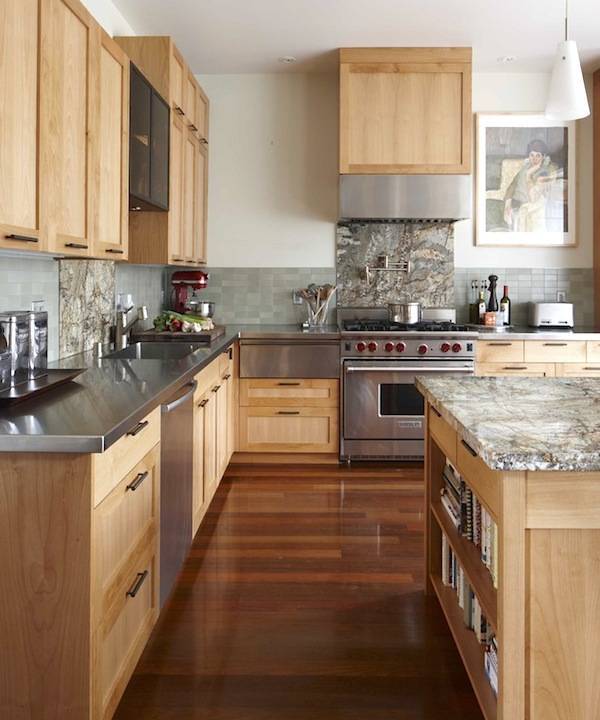
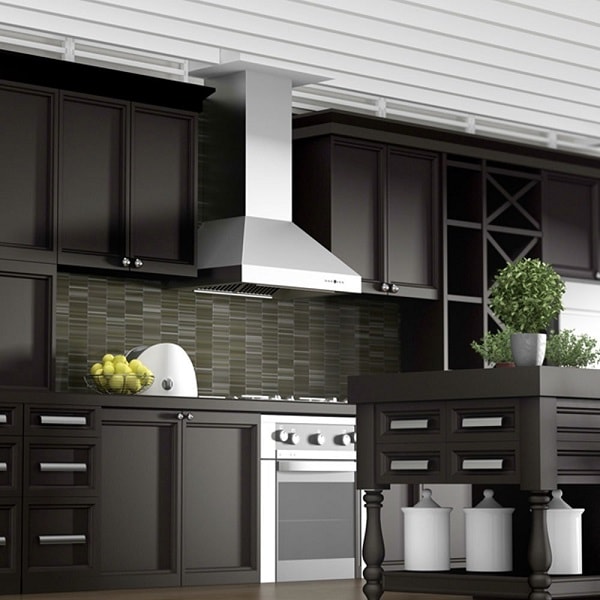
The kitchen is often the heart of the home, and if your cabinets are looking tired and outdated, a fresh coat of paint can breathe new life into the space. Painting kitchen cabinets is a cost-effective way to give your kitchen a makeover and create a more modern and appealing atmosphere. However, it’s important to approach this project with careful planning and proper technique to achieve a professional-looking finish. Here’s a step-by-step guide on how to properly paint your kitchen cabinets for a stunning transformation.
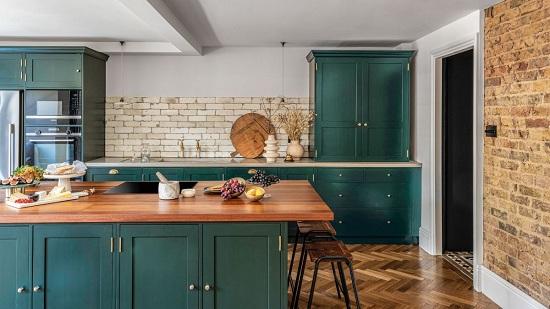
How to Properly Paint Your Kitchen Cabinets for a Stunning Transformation
-
Preparing the Cabinets
Before you start painting, thorough preparation is key. Remove all cabinet doors, drawers, and hardware. Clean the surfaces using a degreasing cleaner to remove any built-up grime and grease. Sand the surfaces lightly to create a smooth, paint-ready texture. Fill any holes or imperfections with wood filler, and then sand again to ensure a consistent surface.
-
Choosing the Right Paint
Selecting the right paint is crucial for a successful cabinet painting project. Opt for a high-quality, durable paint that is specifically formulated for cabinets. Water-based acrylic paints are a popular choice due to their durability, quick drying time, and ease of cleaning. Semi-gloss or satin finishes are ideal for cabinets as they are resistant to moisture and easy to wipe clean.
-
Priming the Cabinets
Priming is an essential step to ensure proper adhesion of the paint and achieve a smooth, even finish. Use a high-quality primer that is compatible with both your chosen paint and the cabinet material. Apply a thin, even coat of primer to all surfaces and allow it to dry according to the manufacturer’s instructions. Sand lightly after priming to further smooth the surface.
-
Painting Techniques
When it’s time to paint, use a paint sprayer for the smoothest and most professional-looking finish. However, if a sprayer is not available, foam rollers or high-quality brushes can also yield excellent results. Apply thin coats of paint in the direction of the wood grain for a smooth appearance. Avoid overloading the brush or roller to prevent drips and uneven coverage. Allow each coat to dry thoroughly before applying the next.
-
Cabinet Doors and Drawers
Painting cabinet doors and drawers separately allows for better access to all surfaces and ensures a more even finish. Use a labeling system to keep track of which door and drawer belongs to which cabinet. Apply the same preparation, priming, and painting techniques to the doors and drawers as you did to the cabinet frames.
We would also recommend this : Rustic Elegance on a Budget: Inspiring Farmhouse Kitchen Sink Ideas
-
Reassembly and Finishing Touches
Once the paint has dried and cured according to the manufacturer’s instructions, reattach the cabinet doors, drawers, and hardware. Take your time to ensure everything lines up properly and the doors open and close smoothly. You can also consider adding new hardware for a complete updated look.
-
Maintenance and Care
Properly painted kitchen cabinets can look stunning for years to come with the right maintenance. Avoid using harsh chemicals or abrasive cleaners that can damage the paint finish. Regularly wipe down the cabinets with a damp cloth to remove dust and spills. This simple upkeep will help preserve the beauty of your freshly painted cabinets.
In conclusion, painting kitchen cabinets is a rewarding project that can transform the look of your kitchen. By following these steps, from thorough preparation to careful painting techniques, you can achieve a professional-quality finish that rejuvenates your space and adds value to your home.
