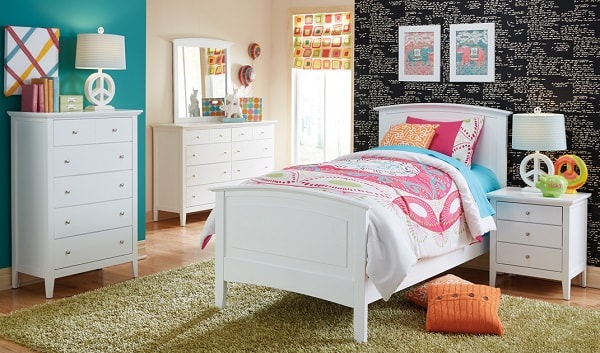
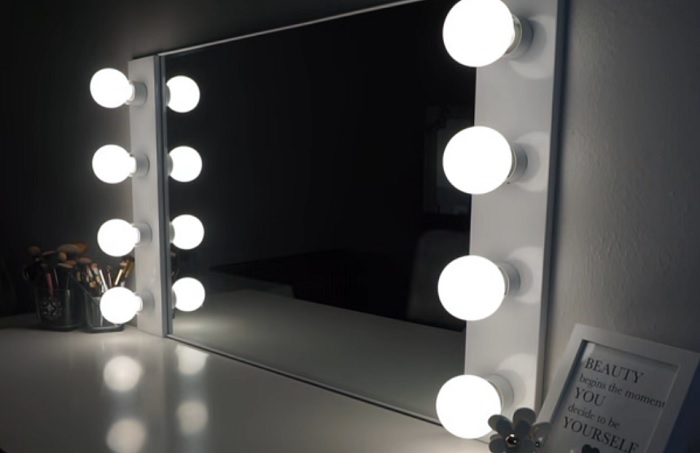
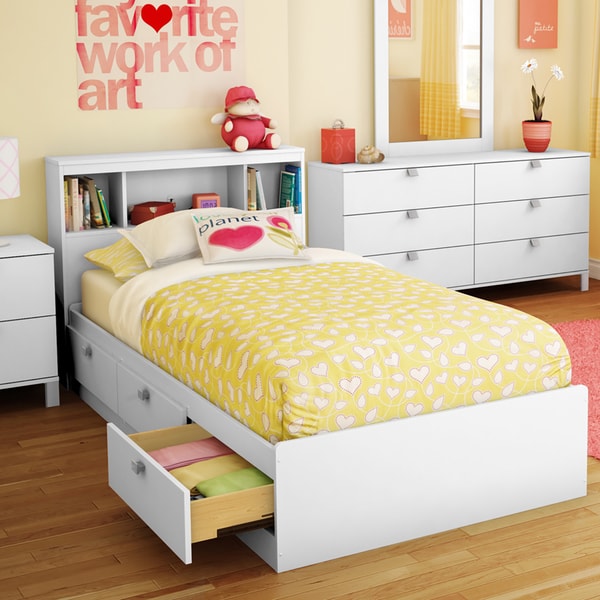
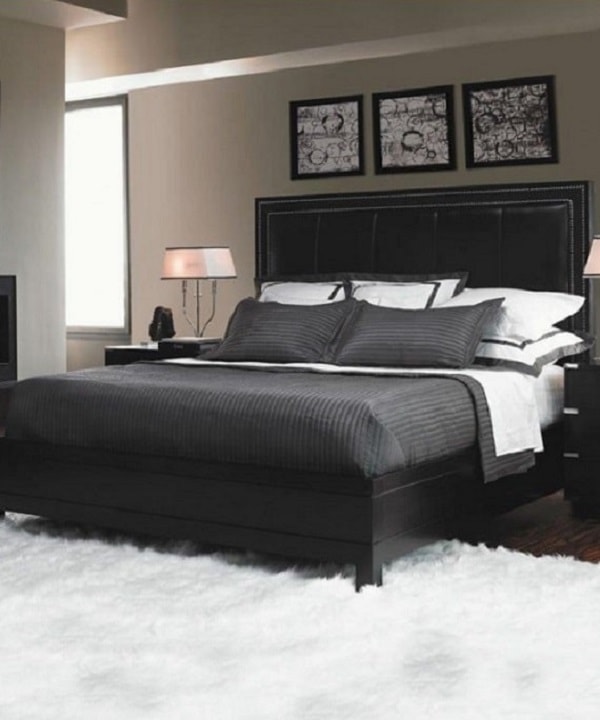
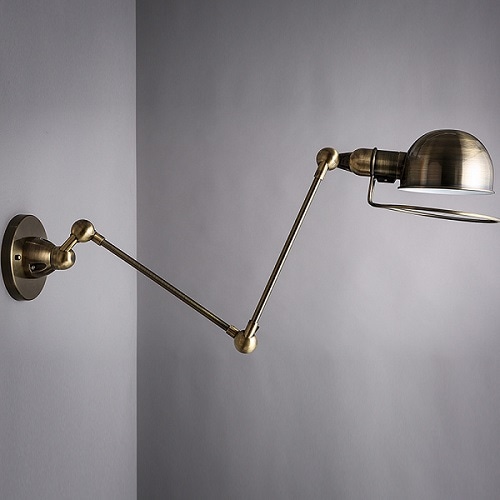
Having the comfortable zone for reading is actually as the people’s desire. Commonly, the reading zone is set in the bedroom with lamps to get enough light. Of course, many people apply the wall-mounted reading lamps for bedroom as good as possible.
Are you interest in setting the reading lamps in your bedroom? If you are planning to do it, certainly, you must know the ways how to install it well. Therefore, we are going to show you how to set the wall-mounted reading lamps.
DIY Wall-Mounted Reading Lamps for Bedroom Installation
The Tools You’ll Need
- Bracket
- Sconce
- Lampshade
- Wall Anchor
- Screws
The Steps in Installing the Wall- Mounted Reading Lamps
Step 1
Prepare the all materials, hardware and the tools that you will need.
Step 2
The first way, we want to take the bracket and measure the distance from the headboard on the wall. Well, you have to take a pencil to find a comfortable spot for the bracket on the wall so that we have clearance spot. It is not only for sconce assembly but also for the lampshade that will be mounted onto the sconces. So, it will look so comfortable to take a spot.
Step 3
Then, take a pencil and trace the holes. Now, we want to just take a level and make sure that everything is right on. Don’t forget to scan the wall wit wall scanner-stud finder, before drilling.
Step 4
Next, we want to take a drill to drill bit the wall. Then, make a small pilot hole to see. If you do not have a stud, you can mount the wall using a wall anchor.
Step 5
Now, we are starting to make holes and fill another pilot hole. Then, change over to apply the wall anchor into the drill. Make sure that you mount these into right pilot holes that we just drilled. Continue the steps until all wall anchors installed.
Step 6
With the screws provided, we are going to screw those into the wall anchors but not all the way. You have to do this one by one carefully to strengthen the screw into the wall anchor.
Step 7
After that, take the bracket and insert it over the screws. Slide down and now we will tighten it using a screwdriver. We want this as tight as possible. Then, attach the sconce directly over the bracket, slides right on and it is held in place with three smaller screws.
Step 8
Then, twist them in just to catch with your fingers and tighten with the screwdriver. You must be careful and not use a drill here because on metal surfaces.
Step 9
Sometimes, it can scratch the actual wall fixture, so, you will want to go ahead and tighten all three screws around the bracket. It is so perfect and nice securing.
Step 10
Finally, we can go ahead and put the lamp harp on. Then, click it into the right place. Do not forget to apply the lampshade to get feeling comfortable for the headboard.
For installing this hardware, of course, you can set it in the bedroom, living room, office or anywhere you want. Make sure that you apply this in the right place and really good for a reading zone. For more detail, we also show you a tutorial video from Kristy Kay Design that gives you a clear explanation.