Modern homes often lack sufficient space. With overcrowding in urban cities, you would not find spacious apartments and houses in urban locations. And even if you do, the prices will be unbelievably high.
While small apartments can be luxurious too, it might become a little difficult for homeowners to fit in everything in that limited space. That’s why kitchen islands are becoming a popular trend with each passing day.
Kitchen islands are a cost-effective addition to your house. However, if you want to save more on them, you can build your own kitchen island from scratch. If you are not sure where to begin, here is a guide on how you can make a kitchen island on your own.
And if you want to know more about using quartz for kitchen islands, then visit https://www.caesarstone.ca/blog/quartz-countertops-the-comprehensive-guide-2/ for a comprehensive guide.
Things To Keep In Mind While Building a Kitchen Island
Before we start with the process, there are three things that you should keep in mind before you embark upon this journey.
Your Budget
Deciding your budget is one of the first steps in the process. It is your budget that will govern the next steps. Whether you have to determine the size and shape or the added features, everything will depend on your budget.
If you are wondering how much a kitchen island might cost, here is a little guide for you. If you are running on a tight budget, you can get a small yet useful kitchen island from IKEA installed at just $500.
However, if you are looking for kitchen islands with storage units and hobs, you will need a budget of at least $3000. There is really no upper limit for kitchen Islands. If you want a luxurious kitchen island with all the latest features, you can go as high as 25000 Dollars.
The Size of Your Kitchen Island
The next important thing is the size of your kitchen island. The size will not only depend on your requirement but also the surrounding kitchen appliances. Generally, it is recommended to keep at least a gap of 1 meter on all sides of the island. This will ensure that your kitchen does not feel cramped. While finalizing the size, also check if the height is suitable for all the family members.
The Design And Features of The Kitchen Island
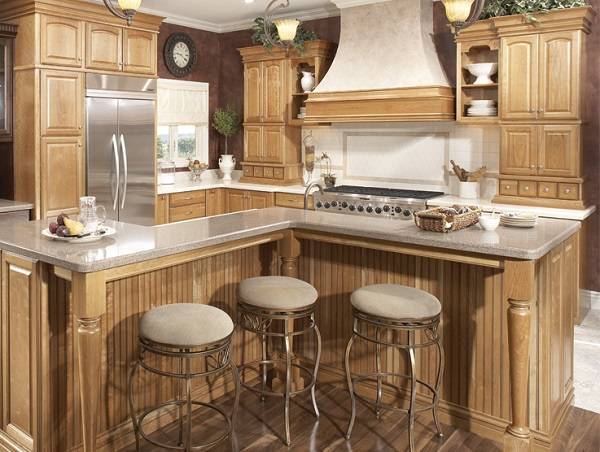
When it comes to kitchen islands, there are quite a few variations. You can get an island with hobs or stick to the regular ones meant only for dining. Certain kitchen islands also come with an overhang so that you can slide in your chairs and save a little more space.
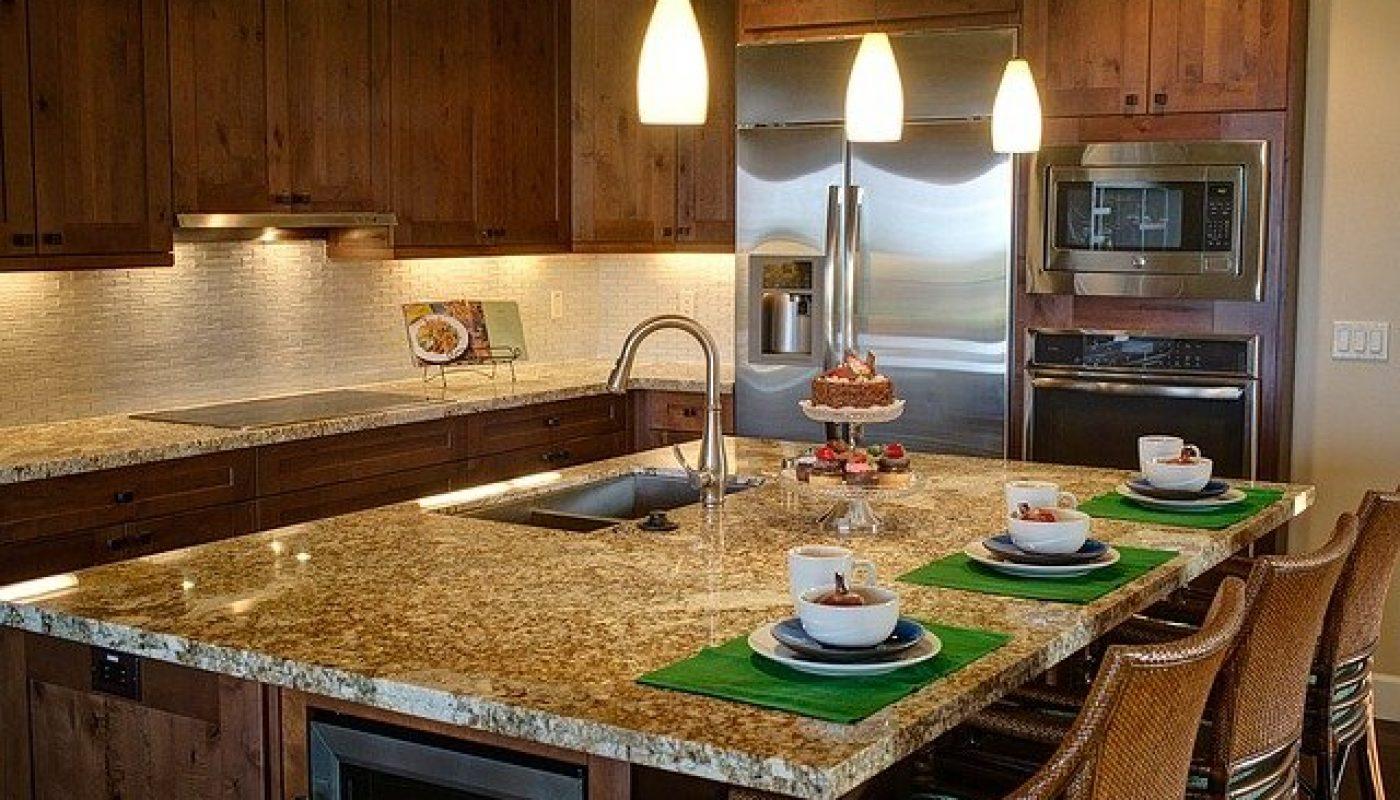
Speaking of the shape, the most common shape is a rectangle. However, if you have space, you can also opt for t-shaped kitchen Islands. There is no limitation when it comes to the material that will be used. However, quartz is a popular choice these days.
Kitchen Islands: The Ultimate Guide To Build a Kitchen Island From Scratch
Now that you know the things to keep in mind before the construction begins, here is a comprehensive guide on how you can build a kitchen island yourself.
Mark The Area And Prepare The Kitchen Cabinets
The construction begins with marking the area and measurements for the kitchen island. After that, you need to grab a couple of kitchen cabinets. You can either choose to use the old ones or get cheap new kitchen cabinets or storage units from your local Home Depot.
Screw The Cabinets Together
Once you have the kitchen cabinets in place, you need to attach a C clamp or any other makeshift clamps to them. Once that is done, put the cabinets next to each other and screw them together through pre-drilled holes on the surfaces next to each other.
Attach The Panels To The Cabinet
The next step is to attach panels to your cabinet. To do this, you will need plywood cut out in the size of the cabinets. Each of the panels should have an L-shaped bracket screwed to their feet to ensure better support. Once that is done, you need to clamp the three panels- two on the sides and one at the back to the cabinet. Use duct tape to hold the three panels together for now.
Screw The Panels To The Floor
Next, you need to screw the L-shaped brackets on each of the panels to the floor. To do that, you will need to pull out the cabinets, fixate the brackets to the floor then put them back in. Once the cabinets are back in, use more L-shaped brackets and a nail gun to attach the cabinets to the back panel.
Attach The Side Panels To The Base Cabinet And Install The Plinth
In this step, you need to drill holes through the panels to attach them to the base cabinet with the help of screws. Ensure the holes’ diameter is not as big as the screw itself because the screws need to fit in tightly to keep the parts in position.
After that, you need to install the plinth at the base of the cabinets with the help of brackets and a nail gun. The plinth will impart a smooth finish to the bottom edge of your kitchen island.
Customize It As Per Your Requirements
Your work is almost done. All that you need to do now is customize as per the requirements. If you need to install a shelf, you can use more brackets and a nail gun. You can also get it tiled or surfaced as per your choice.
Endnote
This guide is a blessing for homeowners looking for hacks to save on the kitchen installation. While the DIY method does take more time and effort, you can get it done within a couple of days at a much lower price with a little expertise. All that you need to do is follow this comprehensive guide, and you’re good to go.