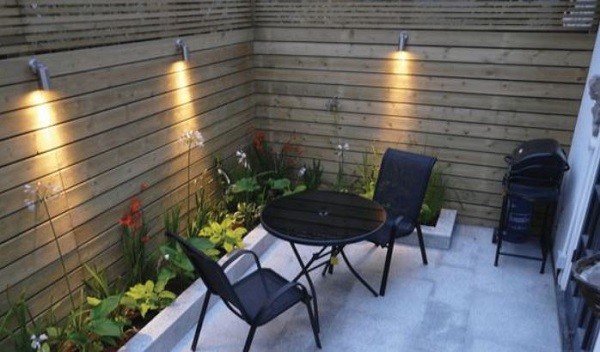
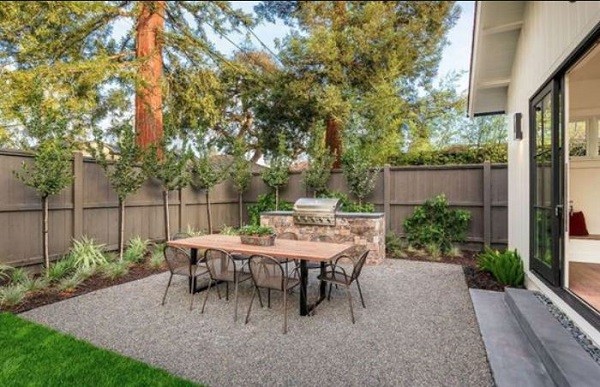
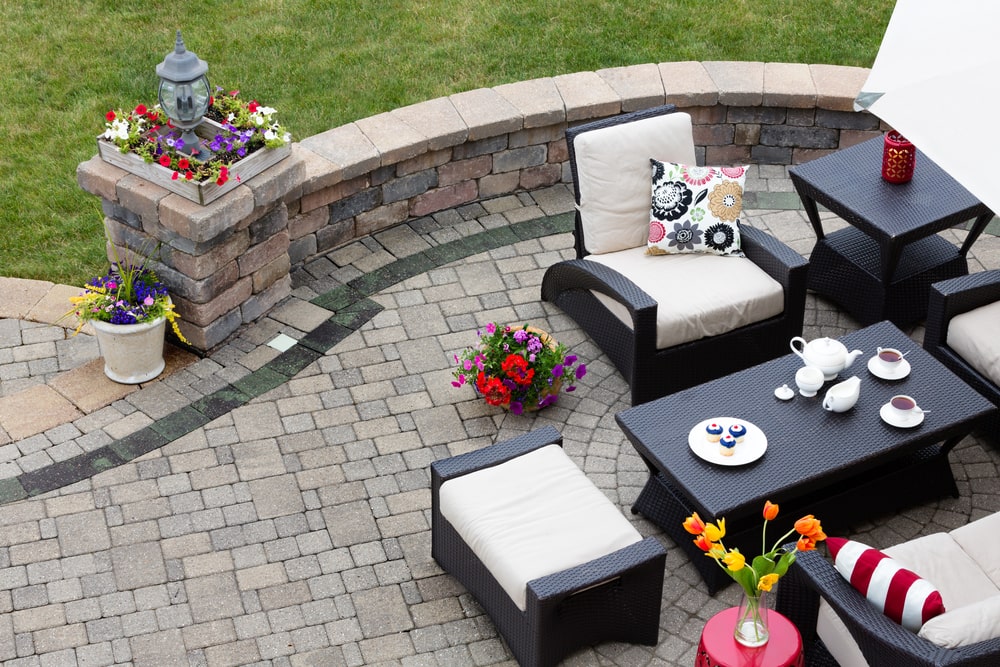
Building a patio can be a fun and rewarding experience. Not only will you have a great new space to enjoy in your backyard, but you’ll also increase the value of your home. There are many things to consider when building a patio, from the size and shape of the space to the materials you use. In this article, we will provide 11 tips that will help make your patio-building project a success!
1. Mark Utility Lines.
Before beginning, it’s important to mark off the area where your patio will be. This includes marking any utility lines that may be in the way. You don’t want to start building and then have to stop because you ran into a gas line.
2. Clear the Ground Area.
Start by removing any large rocks or debris from the area where you will be building your patio. This will make the job much easier and eliminate the risk of tripping on something while you’re working.
3. Plan for a Slope.
If your patio is going to be on a slope, you’ll need to take that into account when planning your construction. You’ll need to make sure that the patio is level, or it will be unsafe and uncomfortable to use. You can either build up the soil to create a level surface or use pavers or concrete blocks that are specially made for building on a slope.
4. Flatten and Level the Area.
This is an important step in building your patio. Use a shovel or rake to flatten the ground and then use a level to make sure it is even. This will ensure your patio is stable and looks professional.
5. Clean and Touch Up Siding.
Once your siding is clean, you’ll need to touch up any areas that are chipped or cracked. You can use a paintbrush or a roller to apply the touch-up paint. Be sure to match the paint color to your siding so that the repairs are less noticeable.
6. Lay Down Fabric Weed Barrier.
Weed barriers are an important part of patio building, as they help to keep weeds from growing up through the cracks in your patio. There are a few different types of weed barriers available, but all of them work by preventing light from reaching the soil. This prevents weed seeds from germinating and eventually allows you to get rid of the weed barrier altogether.
7. Put Down Paver Base.
A patio can provide a great place to relax and enjoy the outdoors. To build a patio, you will need to first put down a layer of paver base. This layer helps to support the pavers and keeps them in place. The paver base should be about 4 inches thick and should be composed of crushed stone or gravel.
8. Spread and Screed Sand.
To ensure a level surface, it’s important to evenly distribute the sand over the entire patio area. Use a rake to spread the sand, and then use a screed board to smooth it out. Make sure the sand is packed down tight so that it forms a solid surface.
9. Lay Pavers.
Pavers are a popular choice for patio building because they are durable and can be arranged in many different patterns. Once you have chosen your pavers, it’s time to start laying them.
If you’re working with a large space, you may want to consider dividing the patio into different sections. For example, you could have a dining area, a lounge area, and a path leading to your garden.
10. Install Patio Edging.
One of the most important steps in building a patio is installing patio edging. This will help to keep your patio looking neat and tidy, and it will also help to protect your plants from being trampled on by people or pets. Installing patio edging can be a bit tricky, but it’s definitely worth it in the end.
11. Pour in Polymeric Joint Sand.
Polymeric joint sand is a special type of sand that is used to fill the cracks between patio pavers. It comes in a variety of colors, so you can choose one that will match your pavers. Polymeric joint sand bonds with the moisture in the air to create a hard, durable surface.
Conclusion.
Building a patio can be a fun and rewarding project. It can also add value to your home. Follow our tips, and you’ll be well on your way to having a beautiful patio that you and your family can enjoy for years to come.
Image by Depositphoto