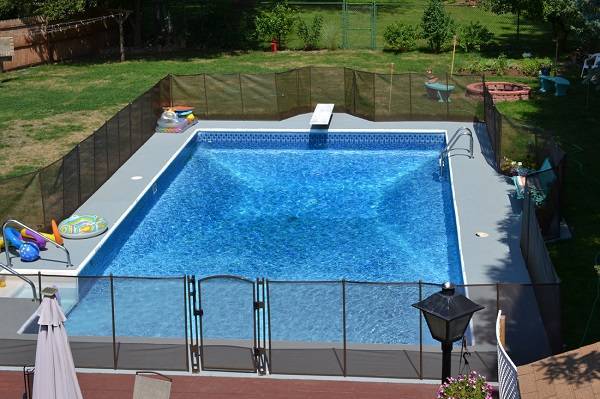
Horizontal shadow Box Fence is well-known as good neighbor. It means the fence has spaces between the pickets to allow air when passing through, but the fence still block from the neighbor view. If you are planning to build the horizontal shadow box fence, certainly, you have to prepare the tools, the materials and the following instruction below.
How to Build Horizontal Shadow Box Fence
The tools you need
Cordless Drill
Tape Measure
Hammer and Clamps
Shovel & Digging Bar
Safety Glasses and Gloves
Post, line & 4-foot levels
Carpenter’s square and pencil
Power Auger or Post Hole Digger
The material you need
Galvanized Screws
Posts and Pickets
Mason’s Line
Spray Paint
Concrete
Stakes
Gravel
The Instructions
Step 1 – Planning the Fence Lines
- As with all fencing projects planning out the fence line and the post positions is a key to a strong straight fence. Begin by driving stakes in the ground where you plan to see your end and corner posts. Once, we are going to set a line around one stake and unfurl it down the planned fence line and tie off on the opposite end stake.
- Pull the taut before trying it off, this will be your guide when you are digging the holes for the posts and for the bottom of the pickets, adjust the line so, it is at least three inches off the ground to prevent would ride.
- Mark the placement for your first post out from the line. This will enable you to dig the hole without disturbing the guide line. When the posts are positioned, you will need to measure out from this line to the post and keep the distance consistent. It will result in a straight fence line.
- Measure and mark the position for the next post eight feet out from the first post. It will allow for the eight-foot two by four rails to be trimmed and installed between the posts.
Step 2 – Digging the Post Holes
- When you are digging the hoes for the posts, it is better to dig them two to three times the width of the post and to a depth one-third to one-half the posts length.
- Need to know when you are setting the wood posts, it is best to dig down an additional six inches to allow the gravel backfill. This gravel will help drain water away from the base of the posts which will help prevent rotting.
- In colder climates, you may need to dig down below the frost line to guard against frost. When constructing wood fences, you have to choose pressure treated pine, redwood, cedar posts because they are not resistant.
- When you are installing a rail and picket fence, the post holes can be dug all at once with either a post hole digger or gas-powered auger. Certainly, the augers are available for rent at most stores, so you do need to but the augers. Automatically, it can be a real time saver.
- When adjusting for a changing slope and turns in the fence line. Mark each new fence line section with stakes and masons line.
Step 3 – Setting the Posts
- After all the holes have been dug and back filled with gravel, you can begin to set the posts. With the help of your family member, adjust each post as you set it until it is plumb and then brace it on two sides with a two-by-four attached to a stake in the ground.
- Once properly braced posts can be set in concrete. It is recommended that all corner and the gate posts be set in concrete for added stability.
- For the strongest possible fence, set the line posts and concrete as well. When constructing a long fence line, set several posts at once and then reuse the braces as you work your way down the fence line.
Step 4 – Installing the Rails
- Now, we are beginning to install the rails fence. Mark inside edge of the posts 12 inches up from the ground. This line is where the top of the bottom rails will be placed, then mark down 12 inches from the top of the posts. That is where the bottom of the upper rail will be installed. Begin by installing the bottom rail, the top and the middle.
- To find the position for the middle rail, measure the distance between the top and the bottom rails divided by two. The middle rail should be installed on this line on center.
- Of course, each rail should be nailed into the posts with the narrow side of the two-by-four facing out and flush with the posts. Then, tow it in on both sides using 3-inch galvanized decks screws.
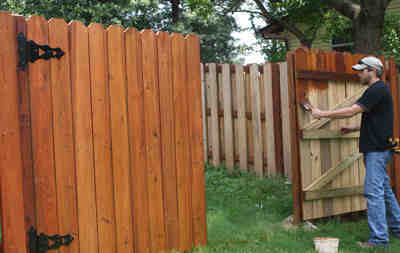
Step 5 – Installing the Pickets
- For this step, move the line that you used as a guide for setting the posts to the edge of the set posts. Adjust the height of the Mason’s line to be a consistent height from the ground. This line will serve as a guide for the bottom of the pickets as you install them.
- The pickets should be at least two inches off the ground to prevent rot. Starting at one end post position, the first picket aligned with the Mason’s string. Check that first picket for plumb and flush with the outside edge of the post.
- Then, drive evenly spaced two inches wood screws into each rail. For installing subsequent picket, it is best to use a spacer to maintain the proper distance between pickets.
- A two-by-four with a pieces of scrap wood attached works well for this. The scarp block will allow you to hang the spacer on the top rail freeing up both hands.
- Then, slide the spacer up flush against the last installed picket and put the next up against the spacer. Attaching the level to the spacer will allow you to check the pickets for plum as you work your way down the fence line.
Once, the pickets are installed on one side of the fence, you can begin installing them on the other. If you are building the horizontal shadowbox fence, install them filling the gaps on the other side. If you prefer a privacy fence, install the pickets on the same side covering the gaps with a board on board technique.