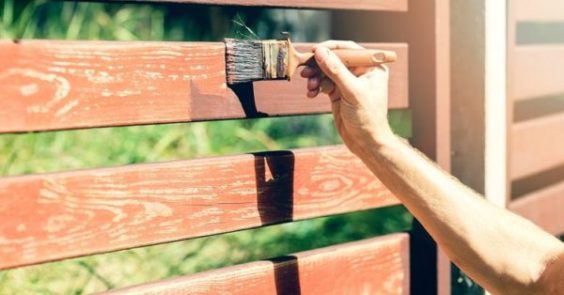
Up until today, wood is still the most favorite option when it comes to the fencing material. The main reason is that wood can give a natural beauty to the overall look of your outdoor surrounding besides its main function to border the house.
However, as a natural material, a wood fence may experience some degrading cases like fading, bending, and cracking. Therefore, when you use wood as the main material of your fence, you have to be ready to maintain it on a regular basis so you will have a wood fence that lasts for years.
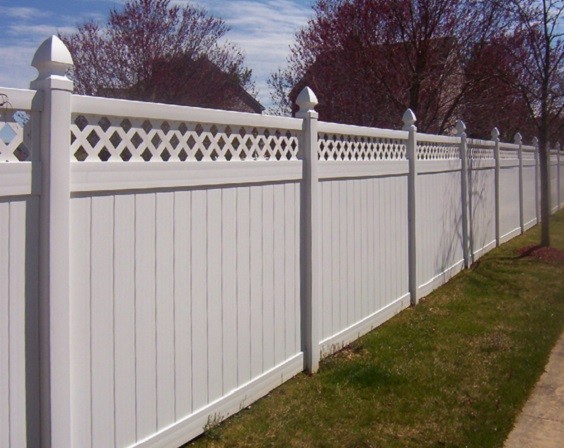
If you still want to give the nuance of your outdoor space with the touch of wood yet not willing enough to do all of those tricky maintenance, the vinyl fence is the best consideration to keep in mind. It still offers you the beautiful wood touch to your backyard décor in more durably and reliably way.
You can find various designs of the vinyl fence today from vintage to minimalist style that you can pick based on your desire. Moreover, installing a vinyl fence is considered easy than when you have to deal with the wood fence. You can do it all by yourself without hiring a pro.
(You may also like: 8 Easy Steps on How to Stain a Fence | Simple Tutorial on a Budget)
The tutorial on how to install a vinyl fence below will guide you to beautify your backyard in a very practical way.
How to Install a Vinyl Fence
Before you start installing your vinyl fence, make sure that you have dealt with your neighbors, easements in your deed, and the zoning laws. Those are the permissions that may or may not allow you to install the fence that you desire.
Measure the Site
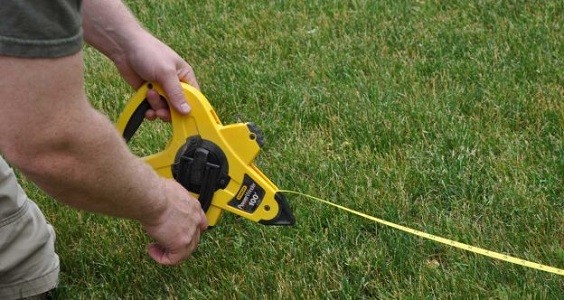
Now, let’s start with determining the site for the fence. If you are willing enough, you can sketch how your fence will be. But, you can also directly examine the site and determine the layout of your vinyl fence.
This step will also let you know the size and design of the fence that you need to purchase.
Prepare these tools:
- Stakes
- String or spray paint
- Tape measure
Follow these steps:
- Determine the area that you want to install the fence on, use the tape measure.
- Place some stakes to mark the corner of the fence.
- You can use either string or spray paint to mark the area where you want to install the fence panels.
- If you have purchased the vinyl fence kit, you can start placing the stakes again to mark the spot for the fence posts. Make sure that the distance between each post fits the panels since you can’t trim them if you don’t measure it properly.
You may need to clean up the area if you want to install the fence on the land with some grass or other vegetation. Use the spade to clean them and make sure you remove their root system as well.
Dig the Holes for the Posts
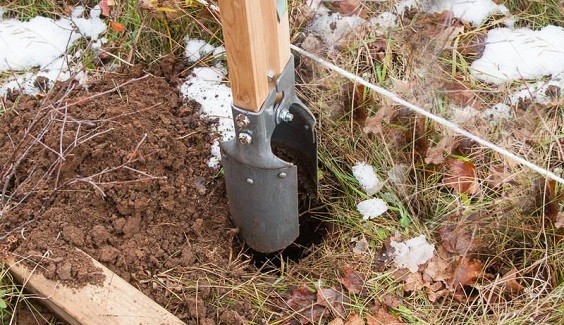
The next step is dealing with the postholes. The width and depth of the posts should be properly measured. Commonly, the diameter of the holes is 10 inches with 24 inches depth.
The measurement of the postholes can be varied due to the size of the post, the condition of the soil, and the regulations. Usually, the rule is 1/3 part of the posts can be buried in the ground.
Prepare this tool:
- Posthole digger or power auger
Prepare this material:
- Gravel
Follow these steps:
- Dig each hole for the fence post by using a power gauger or posthole digger. Remember to measure the diameter and the width before you start digging.
- Once you have known the proper measurement for the holes, you need to add 6″ more of the depth that will be used to put the gravel.
- Add the gravel to the hole to fill the 6″ additional depth. The gravel will work as the drainage.
(Recommended to read: How to Lay Patio Pavers on Dirt | 7 Simple Steps on a Budget)
Set up the Posts
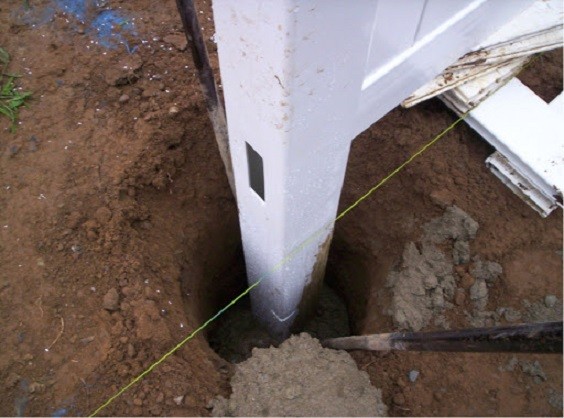
Setting the posts of the fence should be done carefully. You have the make sure that the posts are plumb and level enough so you won’t complicate the installation of the panels.
Prepare this material:
- Concrete
Prepare these tools:
- Trowel
- Tamping bar
Follow these steps:
- Fill the hole with the concrete mixture.
- Put the post into the hole.
- Make sure the concrete also fills the concrete hole of the post.
- Use a tamping bar to work out air pockets and help the concrete to fill the concrete hole of the post.
- It’s strongly recommended that you install one post with one panel at one time instead of installing multiple posts.
- Plumb and level the post before the concrete set. Read the manufacturer’s instruction to find out how long the concrete will set.
Installing the Panels
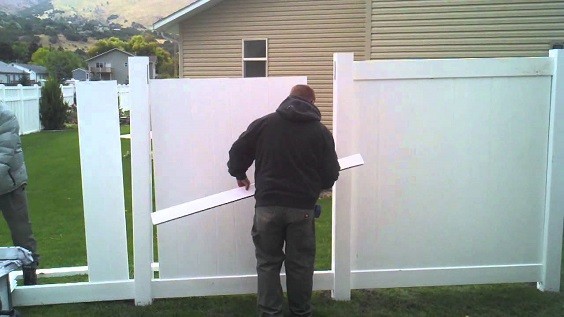
After all the posts are properly installed, you can start attaching the panels of the fence. This step can be done easily if you properly install each post in the previous step.
- Prepare the bracket kit of the fence.
- Follow the manufacturer’s instructions to attach the bracket to the fence.
- Start attaching the panels, make sure they are set properly.
Completing the Posts
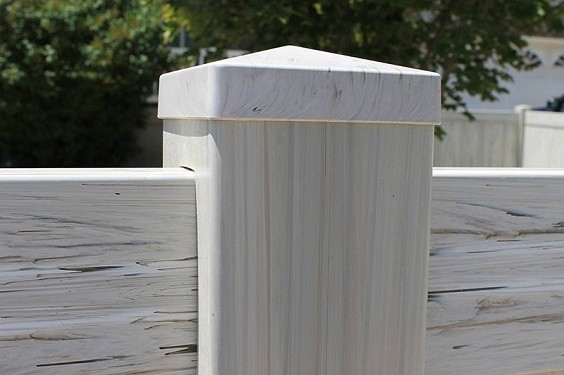
If you think the fence is properly installed, the last step of this how to install a vinyl fence is completing each post with its cap. Commonly, you can use the vinyl adhesive to stick the caps but if you have a plan to change the style of the tops in the near future, use a small amount of silicone caulk as the alternative.
Prepare this material:
- Vinyl adhesive or silicone caulk
Follow these steps:
- Place the glue top of the posts.
- Put the cap on and push it for about 10 seconds.
(Read also: How to Light a Living Room with No Overhead Lighting | Tips)
That is the tutorial about how to install a vinyl fence that you can follow when you want to decorate your outdoor space all by yourself. Make sure that you wear the safety gear like work glove and eye protector in doing every step of the project.