As time goes by, you will see your shower area looks really ugly and you absolutely need to clean it. The soap scum, mold, mildew, and other grimes turn your shower area into a complete mess.
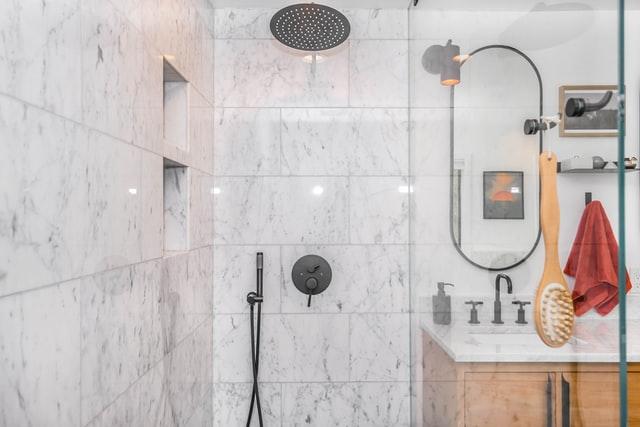
The shower area is particularly the spot when it can get dirty so fast, especially if you live with a lot of family members inside. You can’t expect to have an inviting shower area if you don’t regularly clean it.
In this article. we show you a complete guide to regular shower area maintenance that you can get done all by yourself. There’s no need to hire any professional cleaner or use fancy tools at all.
Regular Shower Area Maintenance
Prepare these supplies:
- Baking soda
- Used toothbrush
- White vinegar
- Liquid dish soap
- Soft-bristled scrub brush
- Old rag
Follow these steps:
Empty your shower area
Before you start cleaning, you have to empty your shower area. Remove all the bathroom stuff that you place around your shower area. It’s because you will clean the area conveniently when it’s free from any obstacles. You will find it easy to scrub and wipe every corner of the area.
Rinse the area
Once you have removed everything, you can wet the walls and floor of your shower area. Wetting the walls and floor is important to clean any loose dirt, dust, and debris, so you can easily apply any cleaning solution that you use.
However, if you use a commercial cleaning product, you need to read the manufacturer’s instructions to see whether it’s okay to use it on a wet surface or not.
Start with the grout
Mildew invasion is the main problem that may damage the grout in your shower area. The visible sign is that your grout is discolored and you can start to clean the area from there.
Here’s what you can do:
- Mix 1 1/2 cup of baking soda and 9 teaspoons of water until you get a paste consistency.
- Apply the mixture onto the grout and let it sit for about 10 minutes.
- Scrub the mixture with the brush gently to prevent damaging the grout.
If you prefer to use a commercial grout cleaner, you always have to follow the instructions on the label. Keep in mind that grout can get damaged easily, so you should always avoid harsh chemicals.
Clean the tiles
Once you have cleaned the grout, you can continue to clean the tiles. You can use a DIY cleaning solution that you may have in your kitchen.
Here’s what you can do:
- Mix a cup of warm water, one teaspoon of liquid dish soap, and two cups of white vinegar in an empty spray bottle.
- Spray the cleaning solution onto your shower tile and let it sit for around 15 minutes.
- Wipe the cleaning solution with a clean sponge or a scrubbing brush until you see that the tiles look shiny.
Again, if you use a commercial product, be sure to check the instructions label. In general, you might see that the time to leave the cleaning solution on the tile is different.
Rinse and dry
When you are sure that you have properly cleaned your shower area, it’s time to rinse the cleaning residue all over the surfaces. Grab your shower and rinse everything thoroughly until all the cleaning solution or cleaning product is removed.
Then, use a dry old rug or microfiber cloth to dry up the walls and floor. It’s highly important to make sure that your shower area is completely dry after you finished cleaning everything. If you leave your shower area in a damp condition after cleaning, the next problem caused by mold and mildew may start to happen.
(You may also like: Bathroom Rug Washing Guide | DIY Bathroom Care)
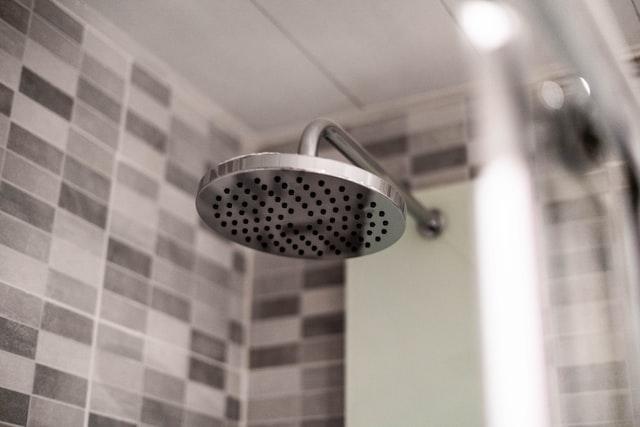
Cleaning Shower Head
When it comes to deep-cleaning a shower area, you can’t miss cleaning your shower head since it’s the main feature of the room. No worries, you can get the job done all by yourself with simple home supplies in no time. Before we start, you have to remove your showerhead to deep-clean it.
Prepare these supplies:
- White vinegar
- Soft-bristled brush
- Plastic bag
Follow these steps:
Soak the showerhead
Fill a plastic bag with white vinegar and soak the shower head in. Leave the showerhead soaked for hours but if it’s extremely dirty, you may need to leave it overnight.
Rinse and scrub
Once the time is up, rinse your showerhead with hot water. Reinstall the showerhead properly and turn on the hot water for a few minutes. Scrub the showerhead gently until you don’t see any grime on its nozzles.
Keep in mind to always use a soft-bristled brush since the hard one may damage the finish.
Regular Quick-Clean Shower Area
The steps above to deep-clean your shower area are more like monthly or even seasonal maintenance, depending on how dirty your shower can get. You still need to clean your shower area in a shorter timeframe like daily or weekly.
Daily shower cleaning
- Wipe the shower walls and floor after each shower.
- Remove the debris like fallen hair on your shower drain then wipe it down.
Though it’s just a simple quick clean, you will see that it gives a huge impact. When you just finish your shower, the area is still wet, so you don’t have use to much water to wipe here and there.
Weekly shower cleaning
- Clean the walls and floor of your shower area thoroughly, don’t skip cleaning the drain.
- Wipe your shower door handle with a multipurpose cleaner.
- Wash the chrome features around the shower area with specialized detergent to avoid further damage.
- Toss the fabric mat and towels to the washing machine, but always read the label.
Monthly shower cleaning
- Use drain cleaner to maintain your shower drain once a month.
- Deep clean the showerhead every month just like the steps shown above.
- Deep clean the shower tiles every month just like the steps shown above.
- Toss your shower curtain and a bath mat to the washing machine.