Cleaning a wax warmer is a must, so you can use it in a long run. When the wax has reached the end of its life, that is the time when you need to clean the warmer.
Check out the quick wax warmer cleaning guide for your reference below.
Wax Warmer Cleaning Guide
Prepare these supplies:
- All-purpose cleaner
- Mineral oil
- Microfiber cloth
- Sponge
- Cotton balls
- Paper towels
- Spoon
- Freezer
Follow these steps:
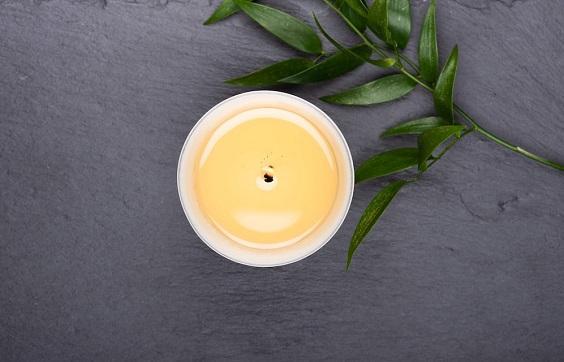
Prepare the wax
It’s important that you need to prepare your wax warmer first before you start everything. A wax warmer that you haven’t turned off will create a lot of mess and may burn you as well.
Remove the wax
If the wax is still warm and liquid, soak the excess by using a cotton ball and paper towel. To optimally do their job, you may need to let them sit for several minutes. If you are sure that the excess wax has been soaked, take out the cotton ball and paper towels and throw them away in the trash can. Do not discard the hot wax in a drain.
Remove the excess
After you have cleaned the excess wax with a cotton ball and paper towel, you might still find some residue inside the warmer and you need to remove it completely. To do the job, use the sponge and a few drops of all-purpose cleaner, and if you find difficult stains, use the melamine sponge.
To clean the drips around the exterior of the warmer, add a few drops of the mineral oil onto the microfiber cloth, then wipe things away. Dry the warmer with another clean cloth.
Remove hard wax
There are two ways that you can do to remove hardened wax, which are:
Option 1:
This option is easier and cheaper but may require a longer time to get done.
- Once your wax warmer is completely cool, place it in the freezer for around 15 minutes. The cold temperature will shrink the wax and you can easily remove it.
- Take out the cooled warmer from the freezer and use the spoon to push the hardened wax.
Option 2:
This step is faster but you may need to work harder.
- You have to turn your wax warmer on and leave it for a few minutes until the hardened wax is loosened up.
- Use a spoon to scrape the hardened wax away.
(Read also: Wrought Iron Furniture Cleaning Guide | DIY Patio Maintenance)
Tips to keep your wax warmer clean
Cleaning a wax warmer can be quite a headache, the tips below will keep your wax warmer clean for a long time.
Use high-quality wax
The reason why premium wax is better is that it lasts longer in warmers, so you don’t have to replace it frequently. A lower-quality wax may be less expensive but you will need to clean it often.
Use wax warmer liner
Reusable wax warmer liners are made of silicone that allows you to pop the wax out of the warmer after use. You still need to clean the liner regularly, but it’s much easier than cleaning the warmer.