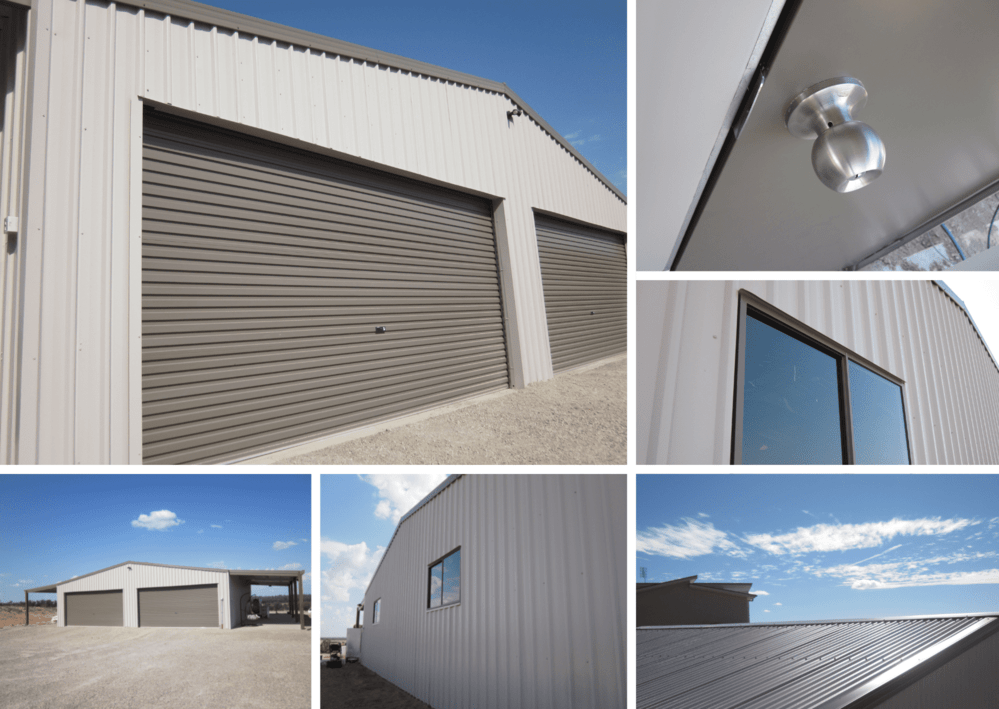
So, you have bought a shed kit or a thinking of buying a shed kit and would like to know the basic principles behind the installation process. Here we have 13 steps that you need to know before starting. Keep in mind that this is a basic guide, its as thorough as it can be without knowing the exact type of shed you will be building. If you need more information on sheds or shed kits, we recommend you visit this website, Modern Steel Buildings; as they have an extensive range and lots of good information for building sheds in Australia.
01: Mark out your foundations
Take your slab layout drawing and mark out on the ground where your slab is going to go and ensure you have left the correct distance from boundaries, etc; to ensure your location meets the council’s requirements. Using timber pegs, bang them into the ground with a hammer nice and straight in all four corners. From there, it’s time to form your concrete slab. Take your formwork, build up your sides to the required concrete depth, and secure them into place. The best way to secure it into place is to take small star pickets and bang them into the ground right next to your formwork, then take a smaller piece of timer and screw it into both formwork and star pickets. This method will keep your formwork in place ready for you to pour your concrete. Continue this method to form up all four sides of your concrete slab.
02: Pour your slab
It’s time to arrange for concrete delivery. It’s typically recommended to have a concrete supply and pour the concrete, they are experts, and they will ensure your concrete has a nice smooth, and level finish. You only get one chance to pour concrete so it’s important to get it right the first time as ripping it up and starting again is the only solution if it’s not poured well. Before moving on to the next step, ensure the concrete is cured, this means that the chemicals in the concrete have reacted, and the concrete is strong enough to start building your shed kit.
03: Bolt down your footing brackets
Locate your bolt-down footing brackets from your bracket box within your shed kit. Place them in their appropriate positions ready for you to measure in their accurate locations. On your footing layout drawing, you will find the measurements, likely to be around 50mm from the edge of the concrete. Using a pencil measure and mark the actual locations and place your brackets over the top. Pencil in the holes that you need to drill and remove the bracket. Using your masonry drill, begin drilling to create the holes to bolt your bracket down. Blow the duct from eth hole using an air pump or compressor, find your fixing screws, likely to be a 10-12mm screw-bolt, and or chem-set and bolt your brackets down securely. A rattle gun or impact driver is the best tool for the job if you have one as doing this by hand is difficult and you may not be able to get the bolt in. Also, be careful not to drill deeper into the thickness/depth of your slab.
04: Bolt together your rafters and columns
locate your rafters, columns, apex brackets, and haunch brackets and lay them out on the ground in an approximate location. Line your rafters and columns up with the brackets and start bolting together with the purlin bo9lts provided. Follow this process for all of your portal frames, until you are finished. All of the parts, brackets, and bolts should be in the packs delivered with your shed kit.
05: Stand your frame
so your footing brackets are bolted down, your portals are bolted together, and it’s time to stand your portals into place. You will need some clamps and some timbers for you to brace them as you stand them up. Using the same principle, you did when bracing your concrete formwork, take some small star pickets and timers and brace accordingly. You will need to stand and brace all portals before moving to the next step.
06: Fix your wall girts and roof purlins
once all portals are in place, you can start fixing your wall girts, these will typically be a 65mm top span section in the profile shape of a top hat. using your screws provided, screw these into place to ensure you are screwing in and leaving the correct spacings between each one. Also remembering that you will need to overlap these for each join. Once you have screwed on your wall girts, you can remove your temporary bracing as these will be enough to hold your portals in place. From there, start fixing your roof purlins, following the same method as the wall girts.
07: Sheet roof
now that you have a bare frame in place it is now ready for roof and wall sheeting. If you are installing insulation to your roof, get your insulation ready from eth roll ready to lay directly under the roof sheets. once your roof sheet is in place and square, screw them down with the roofing screws that were provided with your shed kit. All shed kits come with the exact amount of roofing screws and usually will allow a few extra allowing for install failures or missing screws. screw your sheets down starting from the top and fix your screws on the top side of the rib of the sheeting profile and screw directly into the roof purlins. it’s best to have a string line running from end to end, this will keep all screws in a straight line and look great when finished. if you do not do this, it will look messy, and you will not be happy with the result. So, a string line is a must. follow this process and complete the sheeting of all roof sheets.
08: Locate your eave purlin brackets and eave purlins.
Bolt or screw your eave purlins into place and attach the eave purlin accordingly. This steel member will run from one end to the other, giving you something to screw your gutter brackets to and to finish off your wall sheeting.
09: Add gutters
locate your gutter brackets and lay them out on a clean surface. Take a can of the matching paint colour, and paint the brackets with a quick spray. Leaving them with a galvanised finish will leave your gutters looking messy once finished. Now, taking the string line, mark a line from end to end of your eave purlins. Using the wafer screws provided, screw your gutter brackets to your eave purlin, leaving a gradual fall from one end to the other in the direction of your downpipe for water to flow with gravity feed. Follow this process for both sides of your shed until complete.
10: Sheet walls
now that your gutters are on, it’s time to stand your wall sheets. Lift your wall sheets into place ensuring that the sheets are not resting on concrete or the ground. Your wall sheets are not to be in contact with concrete or each as this will encourage corrosion reaction and void your manufacturer’s warranty. You can however have something ready to sit the sheets on as a way of installing and removing once installed. This is recommended to get your sheets standing in a straight manner. Screw to the wall girts to secure using t your roof screws. Using the string line again, follow a straight line for all wall screws, it’s super important to have your screws in a straight line. Follow this process until your shed has all four walls.
11: Install windows and doors
You will have at least one opening on any building, which may be a roller door, personal access door, or both. You will have framing purlins within your shed kit. Locate your elevation and engineer’s drawings to determine how to frame out your openings, and this of course would be done before sheeting the walls. starting with your access door, stand it into place and temporarily brace it into place to ensure it is level and square. From there, screw the pro-hung frame directly onto the frame, securing the door frame. Now it’s time to install your roller door. You would have received roller door brackets and tracks with your shed kit.
Starting with your brackets, bolt these into place giving you a bracket to hold the weight of your roller door.
From there, stand your tracks into position and screw them to the wall to fix. Lift your door into place, guide your door curtain down the tracks and tension your u bolts that secure your roller door axles to the roller door brackets. there is a bit of a trick to this and you can easily lose the tension of your roller door and have a big problem on your hands. it’s best to get an experienced roller door installer for this part, it will cost you a few dollars but save you a headache.
12: Flashings
You’re almost finished, it’s time to flash all edges, ridge caps, barge caps, etc. this means covering all gaps between sheets and doors, etc. Your flashings will be included in your shed kit and it’s recommended you follow the construction guide when installing these. take your time and cut them in neatly, this is the part of the shed build process that can make or break the quality of the finish so its best to take your time and get this looking perfect.
13: Tidy up
Once you are finished it’s time to tidy up, do a walk-through and clean up, fix up anything that is not quite right and give it a bit of a clean with water and a sponge. Do not use chemicals on your Colorbond as this may voide warranty. Jump on the colorbond website for tips on maintaining the painted material and keeping it looking great.


