Suppose you’re looking for ways to spruce up your home’s interior. Perhaps, you’ve outgrown the current style in one of the rooms. Or it could also be you recently purchased new furniture, and you’d like to revamp your space to match this new addition. One of the ways you can do this is by going for wallpaper installation.
Redecorating your home with wallpaper installation allows for a quick way to give your walls a fresh look without the mess of a paint job. And aside from the aesthetics, wallpaper can last up to 10 years, whereas paint can get chipped off, which may require you to recoat or touch up every couple of years.
And as such, here are tips to help you get started with your DIY wallpaper installation project:
- Choose An Easy Pattern
Laying wallpaper in can be a lot of work, especially if you’ve chosen complicated designs for your room. And in most cases, it can be more challenging to make it look seamless when installing such wallpaper.
And so, if this is your first wallpaper project, it may be better to choose something with an easy wallpaper design or pattern. This way, you’ll have more time putting them up and perfecting them instead of taking a long time wondering how the designs will fit with each other, which might end up in a disaster.
- Prepare The Tools
To start installing wallpaper on your own, make sure you prepare all the necessary materials. You wouldn’t want to begin your project only to find out that your tools are incomplete. Not only that it will halt the project, but it would also make a total mess since you have already prepped the room for wallpaper installation.
With that, create a checklist so it will be easier for you to keep track if you still have missing items. To name a few, here are some things you would need for your wallpaper installation project:
- Removal Tools: Sanding block, broad knife, sponge
- Layout Tools: Plum bob, measuring tape
- Cutting Tools: Cutter and sharp blades, scissors
- Pasting And Smoothing Tools: Paint roller and tray, bucket, wallpaper smoother, smoothing brush, rag or sponge
- Move Furniture Away
Before starting working on your wallpaper installation project, it’s recommended to move all furniture away and clear the room of any valuables and clutter. Doing so gives you room to work more efficiently and move more freely as there will be no obstructions along your way, and you won’t feel restricted moving around the room.
- Prepare Your Walls
Preparing your walls is an essential step before you start installing any wallpaper. Plastering or wall sealing helps hide the porous surface of your walls and any impurities or irregularities and can also improve the adhesive found on your wallpaper. You can use a solution called sizing solution for this step.
This is especially important if the wall where you’ll be installing the wallpaper has a glossy or semi-gloss paint finish. And more so, in this case, you’d have to sand the wall first to promote better adhesion of the wallpaper to the surface. On the other hand, if the wall recently had wallpaper installed on it, sanding the surface before the new installation is important too to remove old adhesives.
- Lay Out The Room
For you to start laying out the wallpaper, you first need to layout the room. You may use an entire roll that can act as a guide when laying out the room. Put a roll into a corner where you are planning to start, and mark the wall with a pencil on the edge of the roll. Continue doing this until you know every seam will fall or up until you reach the other side of the room. This could be helpful as it will let you know where each seam will meet.
An additional tip to note is to use a leveling tool to help you when plotting and hanging the strip of wallpaper to ensure they’re aligned.
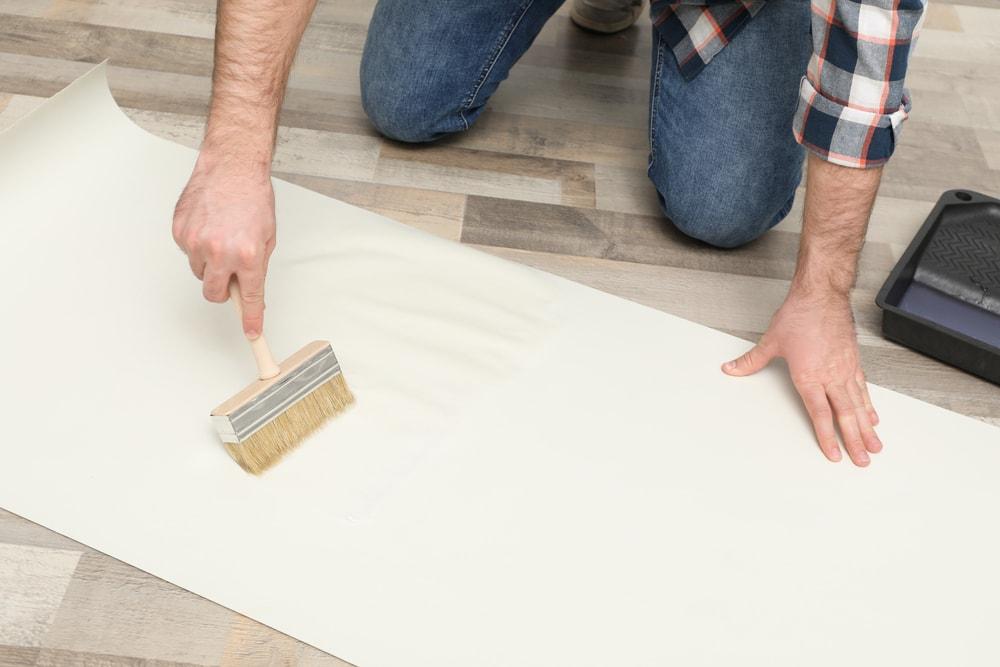
- Prep The Paper
Before application, your wallpaper will need adhesive. And depending on the type of wallpaper you get, you will either need to apply adhesive at the back of the wallpaper or soak the pre-pasted paper in lukewarm water and wait for the adhesive to be activated.
If it’s the former, you can check the instructions of the wallpaper’s manufacturer to know which type of paste or adhesive would work best for their product. But generally, premixed adhesives are more favored over dry adhesives due to convenience and time-efficiency. This is because, with dry adhesive, you’d still have to prep the mixture, adding water to it until you reach the desired consistency needed before application.
- Manage Air Bubbles
Air bubbles are common when installing wallpaper, but you don’t need to panic once you see them forming after laying down your first strip. Luckily, you can avoid developing bubbles on your wall when you smooth down your wallpaper with a cloth. You may also gently peel off the paper from the wall and then smooth out the bubbles towards the edge. The process will depend on where the air bubbles are located and where you’re most comfortable doing it.
- Don’t Throw Extra Wallpaper
A smart tip when it comes to wallpaper installation is to avoid throwing away extra wallpaper as much as possible. You don’t need to throw away scraps as soon as you are done with one side. There might be a complicated wall in your room where you can use the scrap. In addition, you can also keep these extra strips or rolls for future use in case some of your wallpaper gets ripped or damaged.
Wrapping Up
Installing wallpaper can be tricky, especially if it’s your first time. But with a little determination and some know-how, you can give your home a fresh look. Hopefully, the tips above can set you off to a good start in your DIY wallpaper installation project.


