You must store your favourite snacks, cups, beautiful plates, and other kitchen wares in your kitchen cabinets. Kitchen cabinets are helpful in multiple ways; they help organise your utensils, store cooking equipment, segregate snacks, etc. But sometimes, a little carelessness from our side may result in swollen and delaminated kitchen cabinets.
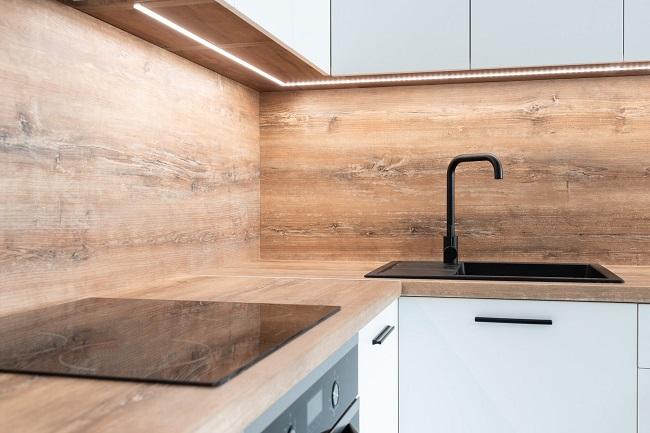
Max Vakhtbovych from Pexels
Water damage in kitchen cabinets is not something new or complex to understand and repair. It is a simple phenomenon that happens because of excessive exposure of the wooden material used in the cabinets to moisture and leaking water.
What causes the water damage?
If you look at your kitchen cabinet door and observe some swollen portions of the wood, it is a sign that it needs a makeover or what we call a repair session. Delamination is also an indicator of water damage. In most cases, a less ventilated kitchen, leaking sinks and sink pipes, water collection due to spillage or bad structuring can cause water damage.
These cabinets are built either using low-density fiber board (particle board) or medium-density fiber boards like MDF or plywood. Plywood is relatively stronger than particleboard and MDF because of layering in it. So, if the quality of wood used is not resistible to water and promotes water seepage, your cabinets are at high risk of water damage. Apart from these reasons, an absence of lamination and proper waterproof coatings can also make your cabinets more vulnerable.
How to analyse the extent of damage
Identification of the damage is the first step. Primarily a small area of swelling can be easily repaired using wood fillers and carpenter’s glue. Still, if the fungus has started growing in the delaminated surfaces, it’s time to replace the wooden material because now it’s unsavable. Check for any hardware damage as you might need to replace them to ensure good stability and balance of the cabinets.
After analysing the damage, you can proceed with the DIY repair process. All you need is carpenter’s glue or wood fillers, C-clamps, sandpaper, paint and waterproof coatings.
DIY Repair Process:
- The process of repair is as follows:
- Drying the cabinet
Firstly, remove the damaged cabinet door and let it dry. You can heat according to the requirements. Ensure that your wood is completely dried before repairing it because you would not want to seal it in wet condition.
- 2. Remove the hardware
The next step is to remove the hinges, braces and any screws associated. This step will make your repair job an easier one as hardware might hinder the process of sealing and painting. You can also check for their proper functionality and replace them accordingly.
- 3. Seal the damage
Now you will seal the gaps that have been created due to delamination of the surface. You can use carpenter’s glue or wood fillers to fill in the gaps and make your surface strong. Primers can also be used as they can repair minor blemishes and would assist in a base formation for a classy finish after the painting is done.
- 4. Clamp the surface
You can use C-clamps to clamp the surface so that separated veneers get adequately adhered to each other.
- 5. the surface using sandpaper
Use 100-grit sandpaper for sanding the surface after the filling is strong enough and ready to get packed. Sanding will remove any uneven rise that may arise due to fillers.
- 6. Make cabinets appealing
Now add some aesthetics to your kitchen cabinet. Paint it according to the base colour used before water damage to revive it in its original state. Oil-based paints are the best if you are looking for water-resistant paints, but they require longer durations of the drying process.
- 7. Sanding of the painted surface
Sanding the painted surface is necessary to ensure a clean finish. You can use sandpaper or an electric sander for sanding, and you should provide future water resistance by using lamination or water-resistant coating over the painted surface.
- 8. Drying and reinstallation
Before installation, the last step is allowing the repaired cabinet door to get dried completely, and it is essential to not get prone to any water damage after installation.
Conclusion
Repairing water damaged cabinets is not that difficult, but it can be a time taking process. One should always consult a professional water damage Colorado Springs company if the damage seems challenging to repair.
