Are you renovating on a budget? Do you want to try your hand at DIY? Many of us know that the cost of labour can turn small home improvements into big headaches. Fortunately, there are a number of things you can do yourself without needing an entire of tools. Today we examine peel and stick vinyl floors and what you need to know when it comes to installing them in your home.
What are peel and stick?
Affordable and easy to install, peel and stick vinyl floors may be the perfect choice for you. This type of flooring can be installed in a matter of minutes, and it is a great option for DIYers. Peel and stick vinyl floors are durable and easy to care for. Some brands are completely waterproof, while others offer a waterproof outer layer, so shop around to find the one to suit your needs.
How do I install them?
Here are a few tips to help you get started:
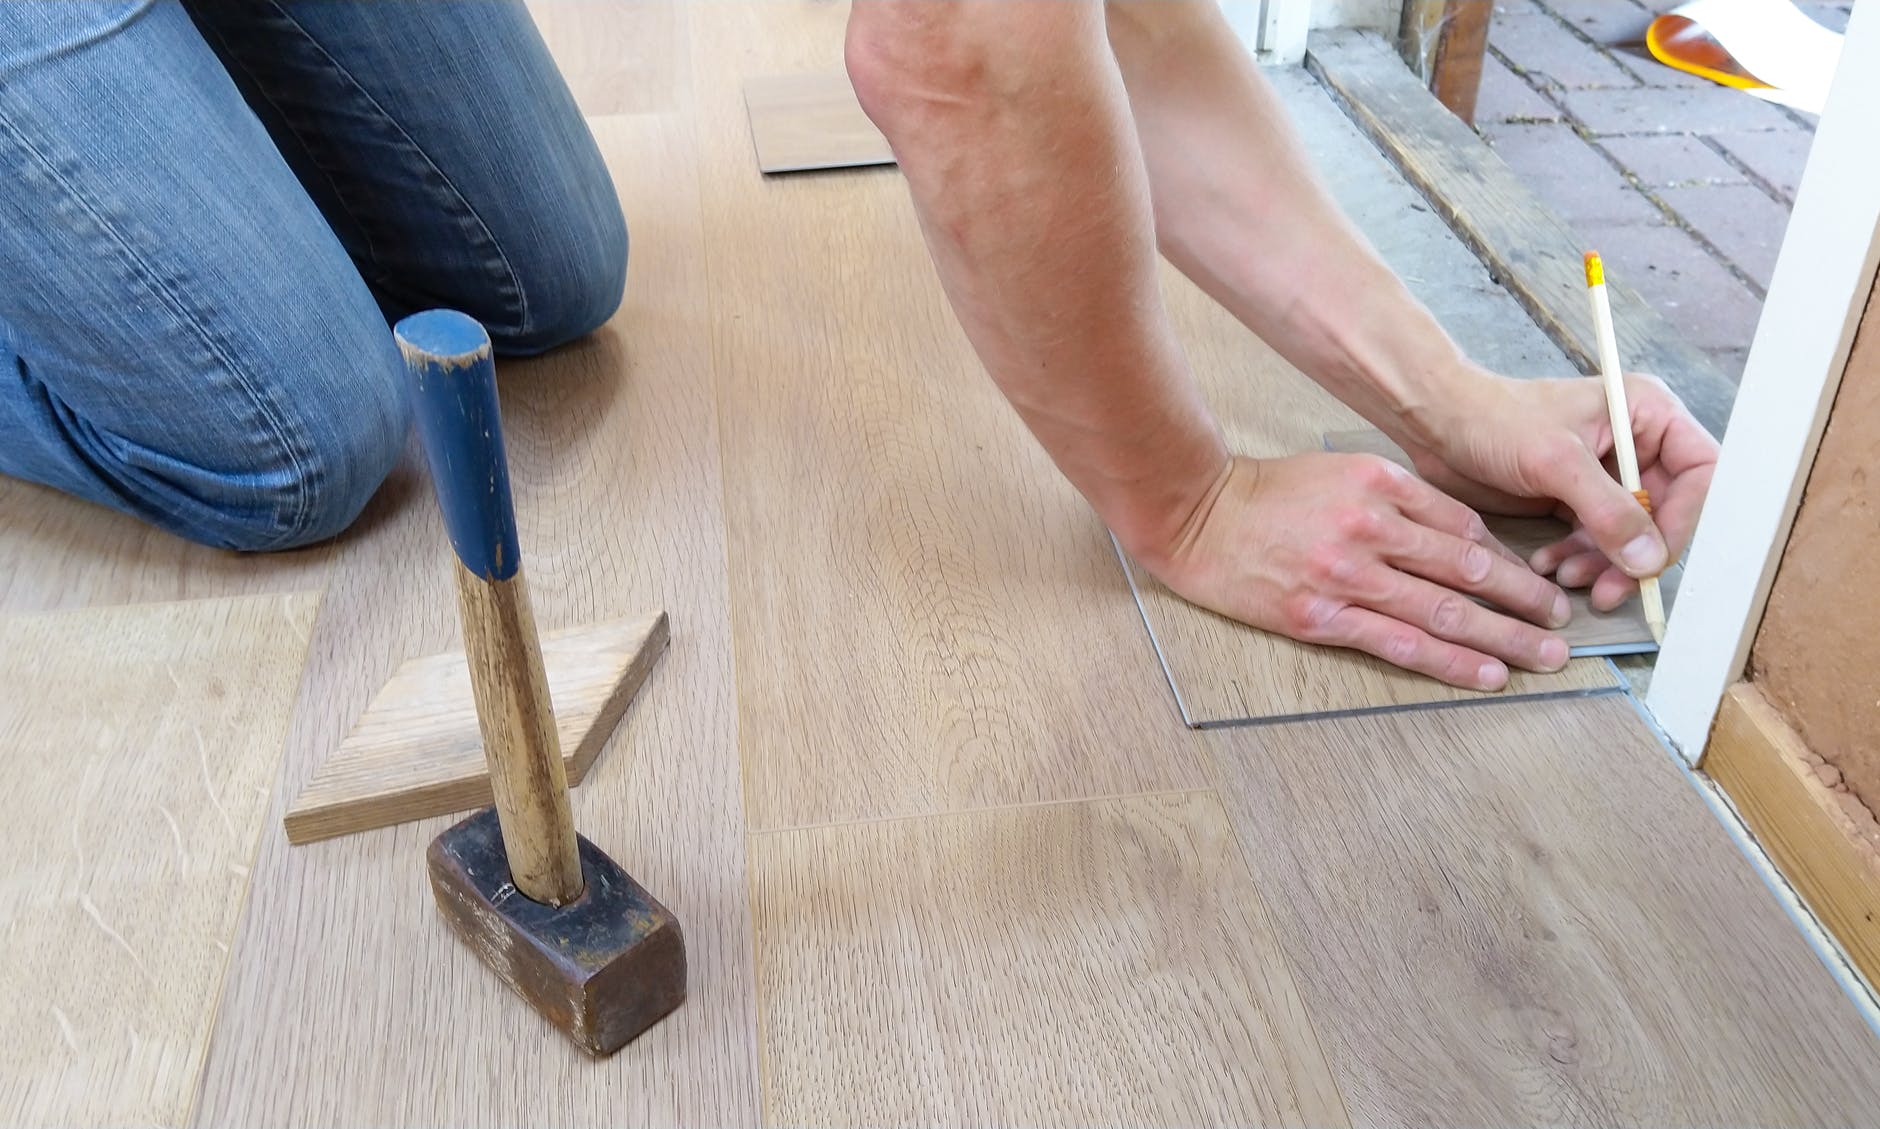
- Measure the space where the peel and stick flooring will be installed. Measure it again to double-check – many manufactures produce batches that vary slightly in grain and colour so you don’t want to mix batches.
- Prep your floor by removing existing coverings, whether it is carpet, tiles, lino or old vinyl flooring. This is generally an easy straightforward process. However, owners of older homes may encounter stubborn glues hidden underneath your carpet underlay, and need some more TLC to prepare the surface.
- Inspect your floor and plug holes and cover any nails so they don’t scratch your new peel and stick planks.
- Time to clean. Clean the area where the peel and stick flooring will be installed. It needs to have dust, debris and dirt removed to get the best stick and longevity of the peel and stick product. In most cases, a broom or vacuum cleaner in combination with a mop or good wipe down will do the trick. Be sure to give your floor time to dry before proceeding to the next.
- Weather check. Most of the glues in today’s peel and stick products are best applied in specific temperatures. Too cold and they don’t stick properly, too hot and they don’t get a chance to securely adhere to the subfloor. Check your manufacturer’s instructions, but as a guide 18-25 degrees Celsius is your sweet spot. Don’t forget to have any floor heating turned off 24 hours prior and let your planks out of the box to acclimatise.
- Apply the peel and stick vinyl flooring according to the manufacturer’s instructions. Best practice is for the floor to be installed parallel to light entering the room and to roll the floor after planks have been applied. If there are any special instructions – follow these! In many cases, there will be a minimum 24 hours to wait before you can walk on them for the adhesive to properly set. Enjoy your new peel and stick vinyl flooring! It’s easy to keep clean and looks great in any room.


