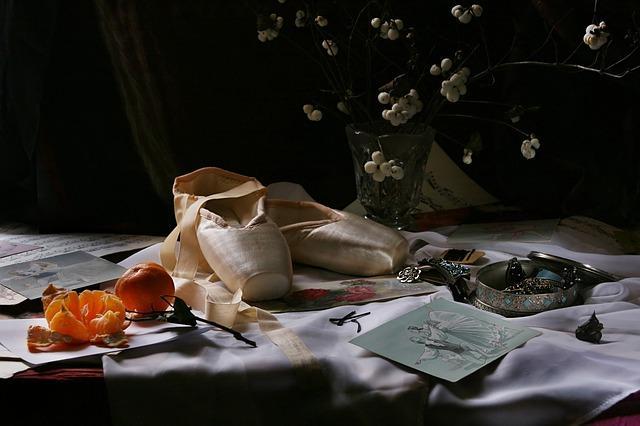
You want to begin your ballet adventures, and you’ve found the perfect and lovely dress. What about pointe shoes, though? It’s critical to prepare your pointe shoes if you want to be a successful ballet dancer. When and where it’s needed, it gives support and balance. If you’re still unsure about how to stitch pointe shoes, look no further.

Overview
In the 1900’s, ballet dancers didn’t have pointe shoes and it affected performances. All the amazing moves you see today weren’t present then because they used slippers. But this time is different, we are in the modern age, and pointe shoes are essential to the life of any ballet dancer.
After you’ve purchased a new pair of pointe shoes at the mall, the next step is to attach ribbons and elastic to the shoes. Learning to sew pointe shoes has been a tradition among ballet dancers over the years, and it is still done by professional dancers. Some of them get new pointe shoes every week, as opposed to novices who keep theirs for a longer period of time.
Sewing pointe shoes may appear to be a difficult task. This, however, is not the case. It’s a simple method to pick up, and sewing by hand rather than using a sewing machine lessens the chance of damaging your pointe shoe. In addition, the development of sewing cover stitch machines makes sewing a breeze and ensures that your work looks professional, even if you are a novice. Take a deep breath and relax if you’re new to sewing for the first time. We’ve put some simple steps in place to help you along the way, including tips for a successful sewing experience.
The next step is to prepare your supplies before we begin. This includes the following:
- Safety pins
- Needle
- Thread
- Elastic
- Ribbon
It’s worth noting that pointe shoe ribbons are normally two yards long. As a result, it’s critical to cut the ribbon into four equal parts once you’ve received it. Each side of your pointe shoe will be covered with this. Elastic should also be cut into two equal sections.
Sewing Ribbons On A Pointe Shoe
Sewing ribbons on pointe shoes isn’t difficult, and with the techniques below, you’ll be up and running in no time!
Step-by-Step Instructions on How to Sew Pointe Shoes
First Step
The first thing you should do is bend over your pointe shoe’s back heel forward, towards the front half; it should look like you’re folding the back heel forward at this point.
After that, get a pencil. Mark the fold’s edges on both sides with this. Because the designated spot is where you will be stitching your ribbons, it must be done precisely. Release the fold once you’ve finished marking to allow your pointe shoe to restore to its original shape.
Second Step
As previously said, your ribbons must be divided into four equal portions. Each side of your pointe shoe should have its own ribbon. If you chose the Stretch Pointe Ribbons instead of the standard pointe shoe ribbon, cutting the ribbon into four even portions is also required.
The Flexi-Ribbon, on the other hand, comes in four equal sections, so you won’t have to bother about cutting the ribbons. On the other hand, ribbed elastic has irregular parts. The sections that are longer and shorter. When sewing into the shoe, however, the shorter part should be used.
Third Step
You’ll take one of the four equal ribbon portions and lay it on the designated spot once you’ve folded the back heel and marked the proper spots. Then begin sewing through the inside cotton lining rather than the satin.
When sewing the ribbon through the binding, it is incorrect and will most certainly diminish the longevity of your pointe shoe. The drawstring will no longer be adjustable, and the likelihood of the binding pulling away from the satin will increase.
After you’ve finished with the first shoe, move on to the second and repeat the process. Two ribbons should be sewed onto both pointe shoes at the completion of this phase.
Fourth Step
The next step is a neat trim once you’ve sewn your ribbons in the correct places. You’ll need a pair of scissors to cut the ribbon ends to the length you like. This is a simple way to get the proper length for you if you’re wondering how to do it. Put on the pointe shoe and tie the ribbons around your ankle; they should not be too tight to cause discomfort. The ribbons should be double knotted.
Pick up the scissors and cut away the excess ribbon when you’re finished. However, you should not take off all of the remaining ribbons because there may be times when you want the ribbons to be tight or relaxed.
Because of the way they’re tied, your ribbons won’t be evenly sized after cutting. This isn’t something to be concerned about. Ribbon fraying has been a problem for some people, but it may be avoided by simply burning the edges of your ribbons or coating the edges with nail polish.
Fifth Step
This final step is our gift to you if you’d like elastic on your pointe shoes. The advantage of having elastic on your pointe shoes is that it gives the ballet dancer a little more support.
The first step in sewing this elastic is to pin it to the back heel seam with a safety pin. This should only be done on one side at a time. After that, put your shoes on.
After that, wrap the elastic around your ankle and make sure it’s comfy before pinning it to the other side of your back heel seam. Then, using the same procedures you used to stitch ribbons in place, sew the elastic into place on the other side of your shoe.
Conclusion
Sewing your pointe shoes should not keep you squirming and struggling, nor should it leave you with empty pockets due to the number of shoes damaged in the process of attempting to get it perfect. It’s fortunate that sewing cover stitch machines are accessible, and we hope that following the methods outlined above, your ambition of becoming a wonderful ballet dancer becomes a reality.


