No matter what your level of experience is with DIY projects, there’s one thing that’s always necessary for achieving a professional finish: sanding. But with so many different techniques to choose from, it can be tough to know which is the best for the job. In this blog post, we’ll take a look at four popular sanding techniques and explain how each one can be used to achieve a specific type of finish. So whether you’re looking to refinish an old piece of furniture or smooth out a new project, read on for some helpful tips on how to achieve the perfect finish every time.
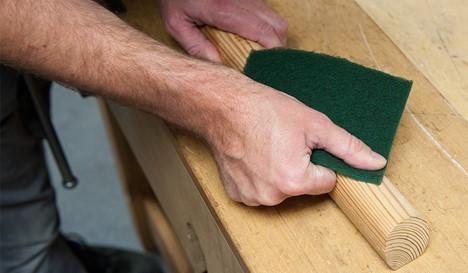
Always sand in the direction of the wood grain:
This is one of the most important rules when it comes to sanding, and it will help you avoid leaving unsightly scratches on your project. The best way to figure out which direction the grain is going in is to take a close look at the wood before you start sanding. Once you’ve determined which way the grain is running, make sure to always sand in that same direction. Doing this will help you achieve a smooth, professional-looking finish and also make the sanding process a lot easier.
Use sandpapers after understanding their applications:
Not all sandpapers are created equal, and each one is best suited for different types of projects. For example, use medium grit sandpaper if you’re working with softwoods like pine, while a higher grit paper is better for harder woods like oak. And if you’re looking to achieve a really smooth finish, consider using fine-grit sandpaper. All of these sandpapers are made for different applications, so be sure to use the right one for your project.
Different strokes for different folks:
When it comes to sanding, there’s no one-size-fits-all approach. What works best will depend on the type of wood you’re working with, the level of detail in your project, and your personal preferences. So experiment with different techniques and find what works best for you. With a little practice, you’ll be able to achieve a professional finish on any project in no time!
When you are just starting out with a new project, it is best to start with lower grit sandpaper. This will help remove any imperfections in the wood and give you a smooth surface to work with. Once you have achieved a smooth surface, you can then move on to higher grit sandpaper to achieve the desired finish.
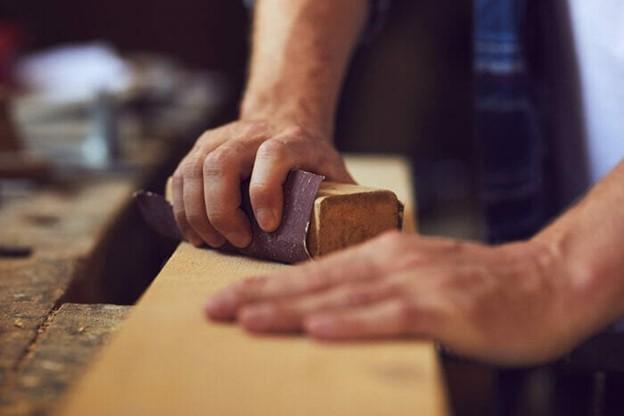
Use a light touch when sanding:
Applying too much pressure can damage the wood and leave you with an uneven finish. Instead, focus on making consistent, even strokes across the surface of the wood. This technique will help you remove any unwanted blemishes without damaging the wood. It will not only save you time, but it will also give you a much better finish.
Use a dust mask:
When sanding, it’s essential to wear a dust mask to avoid inhaling any harmful particles. This is especially important if you are working with a product that contains lead or other toxic chemicals. Wearing a dust mask will protect your lungs and help you avoid any health problems in the future. From time to time, it’s also a good idea to vacuum the area where you are working to remove any accumulated dust.
Change up your sandpaper regularly:
If you’re using a power sander, it’s essential to change out the sandpaper regularly. This will help ensure that you’re not damaging the wood and will also help you achieve a smoother finish. When changing out the sandpaper, be sure to use one with a higher grit than the previous one. This will help remove any remaining imperfections and give you a flawless finish.
While using an electric sander, be sure to keep it moving all the time:
This will help avoid damaging the wood and will also give you a smoother finish. When sanding, be sure to use a consistent motion and change directions often. This technique allows you to sand the surface and avoid any missed spots evenly. Plus, it adds a bit of texture to the finish, which can be desirable in some cases. Doing this makes it so that the finish will look more like it was done professionally.
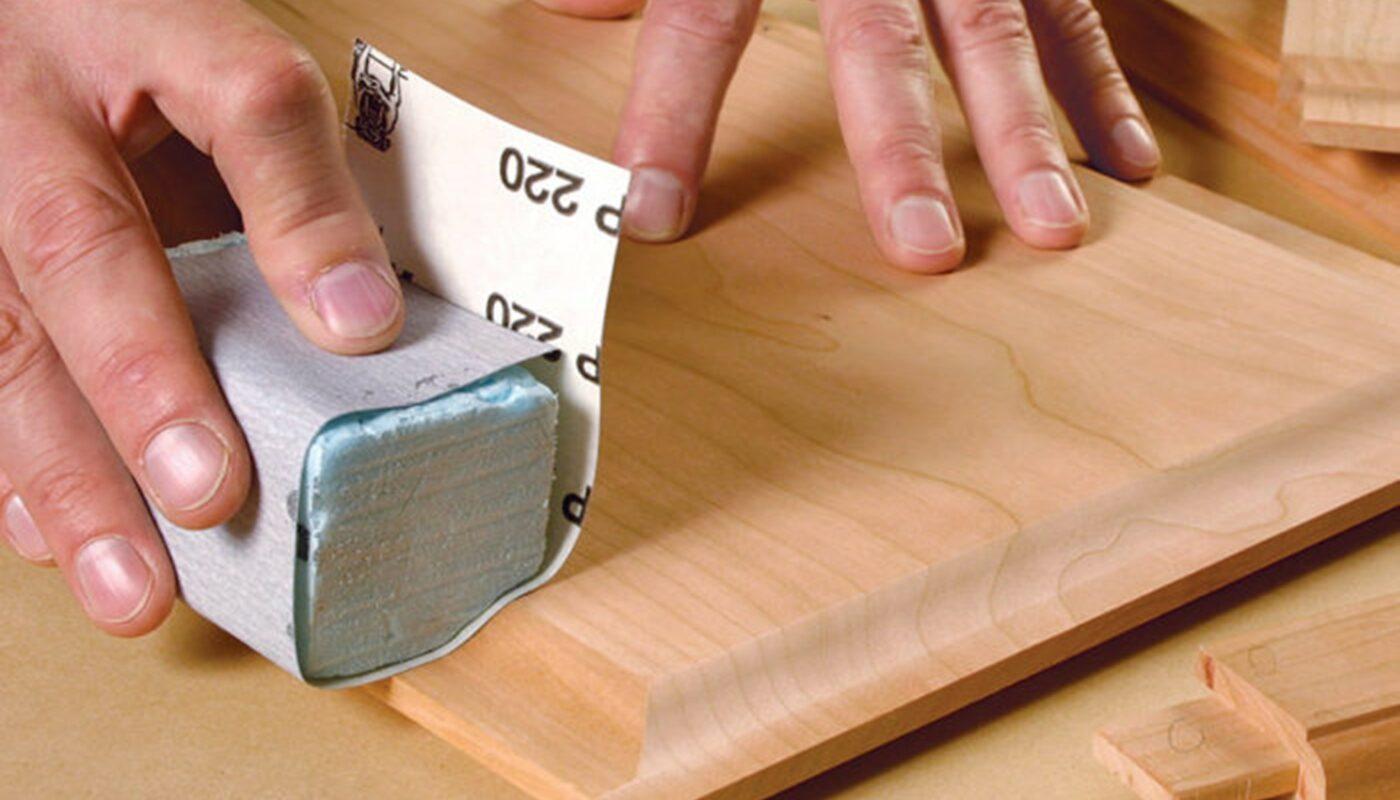
Use a hand sander for hard-to-reach areas:
For tight spaces or corners, a hand sander is the best tool to use. Be sure to use a light touch and go slowly to avoid damaging the wood. This is especially helpful when sanding around hardware or other obstacles. For high-end DIY projects like refinishing a piece of furniture, hand sanding is a must to achieve a smooth, even finish. Moreover, it’s important to sand in the same direction as the wood grain to avoid leaving any scratches.
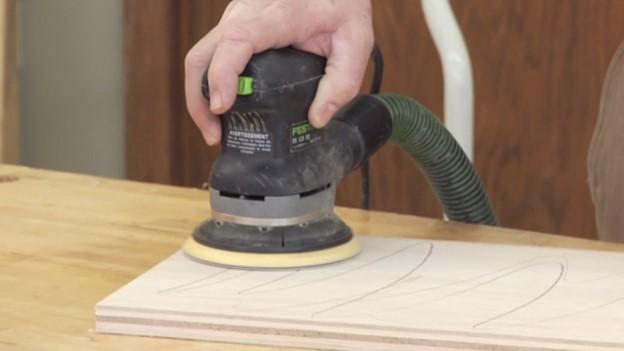
Use a power sander for large projects:
If you’re working on a large project, a power sander will save you a lot of time and effort. Be sure to read the instructions carefully before using one of these machines, as they can be very powerful and easily damage your work surface if not used correctly. When sanding with a power sander, always start with a lower grit paper and gradually move up to a finer grit until you achieve the desired finish.
Stain before you sand:
![]()

This may seem counterintuitive, but if you’re working with an unfinished wood surface, it’s actually best to stain it before you sand. This will help to even out the color of the wood and make the finish more consistent. Just be sure to let the stain dry completely before starting to sand. If you start sanding too soon, you’ll end up with a blotchy finish. For instance, if you’re using a dark stain, you may end up with light spots where the stain didn’t adhere to the wood grain.
Conclusion:
There you have it! These are just a few of the most popular sanding techniques that can be used to achieve a professional finish. So next time you’re working on a project, keep these tips in mind and see for yourself how easy it is to get great results. And don’t forget, practice makes perfect. The more you sand, the better you’ll become at achieving that perfect finish. Happy sanding!


