Every homeowner will have a time when they want to update the look of their room whether for the general concept or specific furniture. This usually happens when you want to match the general vibe with the season so it looks more attractive. Painting furniture can be one of the best ways to add a different look to any room, including a dining room where you gather with family members and friends.
However, in this difficult time, in the middle of the pandemic, some homeowners might be too afraid to invite a worker to do the job. That’s why they prefer to do all the work by themselves as long as the supplies, tools, and steps are right. Of course, even your own hands can do wonders to the furniture to revitalize the look of the furniture, especially the old. worn, and tired ones.
(You may also love this: Different Types of Roofing Materials: Homeowners Guide)
HOW TO PAINT A DINING ROOM TABLE
Painting your furniture is a great way to get a new look without spending more budget to get a new one. Before starting the painting process, there are some basic tools and supplies that you have to prepare:
- Protective gear
- Drop cloth
- Soft cloth, paper towel, or hand vacuum cleaner
- Sandpaper
- Primer
- Paint
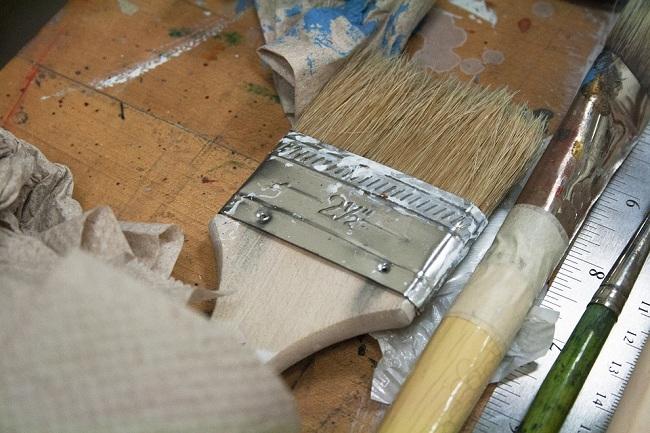
- Paintbrushes
- Paint rollers
- Polyurethane gloss finish (optional)
- Painter tape (optional)
- Spray paint (optional)
Smoothen the Surface
Make sure you’re in a well-ventilated area since you’ll be facing the paint and its smell. Also, please ensure to wear your protective gear such as gloves, eyewear, and face mask.
- Lay a drop cloth as the base of the table to prevent the paint from dripping to the floor.
- The first and most basic step is by using sandpaper to clean your paint area to make the painting process goes smoothly. Just like how you paint a wall, you will have to make sure that the surface is free from all barriers and make the paint applied evenly.
- If you have a surface that you don’t want to paint, you might want to use painter’s tape to mark that specific area.
- Once you’re done with the sand process, wipe the residue with a paper towel, soft cloth, or hand vacuum cleaner.
(You may also love this: How To Keep Small Bathroom Neat and Organized | 10 Quick Guides)
Priming is Important
The next step that you have to do is by applying a primer as the base because not to prime is a crime. The purpose of the primer itself is to prepare the paint to spread evenly and smoothly.
- Apply a thin layer of primer paint to the finished table that you have sanded before. In this step, please make sure to coat evenly to every part of the surface.
- If there’s a small part that needs more detailed work, use spray paint or a small brush to reach that part.
- Once you finish, let it dry before continuing to the next step.
(You may also love this: 10 Quick Tips To Try: How to Optimize the Storage of Small Bedrooms)
Let’s Get Started!
Now after the primed table is dry, you’re all set to paint it with the chosen paint. When it comes to choosing the paint, there are various types of paints that you can use based on your needs.
- For the first application, you might need about two layers of paint to make a flawless finish using brushes.
- Use rollers to wipe away the brush strokes for the last coat if the first two layers are not smooth enough.
- With latex or regular paints, usually, you can mix some colors. However, in some cases, the finished hand feel and texture is quite difficult to clean and leave wipe marks when you clean it.
- For oil-based paints. some people prefer this more because it’s more durable and easy to clean. The minus point of this paint type is that it smells and takes more time to dry. Also, oil-based paints have limited color variations that might not be your style.
(You may also love this: How Much Does It Cost to Rough In Plumbing For A Bathroom?)
Add More Coverage
If you love the result, you could just stop until the last step. However, if you would like to add another protection to the table, cover it with another layer of polyurethane by using a specific brush to apply it.
The New Face is Here!
Once all the steps are done, let it dry for about 48 or 72 hours before you use it again. When it’s dry, clean the surface once again to make sure that you get your desired dining table.
(You may also love this: How To Arrange A Small Bedroom With A Queen Bed | 5 Simple Tips)
Painting the furniture by yourself is indeed a great way to save more money so you can use it for something else. Now, happy recoloring your dining table!


