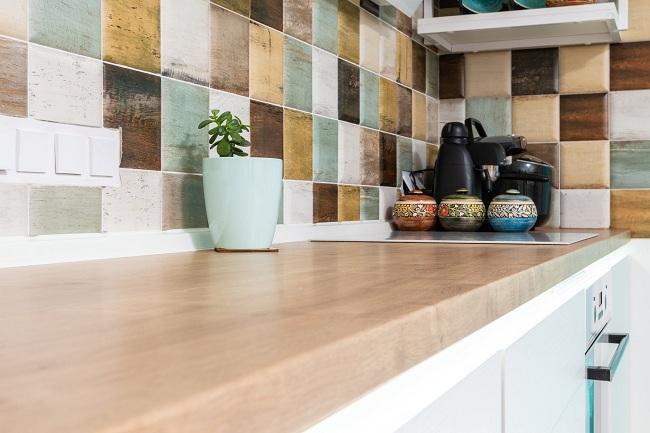
Updating the look of any room in a house can be a fun job if you know the step to do it yourself, especially for people who love DIY jobs. For those who love cooking and experimenting with those massive ingredients, a kitchen is a place that needs to support their hobbies. Of course, there are various ways to upgrade the look of the kitchen and one of them is by changing the countertop.

Removing and changing old countertops is unexpectedly easy if you have a laminate one since it’s quite light and attached to the cabinet by silicone adhesive and screws. However, if you have stone-made countertops like granite or quartz, we would recommend contacting an expert to do the job. In this tutorial, we will be focusing the process on laminate countertops only.
(You may love this: 8 Steps On How to Remove Moen Kitchen Faucet | Easy DIY)
If you have a laminate countertop and are planning to remove it, get ready to work with us!
How to Remove Kitchen Countertop
There are some basic tools and materials that you will need to do this job:
- Gloves
- Protective eyewear
- Screwdriver or power driver
- Wrench
- Bucket
- Putty knife
- Paint scraper
- Hammer and chisel
- Pry bar
- Flashlight or headlamp
- Caulk softener
Step 1: Prep the Area Well
Before moving forward, make sure that the area where the job takes place is ready and well-prepared to prevent any obstacles.
- Remove all appliances and accessories from the top and put them in a safe place.
- Empty the drawers and take them off.
- Pull out all stuff stored on lower shelves to prevent them from getting dirty from dirt and debris.
- Secure the area of food, cookware, and utensils for your safety during the whole process.
(You may love this: How to Remove Kitchen Cabinets with These 3 Quick Guides)
Step 2: Disconnect the Plumbing
If the countertop that you’re removing is connected with the plumbing, you have to disconnect the plumbing for a smoother process.
- Turn off the water flowing to the kitchen sink from the valves that are usually located directly under the sink. Turn off the valve for both cold and hot water.
- If you can’t spot the valve under the sink, you might need to cut off the water supply completely from the main source.
- Before removing the old sink, turn on the faucets to ensure there is no water flow.
- Just in case there’s any leak, you may put a bucket underneath the sink.
Step 3: Remove the Sink
Again, if your countertop becomes the base of other fixtures like a sink, make sure to remove it as well.
- These parts are usually located on the pipes directly underneath the sink.
- Then, loosen or break the clips.
- By using a utility knife, cut the seal around the old sink.
- Remove the old sink.
(You may love this: Here’s How to Replace a Kitchen Sink | 7 Quick Tutorials)
Step 4: Take Off the Backsplash
The backsplash is usually attached to the wall and countertop so before removing the top, take off the backsplash first.
- Since the caulk has been sitting around the edges for years, it may get hardened so you will need a caulk softener.
- Apply the caulk softener around all the edges and let it stay for a while.
- Use a putty knife or paint scraper between the wall and the backsplash to loosen the caulk and backsplash.
- You can also use a prybar to detach the backsplash from the wall and countertop.
Step 5: Unfasten the Secure Feature
As mentioned before a countertop can be attached to the cabinet with screws, brackets, nails, or an additional adhesive. You can check this underneath the cabinets to make sure everything.
- If you spot screws, then you can use a screwdriver to remove them.
- If there are brackets, nails, or an additional adhesive, use a pry bar to remove them.
(You may love this: 6 Easy Tips On How to Repair Peeling Stain On Wood Stained Kitchen Cabinets)
Step 6: Remove the Countertop
Once these secure fixtures are removed, lift the countertop carefully. If it’s too heavy or too large, you may need help from someone else.
- Place the pry bar between the cabinet and countertop and apply gentle pressure upward.
- Keep moving along the cabinet, using the paint scraper to break the adhesive between the countertop and cabinet.
- Use the paint scraper and pry bar to fully detach the countertop from the cabinets, and completely remove the countertop.
(You may love this: How to Get Rid of Cockroaches In Kitchen Cabinets with 4 Simple Ways)
Removing laminate countertops is an easy DIY job if you know the proper steps, moreover, the tools needed are the ones that most homeowners have. Again, this tutorial is only applicable for laminate countertops, so if you have a countertop made of heavy stones, it would be better to contact a pro. You don’t want to risk your safety and the countertop itself by doing it yourself.
We hope that this tutorial can answer your question on how to remove a kitchen countertop and save your budget more. So, when will you change your old countertop?


