After you are done with your little DIY staining of the cabinets, you look at them and wonder what’s missing. Well, that’s what happened to me.
So, I did a little research and thought of applying a top coat on my cabinets to give that final touch. When I say final touch, I mean the glossy look over my cabinets and the extra layer of protection.
Why Do I Need to Apply Top Coats On Cabinets?
Now, many of you will ask me if it’s necessary to apply the clear coat whether you’ve painted your cabinets or not; a layer of topcoat is always appreciated. Why so? Let me tell you the pros.
– Gives a glossy and high-class look to your cabinets
– Protects from dust, dirt, dents, chipping, scratches, UV rays, etc.
– Protects from water and moisture that would rather damp the wood.
– There is a risk of the cabinet paints fading off as natural sunlight falls on them regularly, but with the topcoat layer, your cabinets are protected from abrasion and fading off.
– Increases the durability factor for both your cabinet paints and your wooden cabinets.
Applying The Topcoat
Whether you have fully painted and cured cabinets or you’re planning to apply the topcoat only, I’ve got the precise directions to help you out.
Materials you’ll need
You’ll need this basic stuff to get on started with your DIY-
- Your basic toolbox
- Gloves
- Goggles
- Sander or sanding paper
- Denatured alcohol mix
- Squared fibre brushes
- Primer
- Professional standard topcoat/ clear coat.
Procedure:
1. Good prep work:
Before getting your hands messy, remove the doors, drawers, and hardware so that you have a clean and smooth surface to work on. If your cabinets need some repair, don’t forget to pack your toolbox with Bondo, wood putties, and glues.
2. Cleaning and sanding:
Degrease the surfaces and remove all the dirt infused in them. Don’t forget the vital step of sanding the whole surfaces. An 80-100 grit sandpaper may be the best option. Remember to do a good cleanup after sanding.
The sanding allows a better bonding of the primer with the wood. After sanding, take some denatured water and alcohol mix to clean up any dust or dirt remaining.
3. Priming:
Time for priming! I am fond of the water-based poly primer. Why? Well, its existing hardener content allows durability and protection, which is quite convincing. Remember to apply the primer with a squared fibre bristled brush. Give plenty of time for the top coat to cure totally. Before you move on to the topcoat, a slight sanding over the primer is crucial.
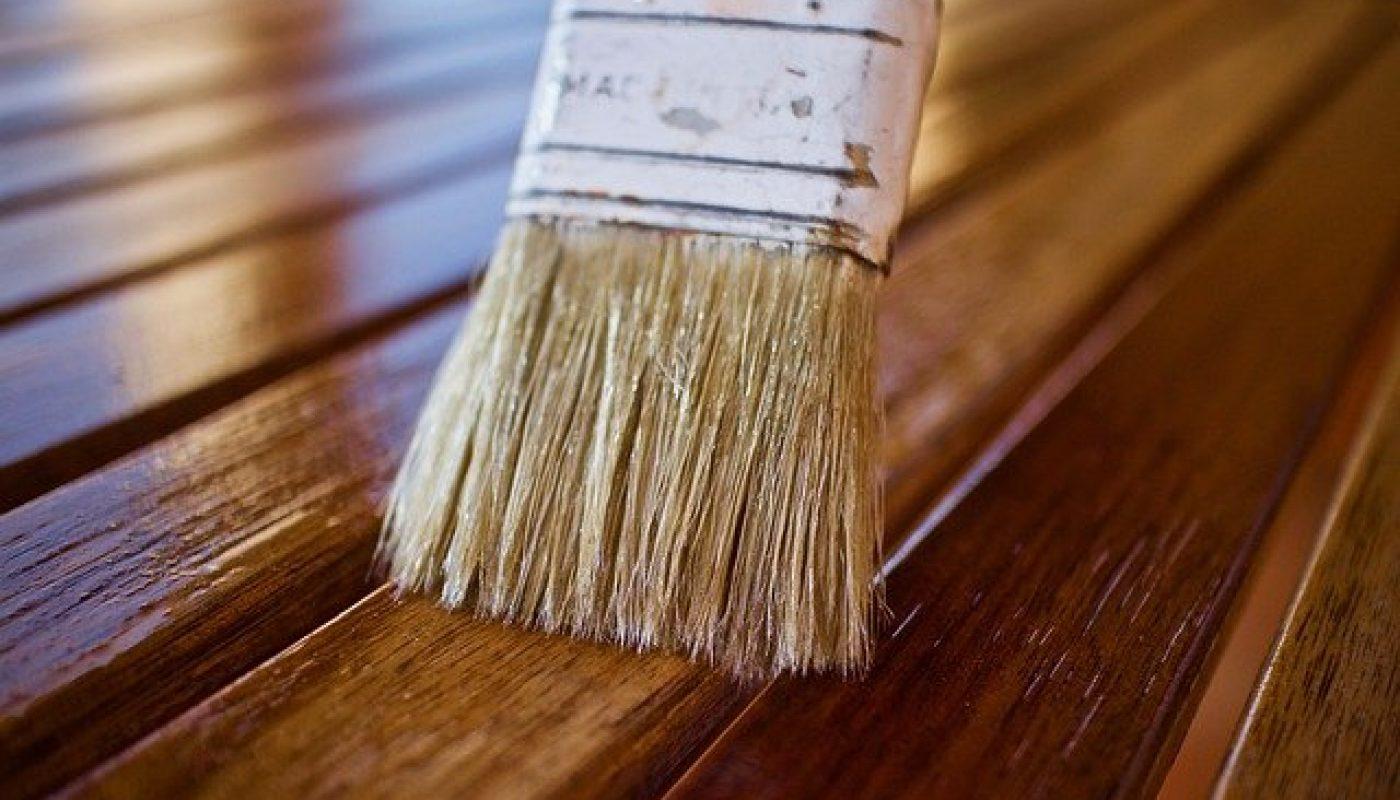
4. Time for the topcoat!
Grab your industry-standard topcoat and follow these directions-
– Before applying it, stir the mixture well, so there isn’t any residue left at the bottom.
– Do not shake the can; stir it gently; otherwise, you’ll notice bubbles that will end up giving you a messy finish.
– The hack to the perfect application of topcoat is to apply thin coats. Thicker layers will give uneven texture, take longer to dry and accumulate dust, none of which you’d like.
– Make sure to give brush strokes in the same direction lightly along the whole surface. Please don’t mess it up with uneven and irregular strokes.
– When you are done with the application, give ample time for drying. And your last stoppage would be the final sanding. Just a little sanding over the topcoat will do it.
When all is done, reattach the hardware, rehang the doors, and put it back on the drawers. Now you look at it, and your kitchen is shining as new!
Tips and Tricks
These little tips might help you pull off the project with ease and professional skills.
– Go for a high-quality and well-pigmented top coat rather than some cheap hardware-store material.
– To ensure the topcoat is completely dry, sand only a small corner of the surface and then when you’re sure, you can move on to the whole body.
– Compare a few good-review products to understand the quality.
– Do no rush in when choosing your cabinet topcoat or even during the whole procedure
– Carry out the DIY in a well-ventilated room.
Remember to get your hands on a good product before you start following the instructions. Without a standard topcoat, your project will not turn out as you expect it to. These steps are easy as a piece of cake! Phew! No more worries for a smooth and even finish anymore! Now that you know how you can professionally pull off a great finish on your cabinets, you can get on to the project right away! Right? Well, I guess you’re already on it!


