To provide a fun entertaining spot in your house, building a patio is surely enough. It will instantly turn your outdoor living space into an enjoyable spot that everyone adores.
Basically, when you want to have a patio, you have to build the base first which can be made of various materials like pavers, bricks, gravels, etc. Then, some pieces of furniture like chairs and tables are obligatory decor items that you have to add.
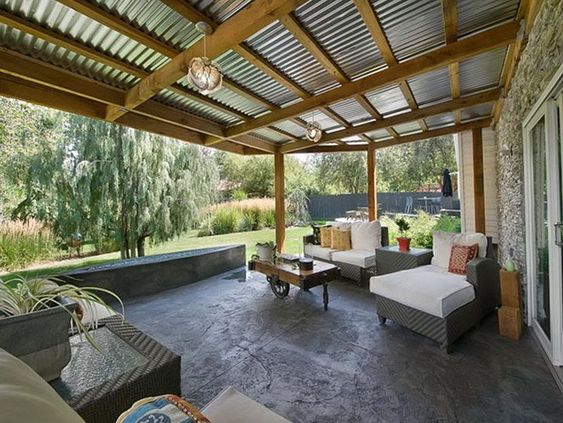
Well, there are so many ways that you can do to enhance the beauty and comfort of your patio, and installing a roof is one of the good options that you can consider. Of course, the main goal of installing a roof is to enable you to use the patio when the weather seems too harsh. It can block the sunlight and protect the patio from the rain, so you can do some activities on the patio as you wish.
Basically, you can choose between two types of patio roof which is the stand-alone design or attaching it to your house. For you who build the patio close to your house, of course, choosing the one which is attached to its exterior wall is a wiser idea. (You may also add Solar Roof Shingles)
Below, we share a complete tutorial on how to attach a patio roof to an existing house that you can easily follow.
How to Attach a Patio Roof to an Existing House
Frankly, attaching a patio roof to an existing house is not really that easy. You have to make sure that everything is set in places properly to prevent any unwanted accidents. It’s still doable all by yourself, but you have to be really careful.
Prepare these supplies:
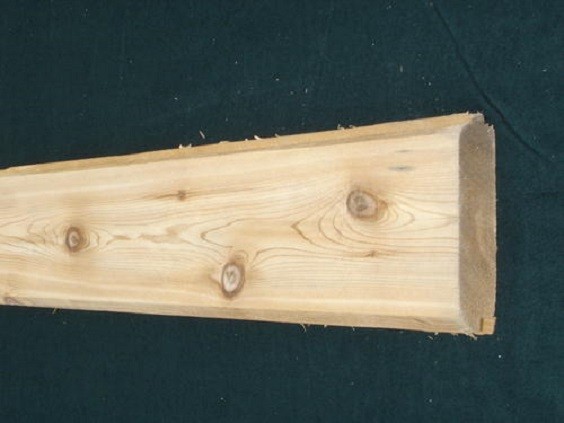
- Roof ledger board
- 2″ x 6″ wood boards
- Galvanized steel nails
- Aluminum flashing
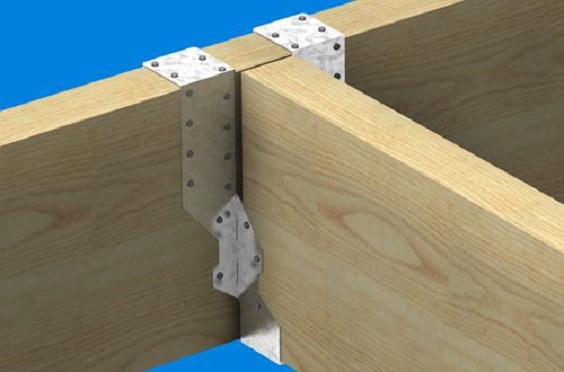
- Galvanized joist hangers
- Galvanized leg screws
Prepare these tools:
- Ladder
- Sawhorses
- Level
- Power drill
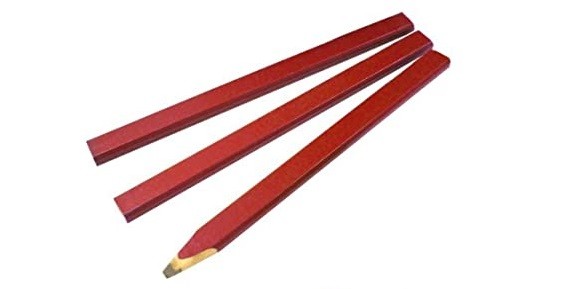
- Wood carpenter’s pencil
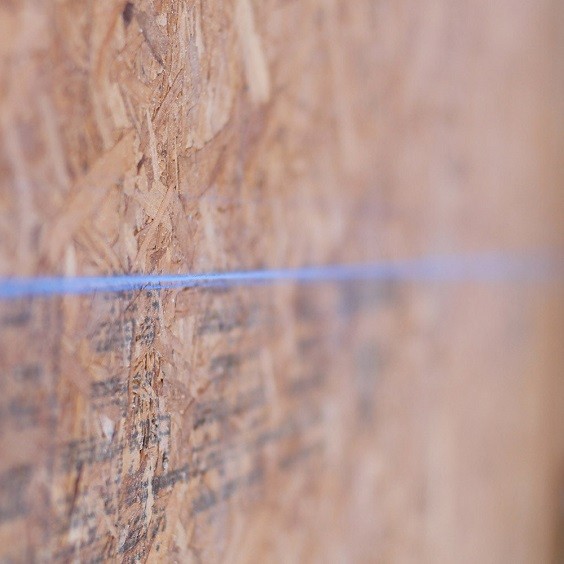
- Chalk line
- Saw
(Recommended to read: 4 Steps on How to Grow Grapes in Your Backyard | Easy DIY Project)
Create the Roof Rafter
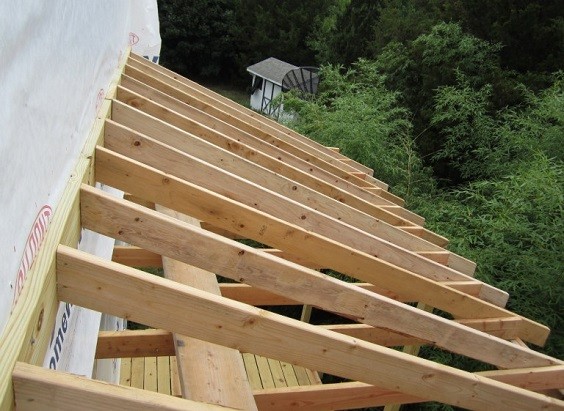
Let’s start by creating the rafter in which you need to attach the ledger board to your existing house. The ledger board is attached in a horizontal position. You have to make sure that you place the board in proper height since it will determine the level of your patio roof.
- For a one-story house, you just need to attach the ledger board right under the house’s eave.
- For a two-story house, you need to tie it into a band joist (rim joist). The joist is placed between the floors, you can find it by measuring down from the window of the upper floor.
Add the Aluminum Flashing
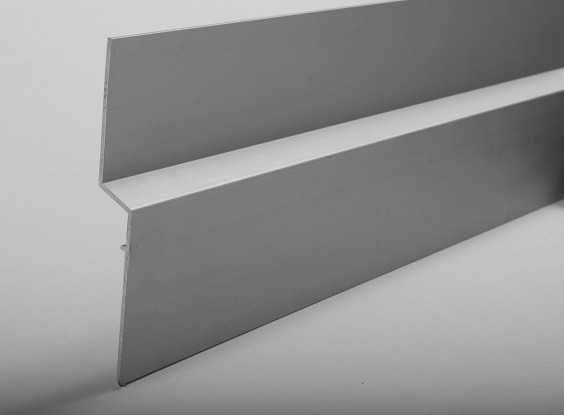
Once you are sure enough that your ledger board is attached properly, you can start adding the aluminum flashing.
- Tuck the aluminum flashing underneath the bending and siding over the ledger.
- Put down ledger board’s face.
(Check this out: Here’s How to Soak Up Water in Backyard with Only 4 Simple Steps)
Attach the Rafter
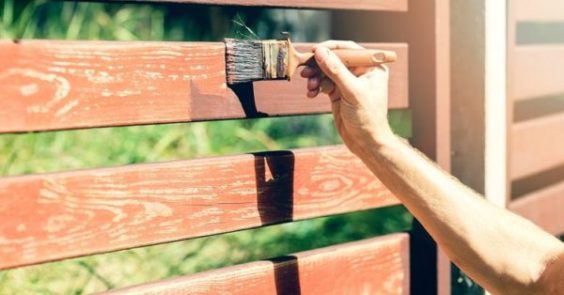
Before hanging the rafters, you can make it look more attractive by staining or painting them as you wish.
- Attach the metal joist hangers to the rafters.
- Attach the rafters to the house with joist hangers which supported by ledger boards.
- Place the rafters on 24″ centers, attach them to the settle joists and beams toward the center.
- Attach the rafters to the ledger boards and settle joists.
- Make sure to check the vertical beam to ensure that the end rafters are placed securely.
Straighten the Rafters
During the installation, you may find some troubles like an unlevel position, you have to fix it to get the best result. To see whether the position of the structure is correct or not, you can see it from below.
- Check whether the walls are crooked or not. It means that rafters’ end is also in a similar condition. You can readjust the position of the rafters.
- Use a chalk line to ease you to straighten them out. Draw the line across the end of each rafter.
- Before attaching the sheathing, trim the rafters with the saw.
- Examine the structure and ensure that are all in a level position.
- To get a finished look, place the fascia board at the end of the rafters.
(See also: How to Fill a Raised Garden Bed Cheap with Only 5 Easy Steps)
Finish the Roof
Now, it’s time to finish up your patio roof. It depends on your needs and taste to determine how you want to finish it.
- There are some options that you can choose if you want to cover your roof which are shingles and patio shade. They are offered at various prices, and if you have a limited budget, you can pick the patio shade which is enough to cover your patio and fairly easier to install compared to the other roofing materials.
- Another alternative is that you can just design your patio roof in pergola style by simply leaving the beams exposed. It suits well for you who just want to filter the sunlight instead of completely blocking it and to get a more open look.
- Add more decorative touch by painting the beams, adding some greeneries, placing some string lights and other options as you wish. It will make the roof also gives a more attractive touch to the overall look of your outdoor living space.
(Read also: How to Enclose a Patio with Drop Cloth | 5 Steps DIY Project)
So those are the steps that you can follow when you have a plan to attach a patio roof to your existing house. As mentioned above, this project may require woodworking skills and plenty of time. You also have to be so careful since you are dealing with sharp materials and tools, wearing safety gear like working gloves and eye goggles is highly recommended.
Well, have a nice try on improving your beloved outdoor living space then!