Kitchen cabinets are basic features that every homeowner needs to have to organize all the cookware, cooking tools, cutleries, and other stuff. No matter what material your cabinets were made of, there will always be a hint that shows they have been used for a long time. Especially if you have wooden cabinets that can be easily spotted when there’s a tired or worn defect.
Well, we’re sure that most homeowners will try their best to cover tired signs and give it a new face instead of buying a new set, especially if the current one is still sturdy and work just fine. One of the ways that you can do to bring life to your wood cabinets is by staining them. This process is quite easy and all the materials are easy to find and affordable to get.
(You may also like this: How to Fill a Raised Garden Bed Cheap with Only 5 Easy Steps)
How to Stain Kitchen Cabinets
There are some tools and supplies you have to prepare before starting this project:
- Working gloves
- Screwdriver
- Sandpaper (120-220 grit)
- Medium brushes
- Cloth
- Rag
- Pre-stain/wood conditioner
- Stain
- Polyurethane
Step 1: Disassembling the Cabinets
This first step is the basic that you have to do before starting the whole process. All you need to do is:
- Disassembling all the parts of the cabinet parts so it’s easier for you to stain each corner.
- By using a screwdriver, remove all the screws and hinges that connect each part of the cabinets from the door, shelves, and the cabinet itself from the wall.
- Once you’re done with this part, you can move the part you will stain.
(You may also like this: Here’s How to Vacuum Pool Manually with Only 4 Simple Steps)
Step 2: Sanding the Surface
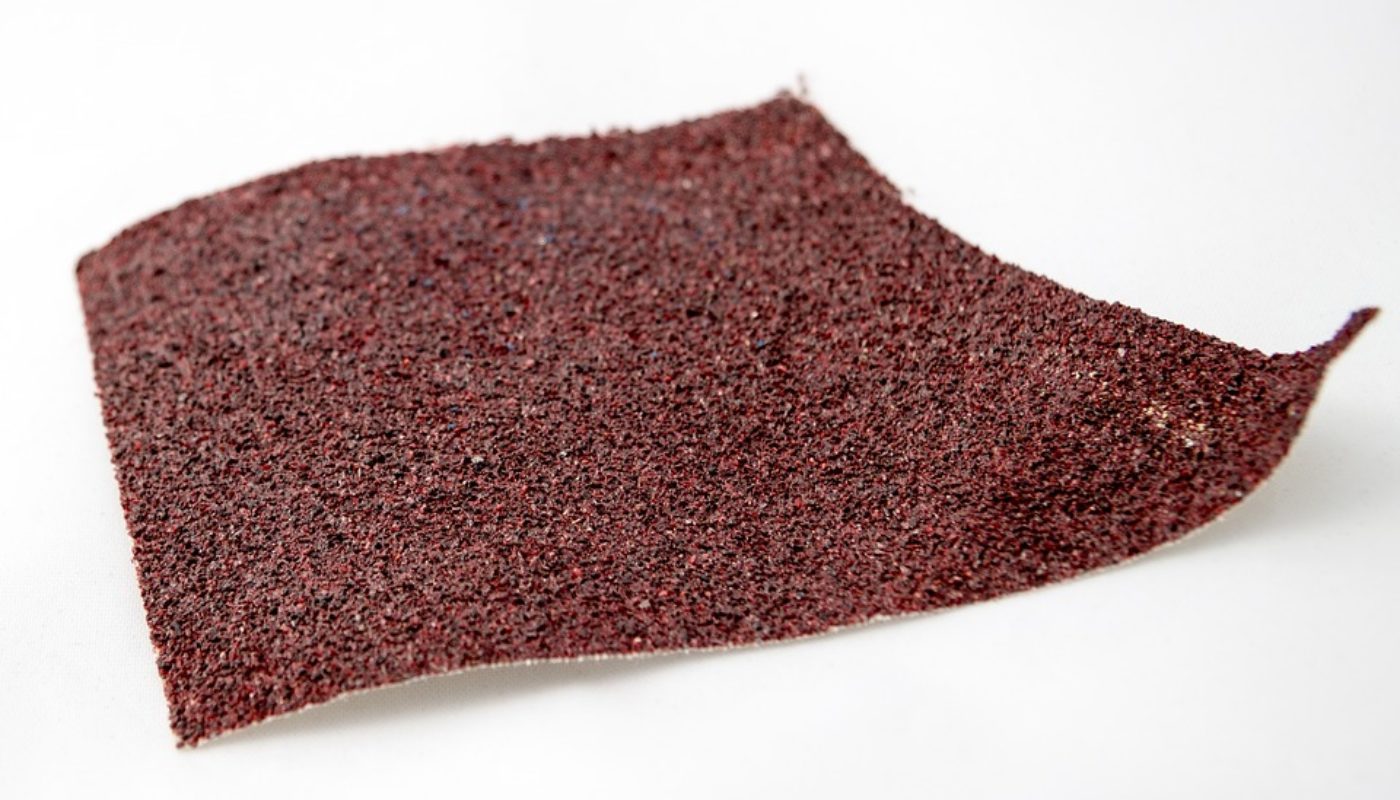
The best result comes from a smooth base so that’s why you have to make sure that the surface is free from the old coat.
- Take a low to medium-grit (about 120-220) sandpaper to clean the surface of the wood.
- If there’s a stain that is hard to remove with sandpaper, you may want to use a scrapper. If you use a scrapper, please make sure to use sandpaper as a finishing step.
- Once you have finished with the sanding, clean it with a damp cloth so it’s clean and smooth for the next step.
Step 3: Apply the Base
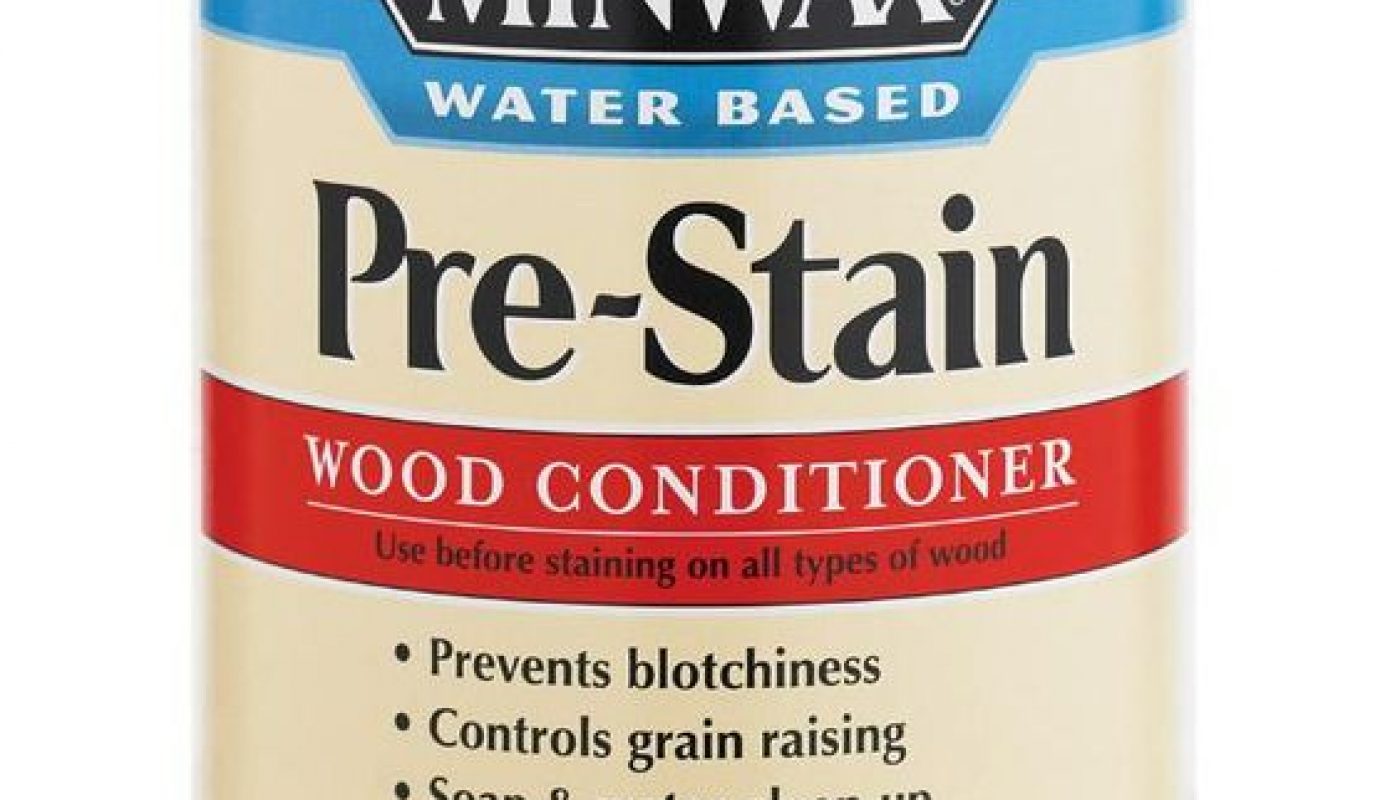
Not to prime is a crime because it will definitely affect the overall finish.
- Just like how you’re going to paint on something, applying a primer is important because it will be the base to make a certain finish.
- Based on the stain you’ll be using, you have to make sure to get the right pre-stain product that matches the stain type.
(You may also like this: How to Keep Frogs Out of Pool with Only 5 Easy Steps | DIY Tutorial)
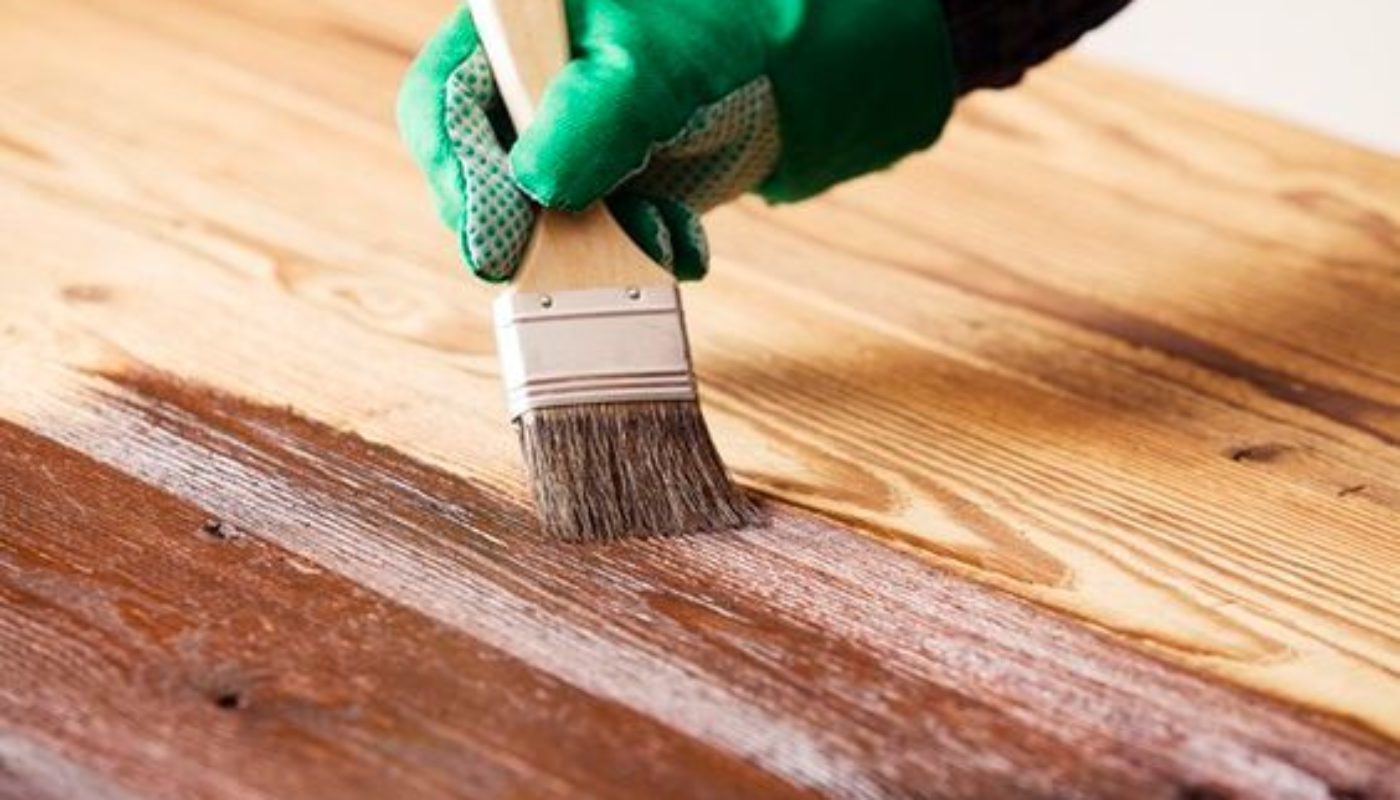
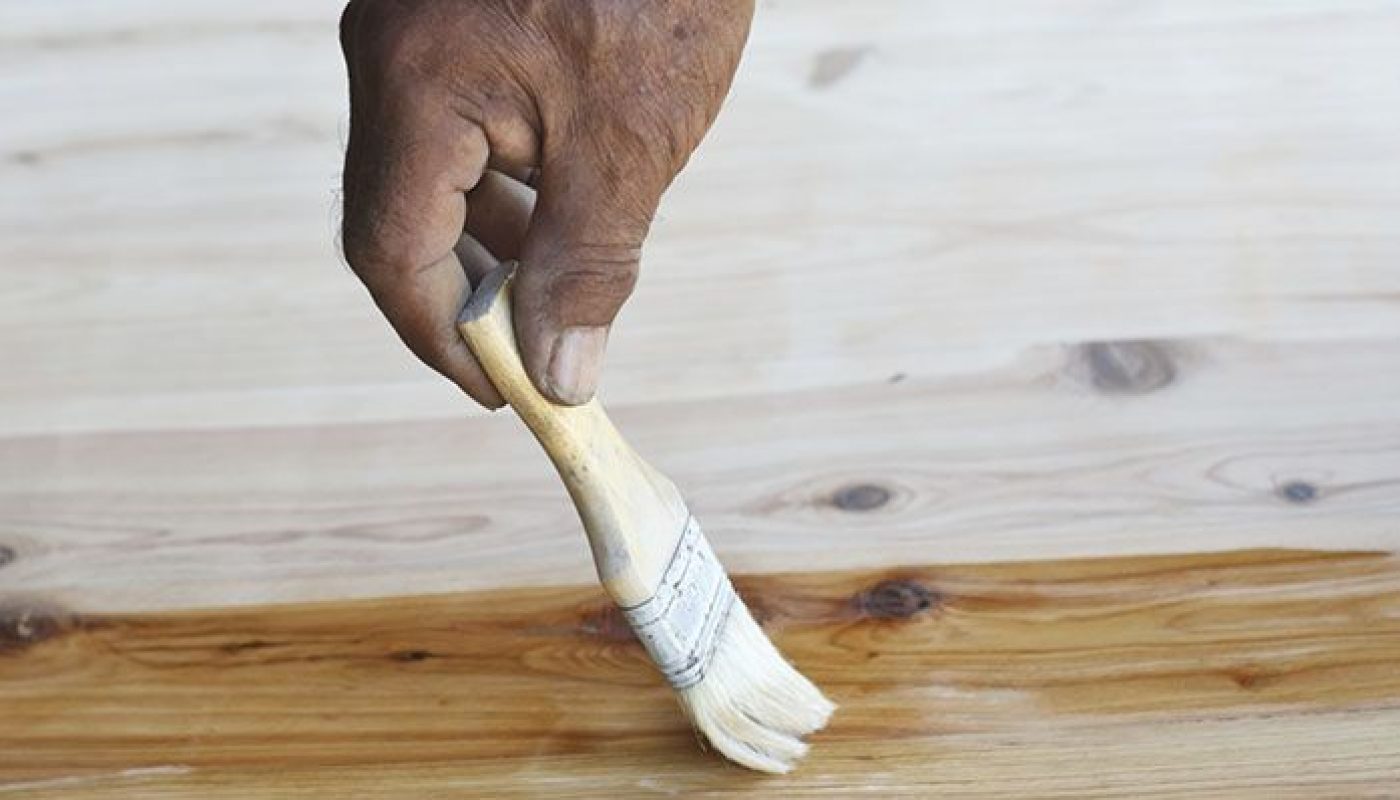
Step 4: Staining Time!

There are a few types of stain products out there that you can choose based on your finishing preference and wood types. There are oil-based, water-based, gel, and other types that you can choose based on your needs. If you’re looking for a finish that is easy to clean with water and soap, the water-based one is the best choice.
- Start staining the clean surface by using a medium brush or rag following the wood lines.
- If you like a lighter color, you can finish the process on the first layer.
- However, if you like a darker shade, please make sure until the first coat is dry and layer another coat over it.
Step 5: Finish It!
After completing all four steps, you can do the last step to lock all the stain layers so it’s neater and long-lasting. You can simply apply polyurethane over the dried coats and again, let the whole layer dry. Once it’s dry, you’re ready to re-install it again along with the other parts.
(You may also like this: How to Get Rid of Ants in Garden Without Killing Plants with Only 3 Steps)
Instead of hiring a professional, it’s time for you to be one yourself and get your kitchen cabinets a new face!