Repurposing the stuff that isA�not used anymore is definitely a fun thing to do when you are talking about the DIY project. The scattered things in your backyard can surprisingly becomeA�some beautiful decor.
One thing that you mostly find when we’re talking about DIY room decoration is repurposing some mason jars. A�This adorableA�cute thing can be turned into some surprising decors with a little bit of creativity.
It’s easy to make some interesting stuff out of the mason jars like painting them for instance. You can do lots of fun things with mason jars with simple tricks and minimum budgets.
Here, we’re going to share you one fun DIY Halloween project that you have to try! Originally created by Ashley by makeit-loveit.com, this DIY pumpkin jar is very easy and simple to make.
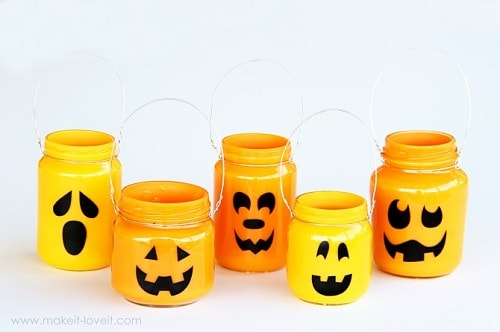
You’ll need some used glass jars, black vinyl, acrylic paint, labels remover, wire, and vinyl cutter. The jars are very cute with its Jack O’ Lantern faces and will be the cute additions to put some sweet treats on your Halloween dining table.
(Check this out:A�DIY Witches Brooms Tutorial)
So let’s keep scrolling to check out the full tutorial DIY pumpkin jars!
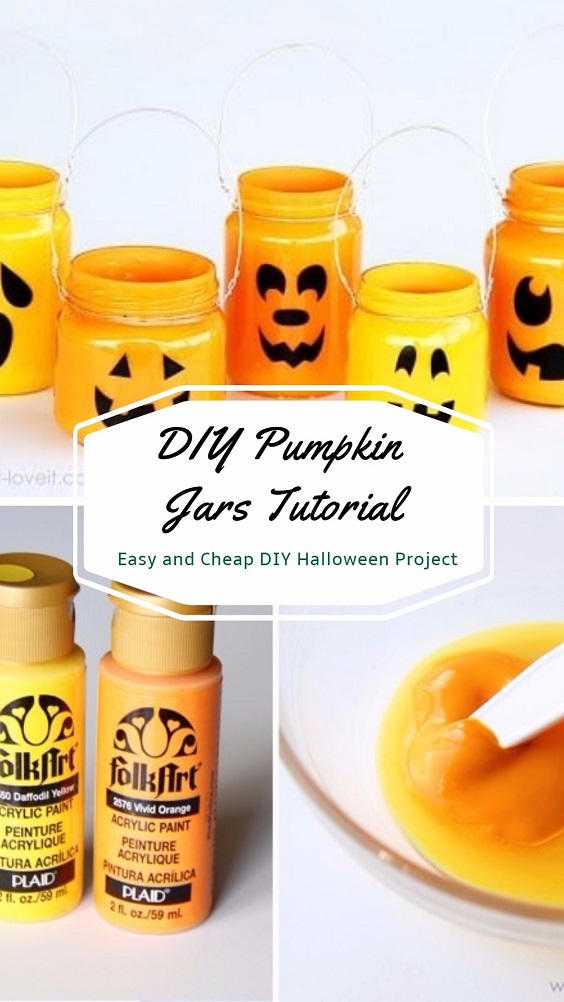
DIY Pumpkin Jars Tutorial
Things that you’ll need to prepare:
- Mason jars in various sizes
- Goo Gone (sticky label removal)
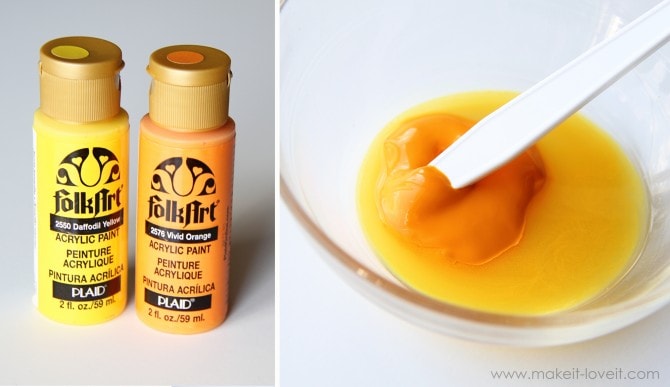
- Acrylic paint (orange and yellow)
- Black vinyl
- Wire
- Vinyl cutter
Painting the jars:
- Wipe up the glass jars and remove their sticky labels if it’s necessary. Then, let them dry completely.
- You can give the various shades of oranges by mixing the yellow and orange paint in the bowl. Don’t forget a little bit of water to make the consistency of the paint much smoother.
- Pour the paint into the empty jar in proper measure, then roll it to make the paint cover the inside of the jar evenly up onto its neck.
- Pour back the residue of the paint to the bowl, shake the jars gently to completely remove the paint.
- You may also need to wipe the paint on the outside of the jar by using the wet towel.
- Let the jars dry, probably takes 2 days.
Making the Jack O’ Lantern face:
- Draw the black vinyl based on your preference, then stick the vinyl on the centerA�of the jar.
- Draw different faces to make it look more attractive.
(Read also: DIY Mummy Luminary Tutorial)
Making the wire hanger:
- Each jar needs 2 pieces of wire that would act as a holder and another one would be attached to the jar’s neck to secure the holder.
- Cut the wire for the holder as you wish, the twist about 1/2″ on each end.
- Insert the wire that will act to secure the jar into the small hole on another piece of the wire.
- Then wrap the wire around the neck of the jar, then twist the wire ends to secure it. Trim off the excess of the wire.
(You may also like:A�DIY Drippy Candles Tutorial)
The DIY pumpkin jars are now ready! It looks cutely spooky to beautify the Halloween decor of your dining room!
Have fun to do your DIY pumpkin jars project and happy Halloween day!


